NIKIMAT


Amel Super Maramu 2000
|
Lofrans Tigres Windlass Overhaul Part 7: 13 Pictures from 55 to 68 Removing shaft and its Circlip, washer, spring, Dog Clutch and key |
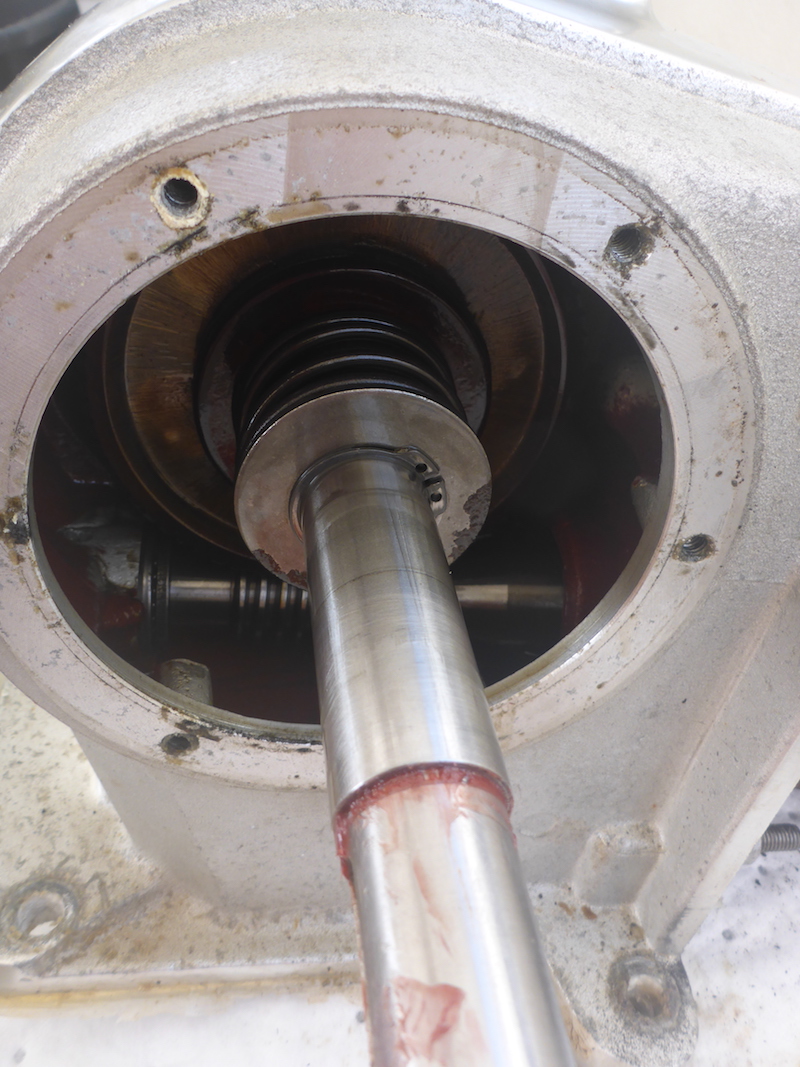
Picture 55
I did not know at the time, but I could have removed the entire shaft at this point
On picture 65 you will see I use a hammer (from the other side) to push it out
But you need to look at the following pictures for the disassembly
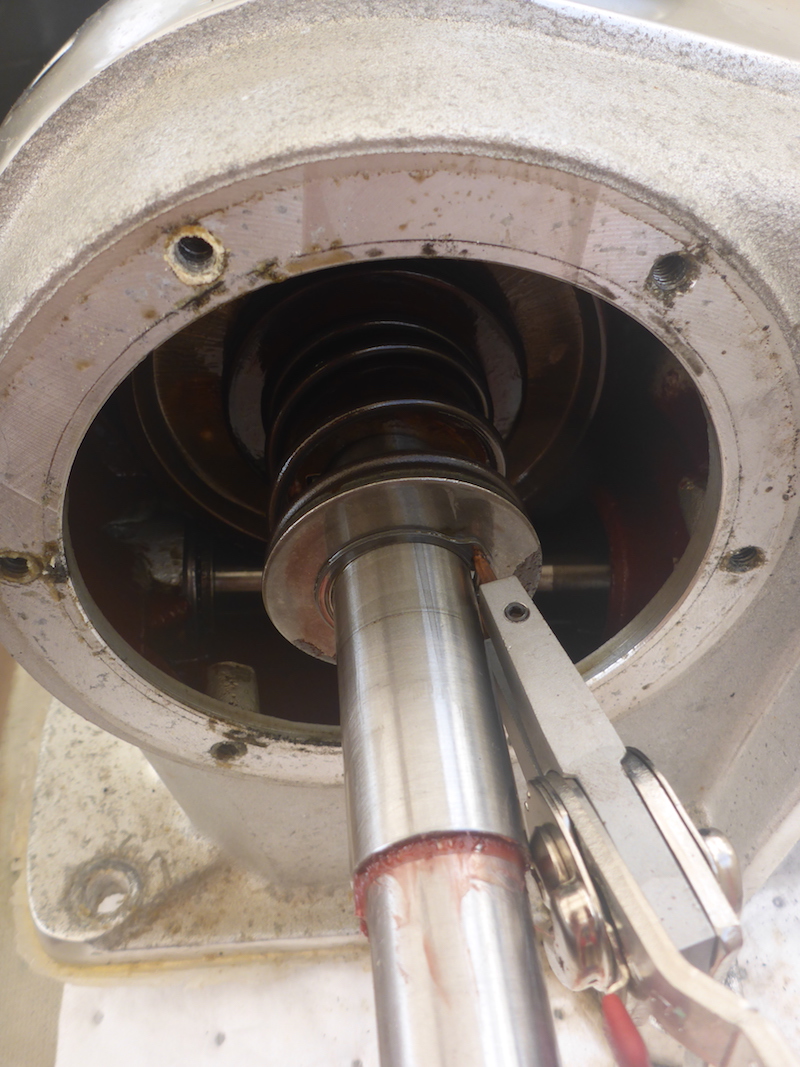
Picture 56
Remove the Circlip 25 Din 471 (Part 324)
Careful: as the washer behind is under tension
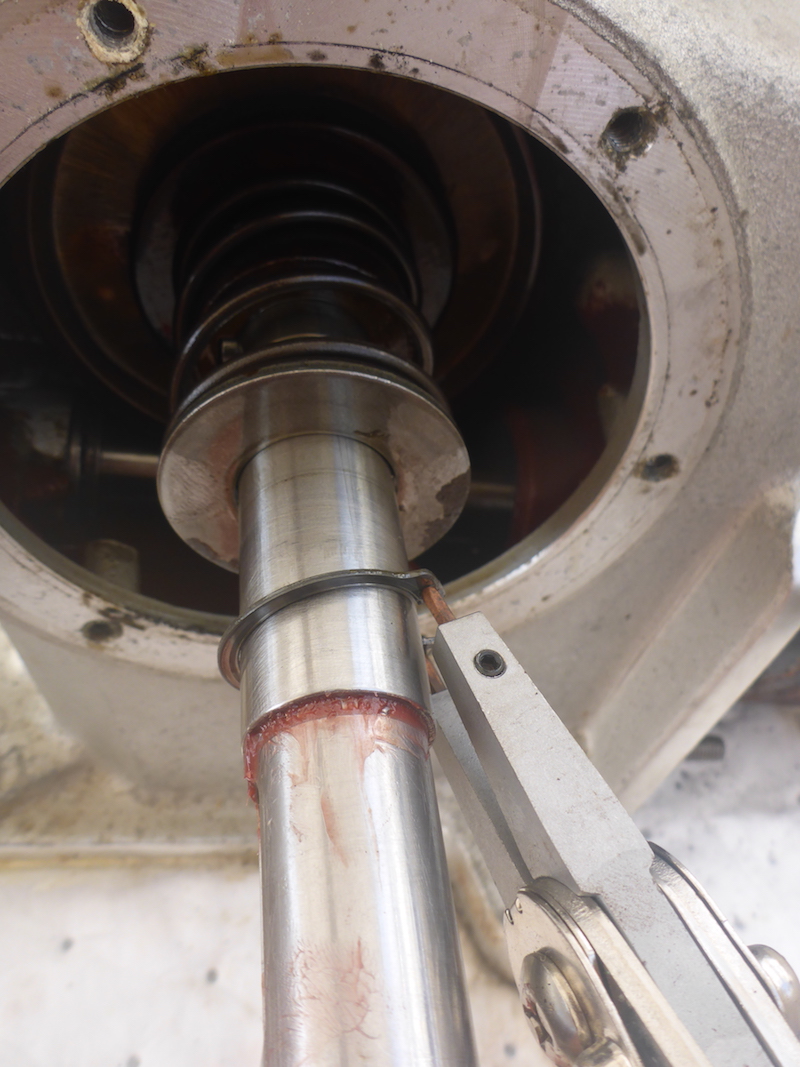
Picture 57
You can see how Spring (Part 326) has pushed the Washer (Part 325)
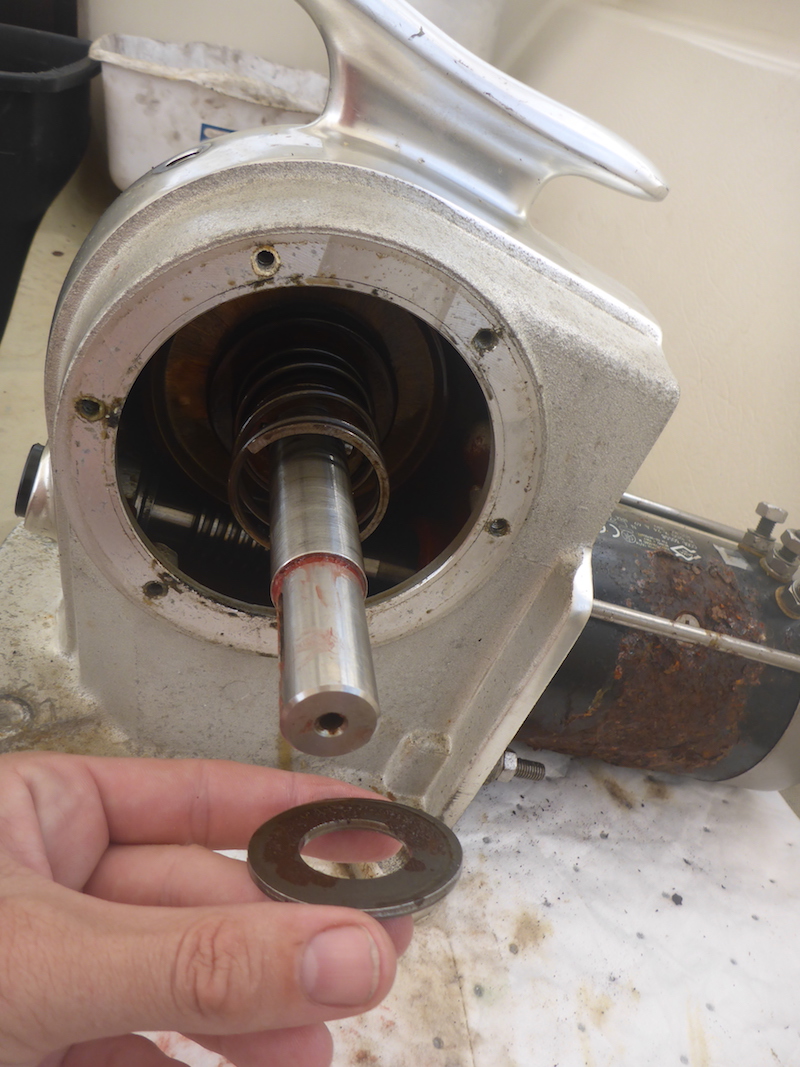
Picture 58
Remove the Washer (Part 325)
Picture 59
Remove the Dog Clutch (Part 477) and the Spring (Part 326)
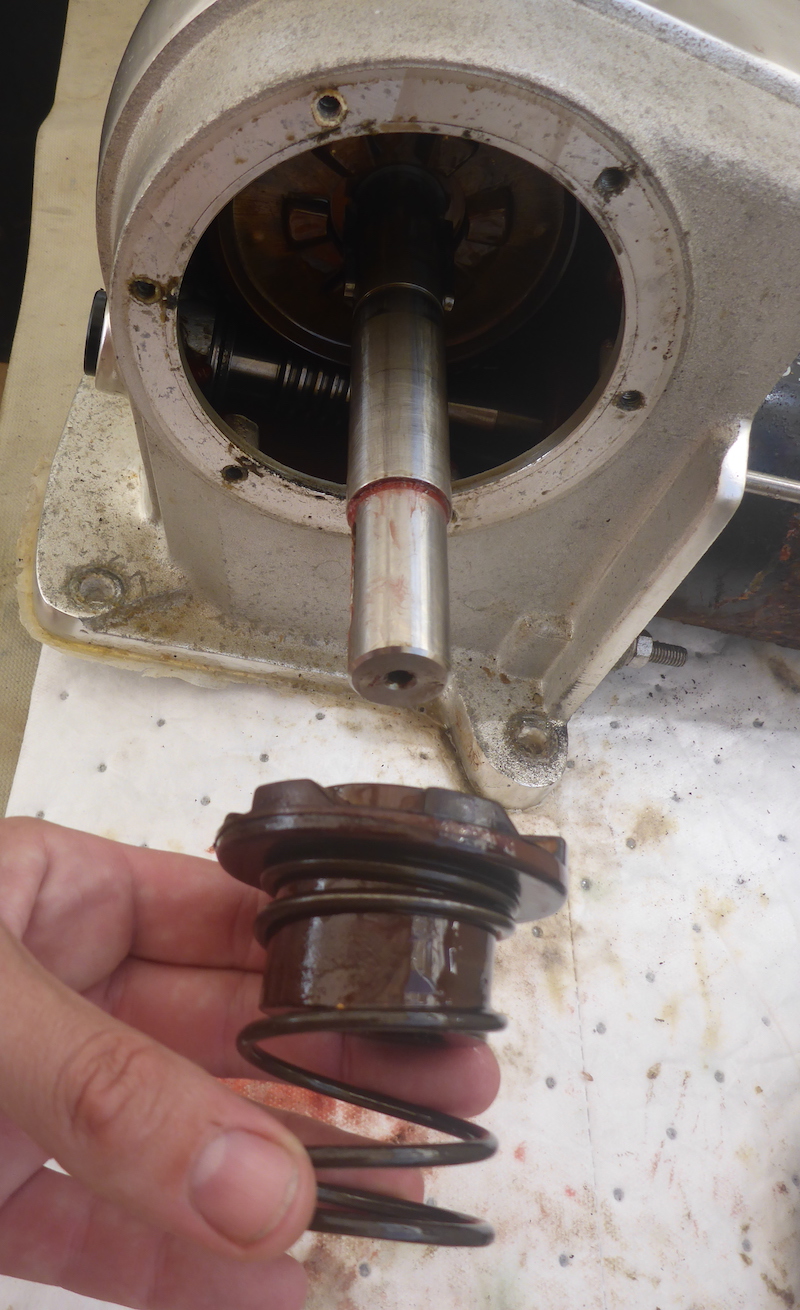
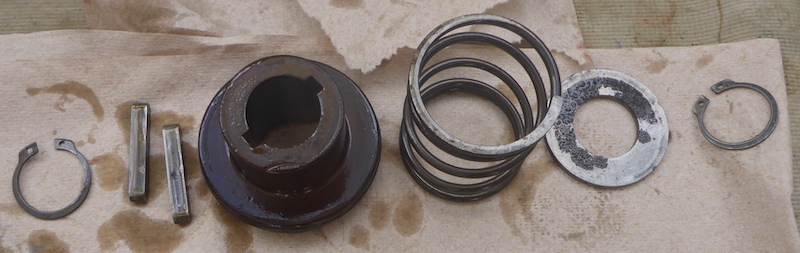
Picture 60
So far here is what I have remove starting from right
Circlip 25 Din 471 (Part 324)
Washer (Part 325)
Spring (Part 326)
Dog Clutch (Part 477)

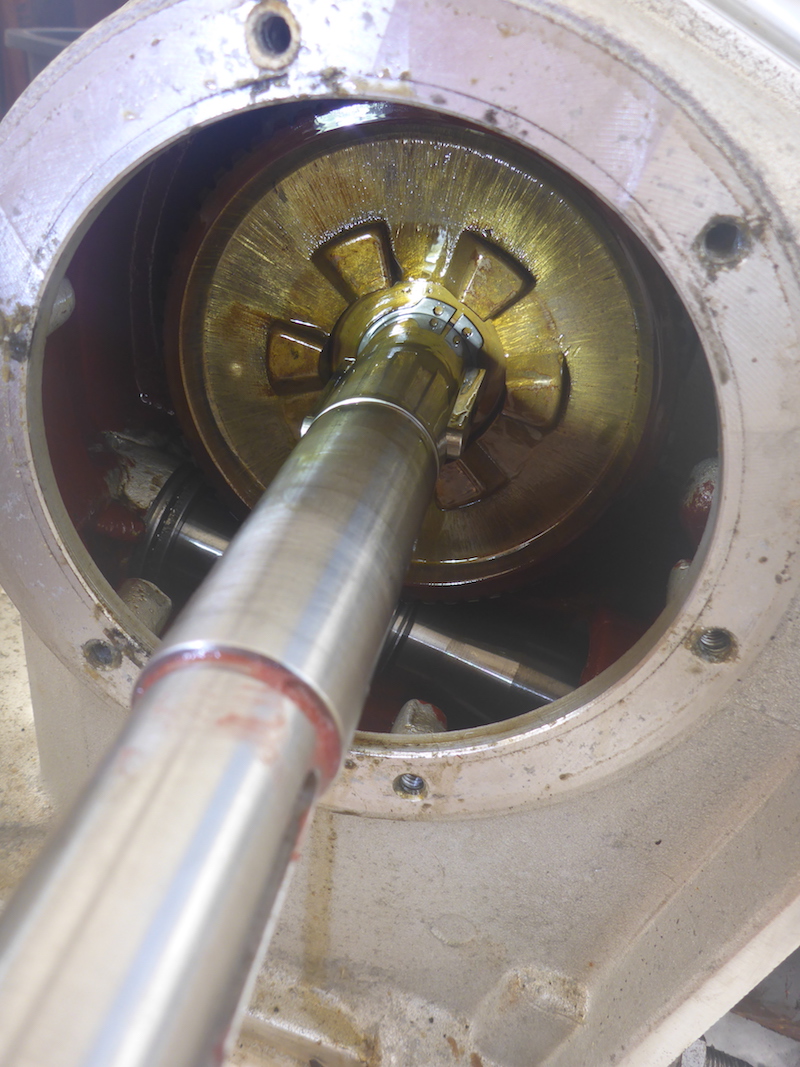
Picture 61
Looking inside you can see 2 key then another circlip
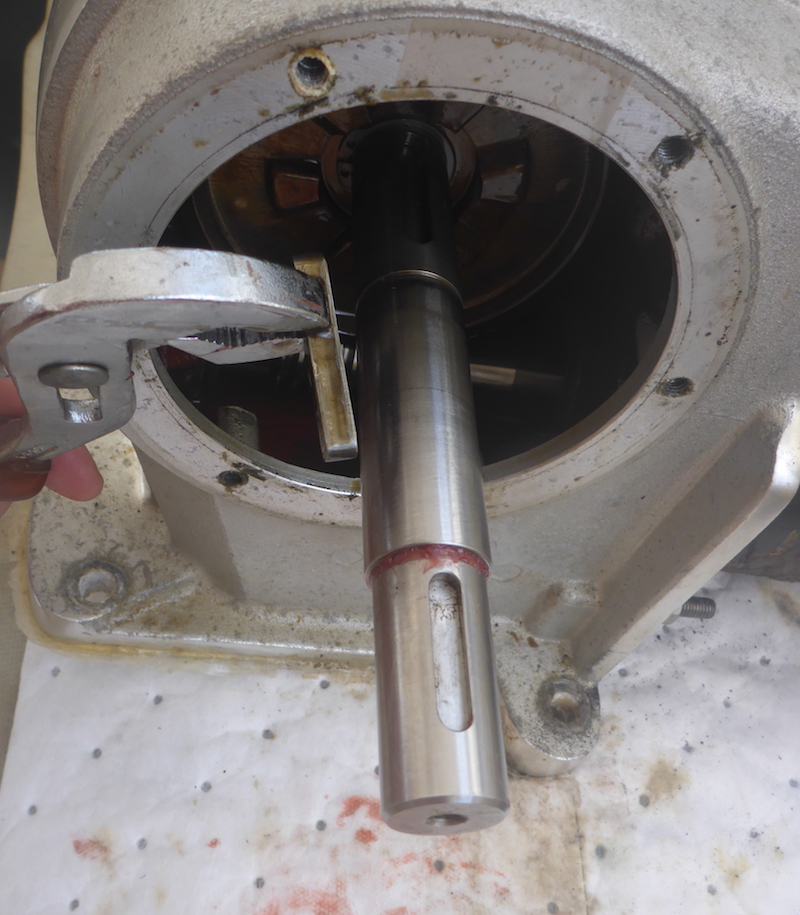
Picture 62
With vise grip or plier remove both 6x6x30 key (part 209)
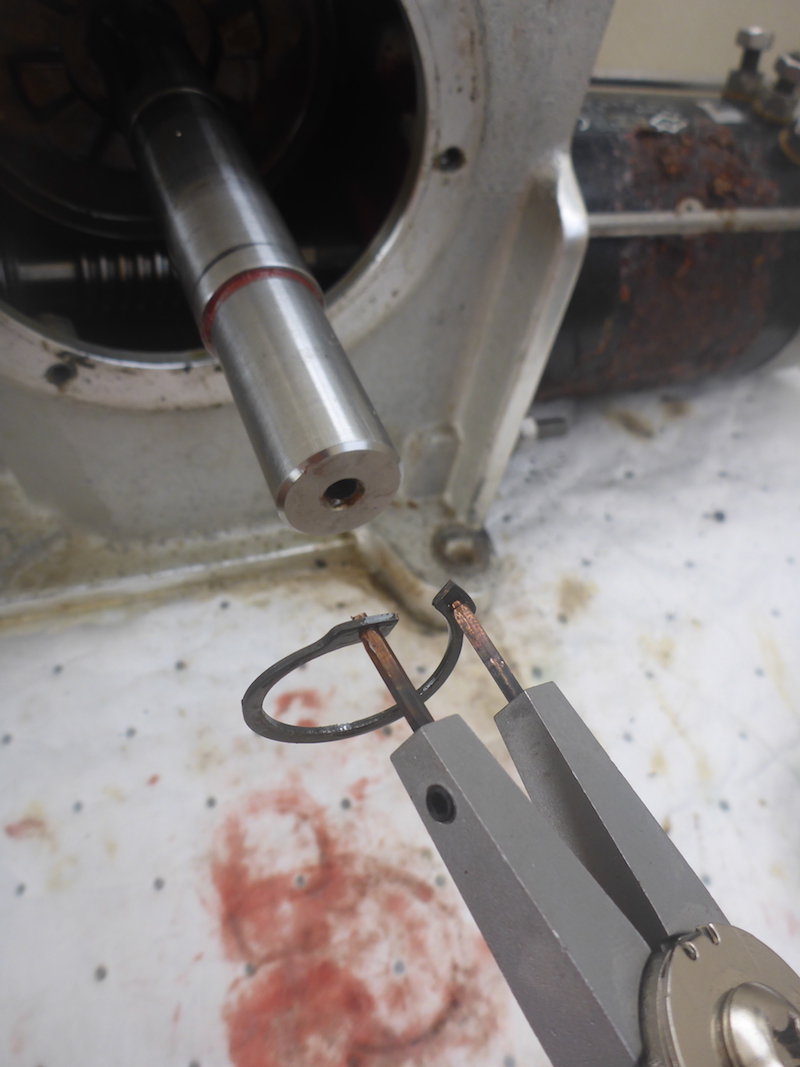
Picture 63
Remove another Circlip 25 Din 471 (Part 324)
Picture 64
So far here is what I have remove starting from right
Circlip 25 Din 471 (Part 324)
Washer (Part 325)
Spring (Part 326)
Dog Clutch (Part 477)
Two 6x6x30 key (part 209)
Circlip 25 Din 471 (Part 324)
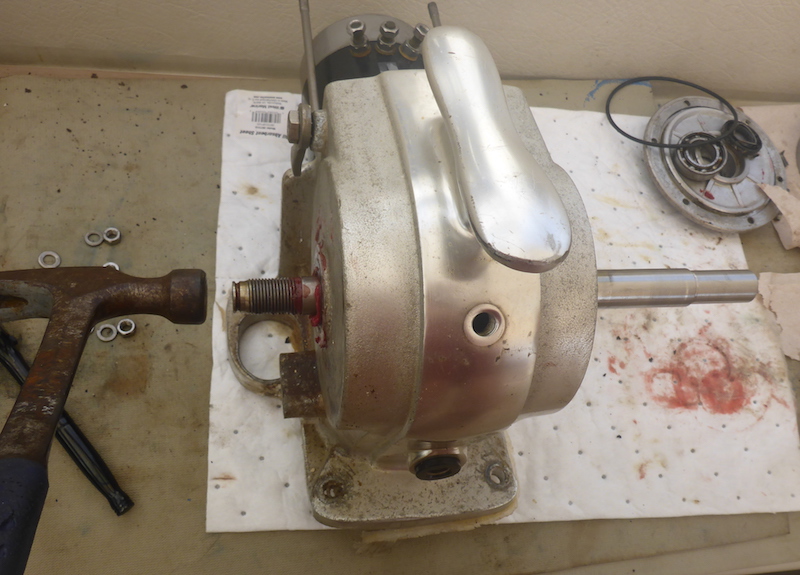
Picture 65
Now I use a hammer to move the shaft out
Note: as I mentioned, I could have done this before removing the 7 above parts
Picture 66
Shaft out
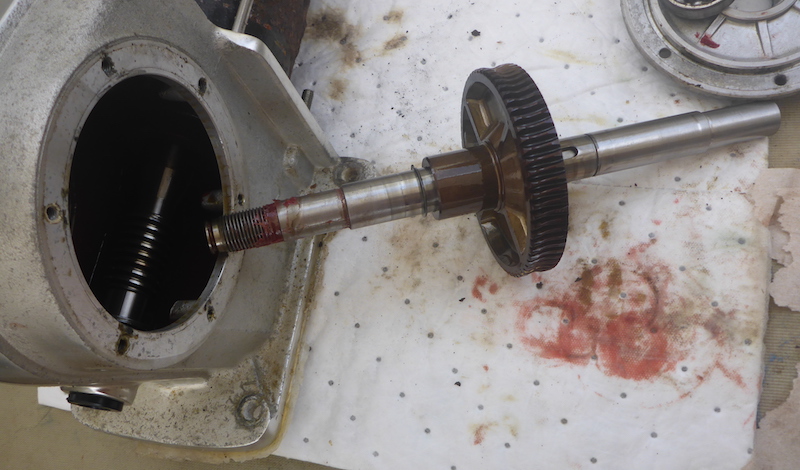
Picture 67
Removing another Circlip 25 Din 471 (Part 324)
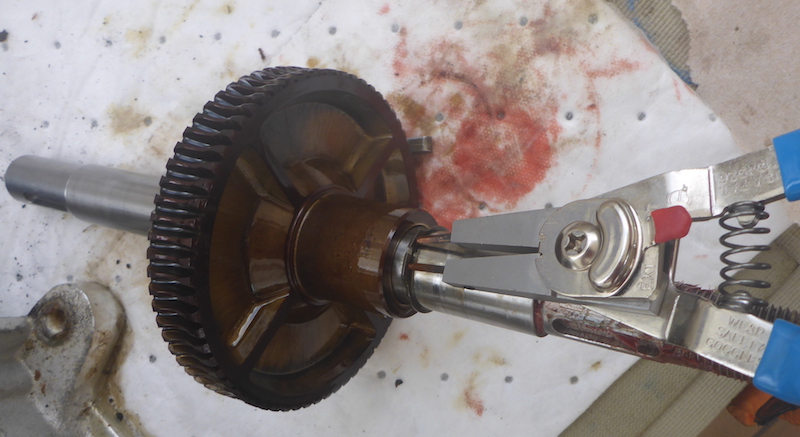
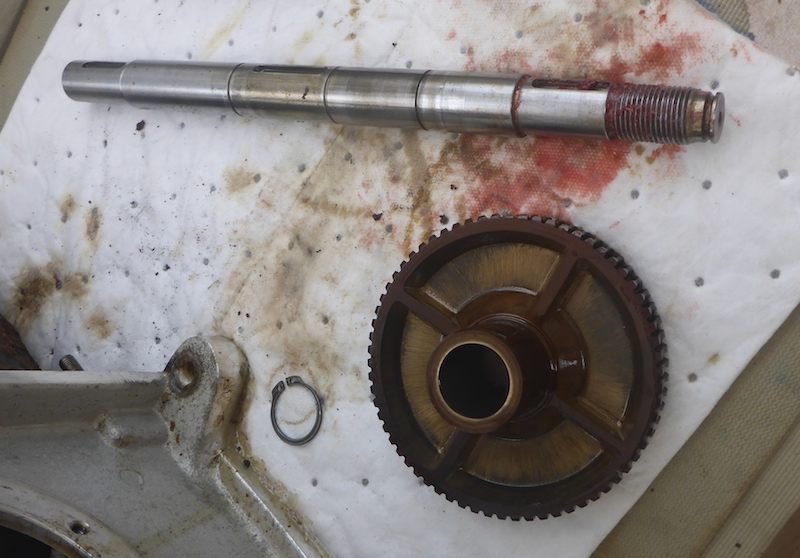
Picture 68
Removing the Wormwheel (Part 476)
Note: there is one more Circlip 25 Din 471 (Part 324) on the shaft
|
Next: Part 8
|
|
Part 1 10 Pictures from 01 to 7
Part 2 17 Pictures from 8 to 24
Part 3 8 Pictures from 25 to 32
Part 4 15 Pictures from 26 to 40
Part 5 8 Pictures from 41 to 48
Part 6 7 Pictures from 49 to 55
Part 7 13 Pictures from 56 to 68
Part 8 5 Pictures from 69 to 73
Part 9 10 Pictures from 74 to 83
Part 10 4 Pictures from 84 to 87
Part 11 7 Pictures from 88 to 94
Part 12 6 Pictures from 95 to 100
Part 13 8 Pictures from 100 to 107
Part 14 6 Pictures from 108 to 114
Part 15 15 Pictures from 115 to 129
Part 16 16 Pictures from 130 to 145 |
Part 17 3 Pictures from 146 to 148 Putting key back on Electric motor shaft
Part 18 8 Pictures from 149 to 156
Part 19 12 Pictures from 157 to 168
Part 20 9 Pictures from 169 to 177
Part 21 16 Pictures from 178 to 193
Part 22 15 Pictures from 194 to 208
Part 23 19 Pictures from 209 to 217
Part 24 20 Pictures from 218 to 239
Part 25 5 Pictures from 240 to 244
Part 26 3 Pictures from 245 to 247
Part 27 6 Pictures from 248 to 253
Part 28 4 Pictures from 254 to 258
Part 29 7 Pictures from 259 to 266
Part 30 12 Pictures from 267 to 278
Part 31 16 Pictures from 279 to 294
Part 32 6 Pictures from 295 to 300
|