NIKIMAT


Amel Super Maramu 2000
|
Lofrans Tigres Windlass Overhaul Part 24: 20 Pictures from 218 to 239 Preparing and bolting the Windlass on Deck |
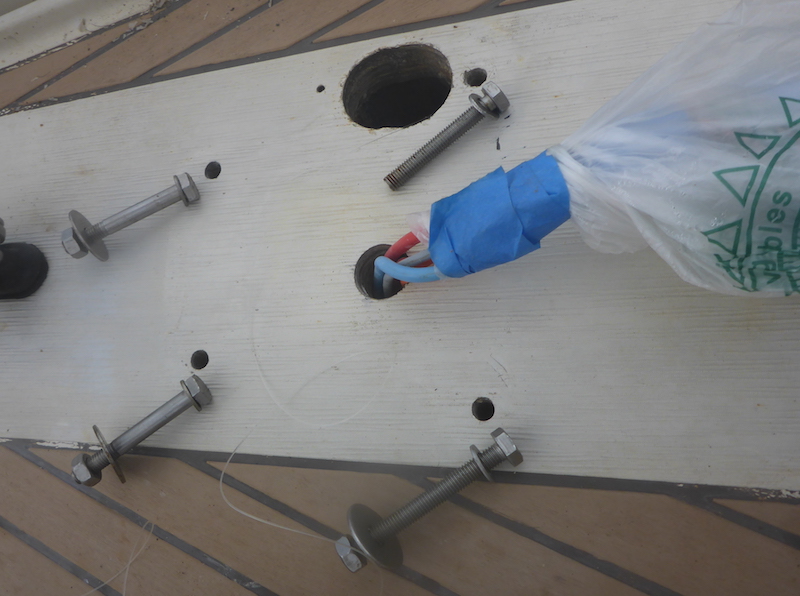
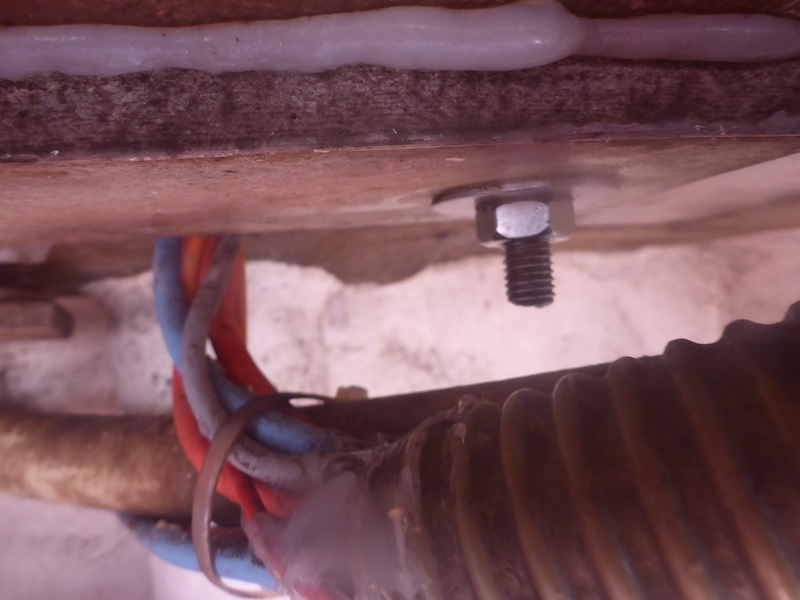
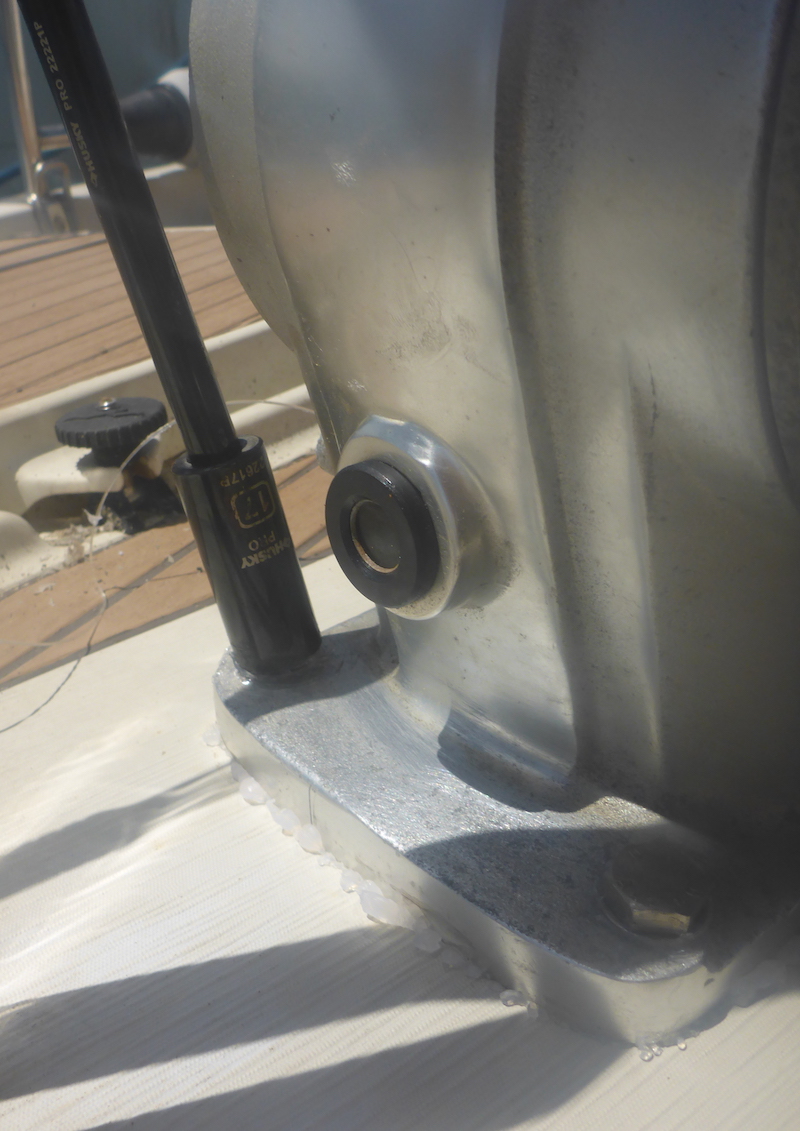
Picture 218
Bolt position
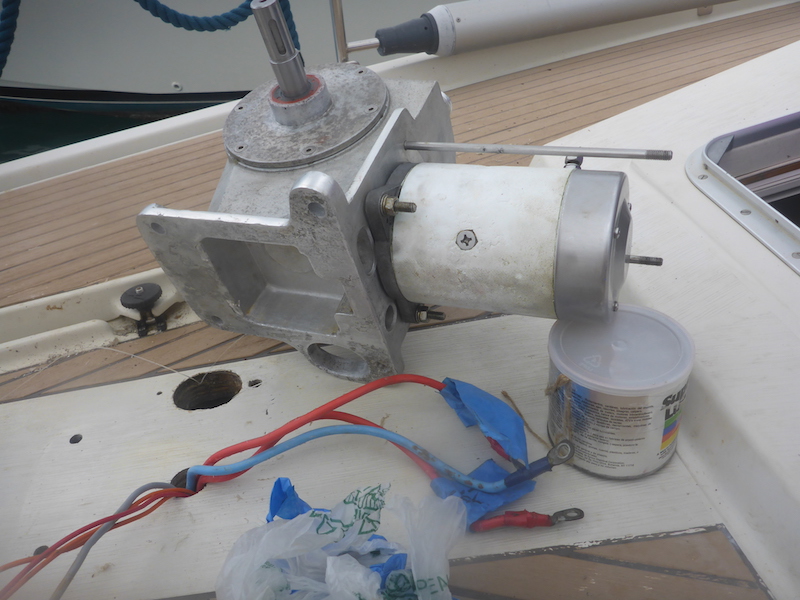
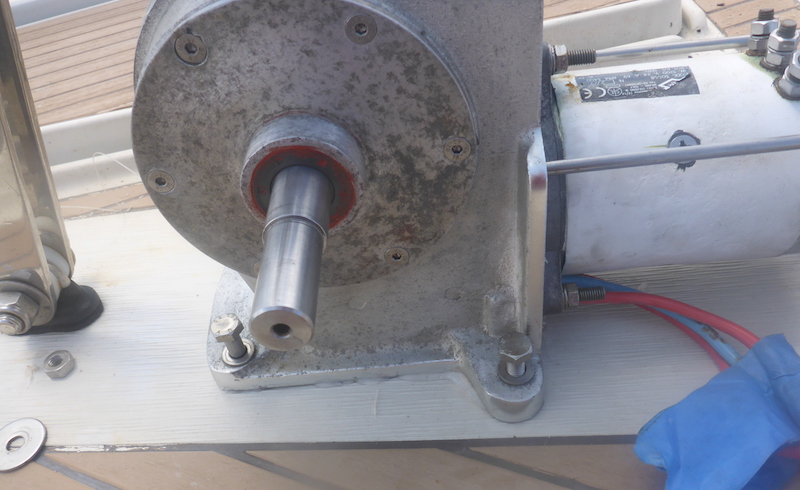
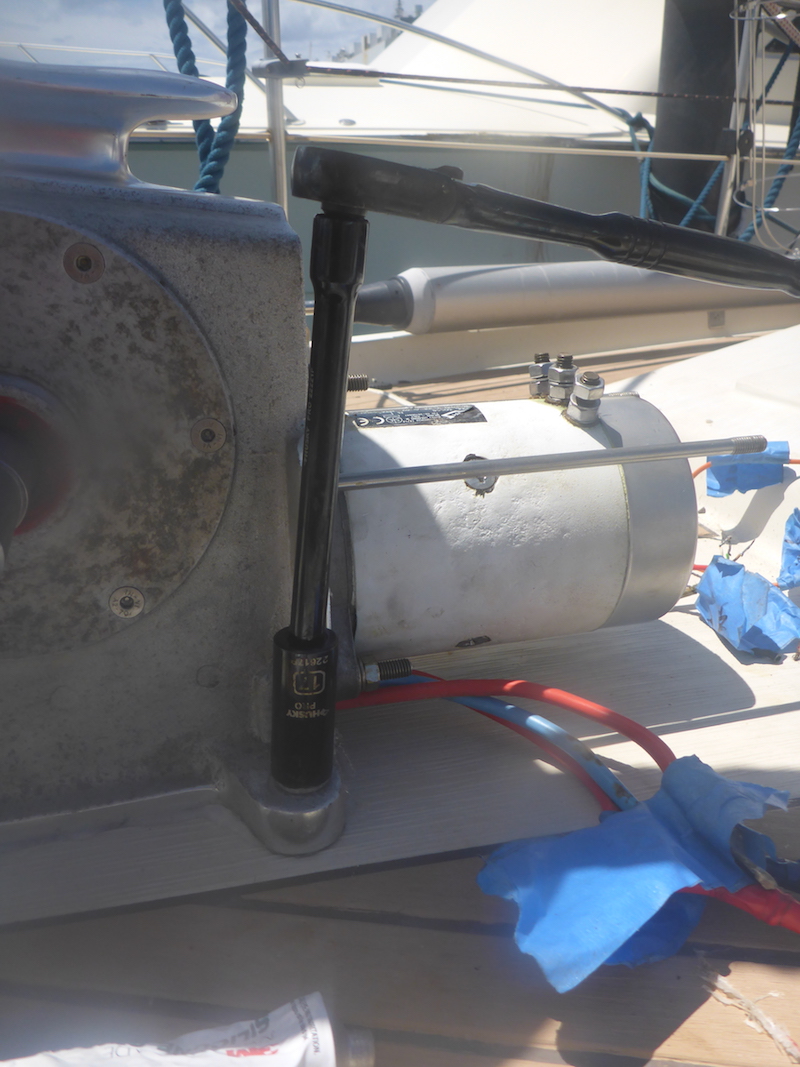
Picture 219
I put the windlass on the side
Note: the electric motor is resting on a can of grease so that the long bolt holding the motor cover won't be bent
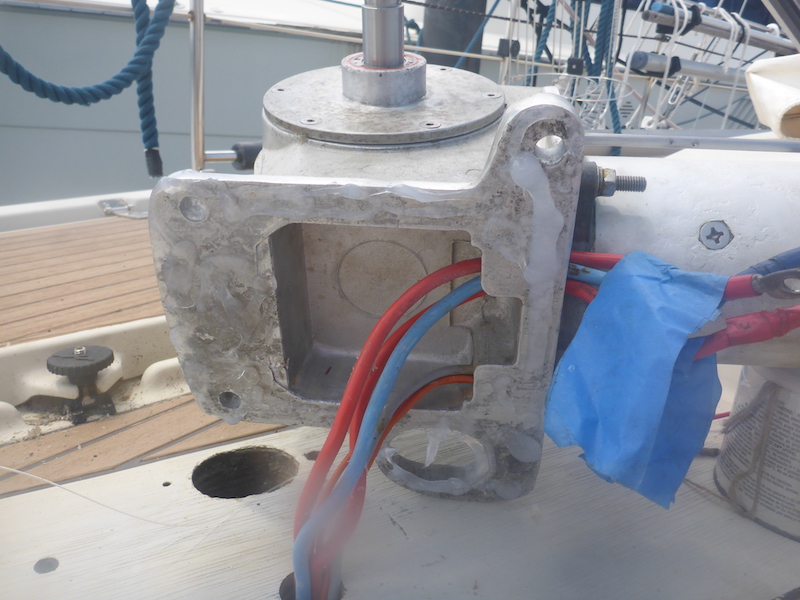
Picture 220
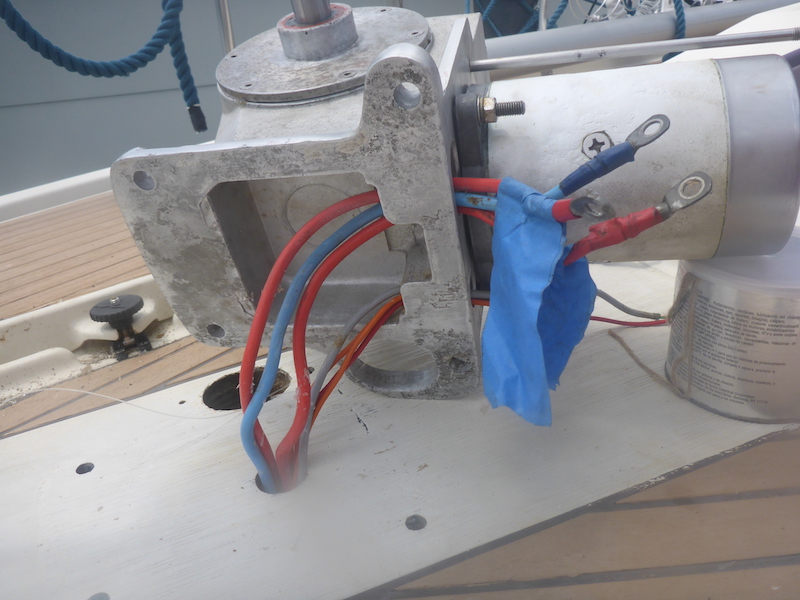
Pass the fishing line through the chain hole
Pass the electric wires through the 2 holes
Picture 221
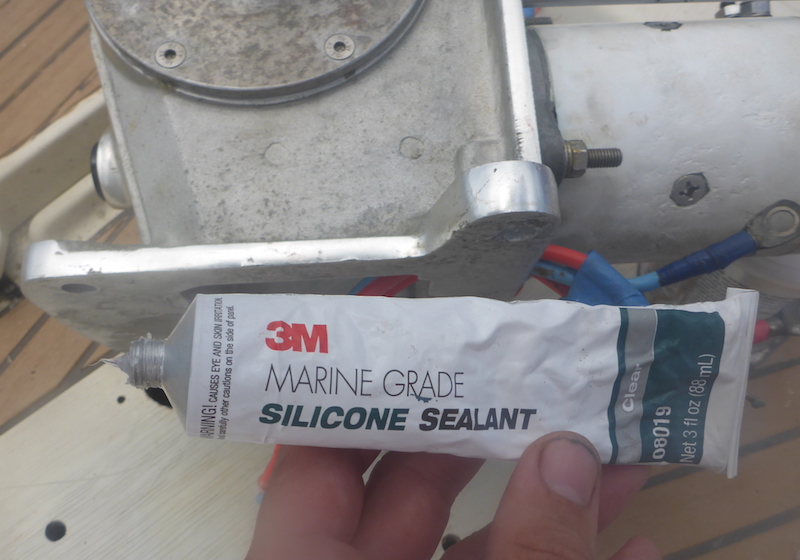
Next will be silicone under the windlass
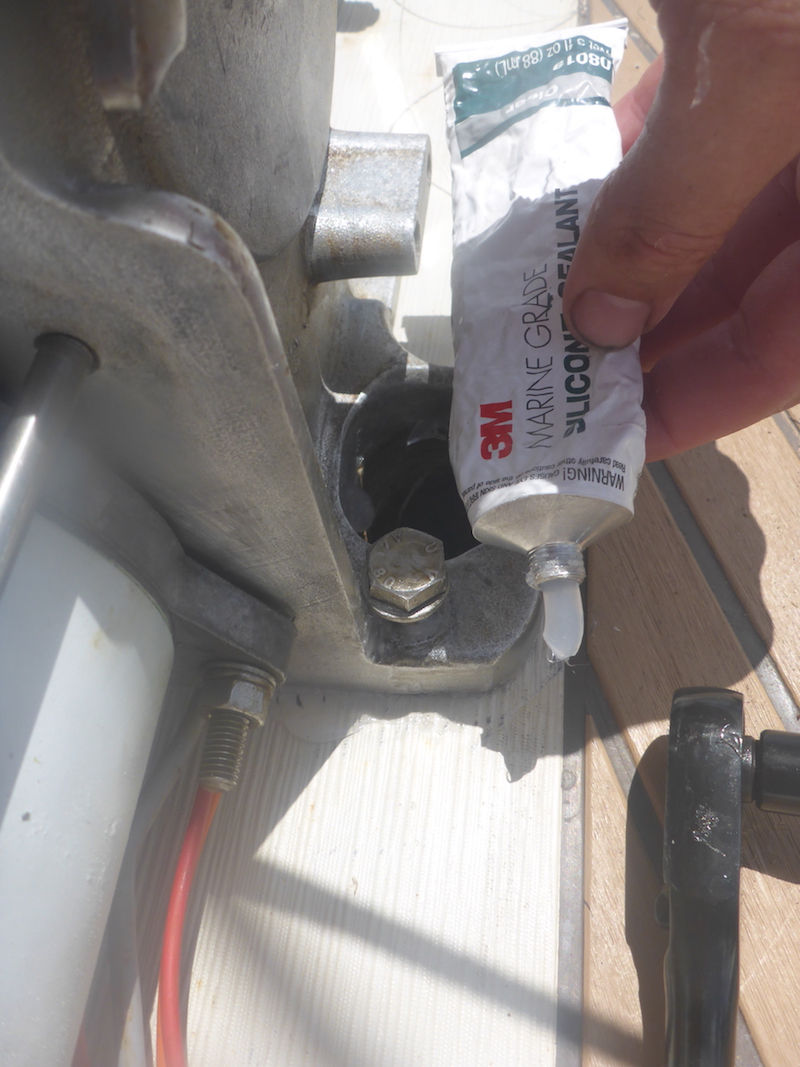
Picture 222
Never know how much to put
Picture 223
put back in place and simply drop the bolts in
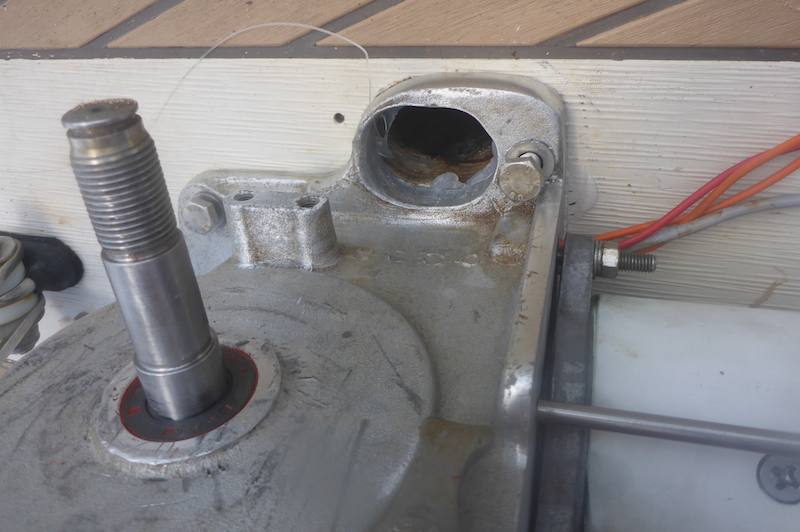
Picture 224
That is the bolt I am must concerned with as it took me 4 hours to remove
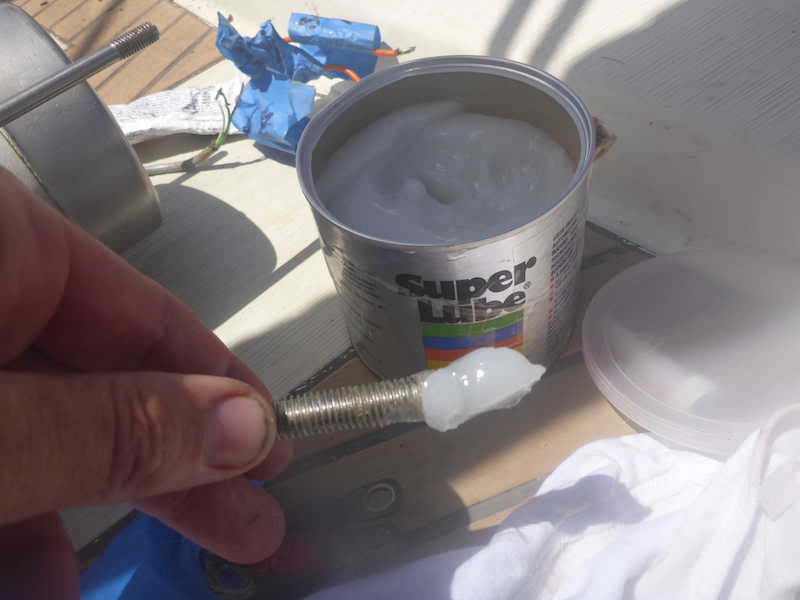
Picture 225
I will put lots of grease at the bottom
Picture 226
slide it in
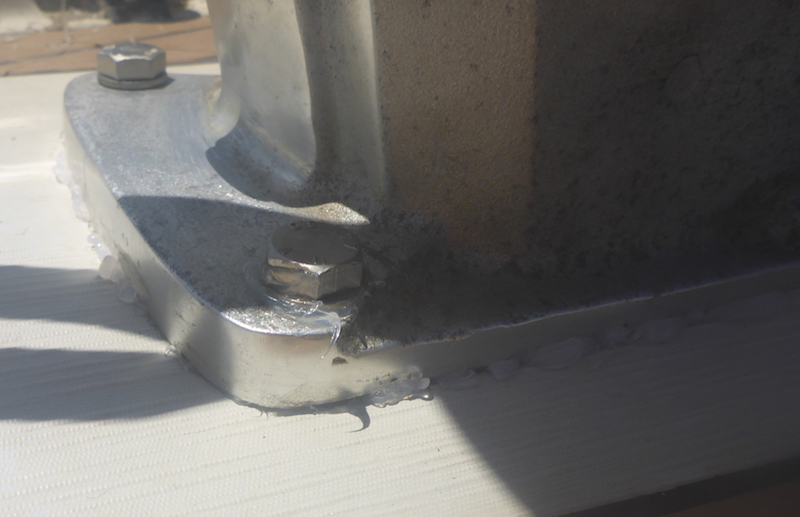
Picture 227
then at the top put lots of silicone to avoid salt build up and seize it
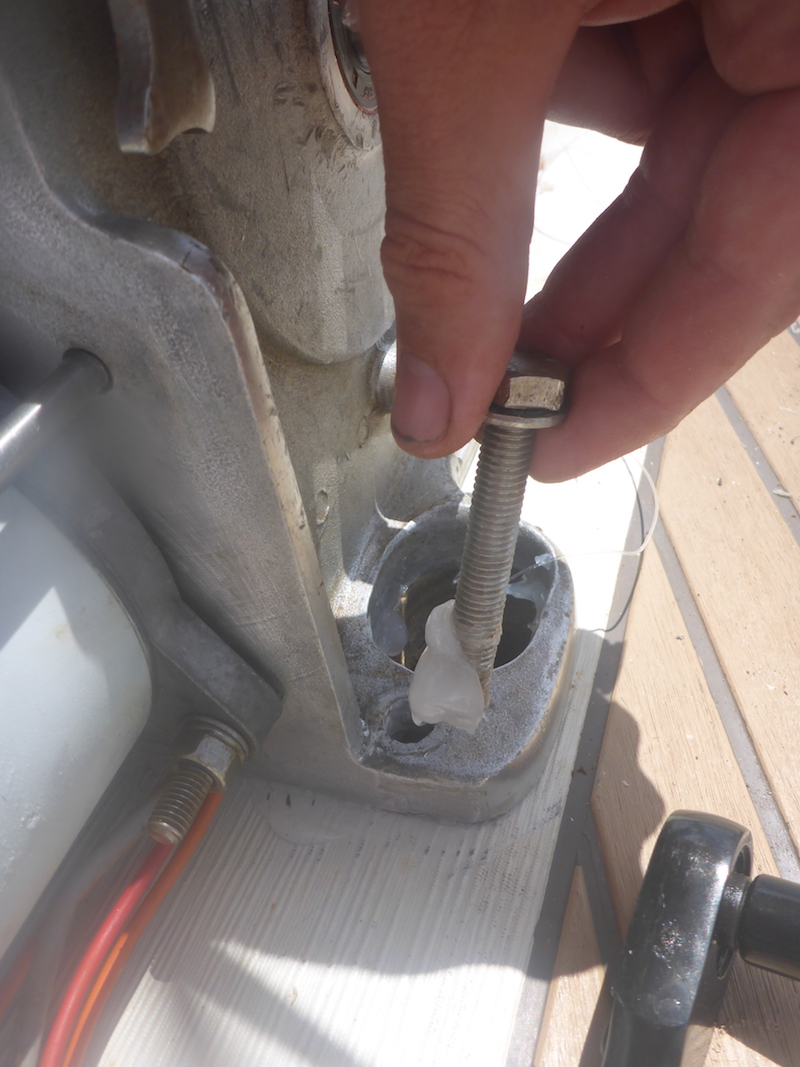
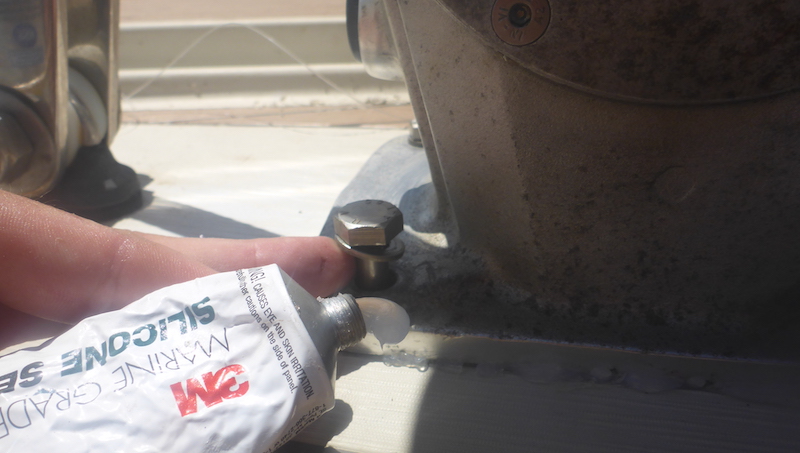
Picture 228
Next bolt (port - aft) putting silicone under the washer
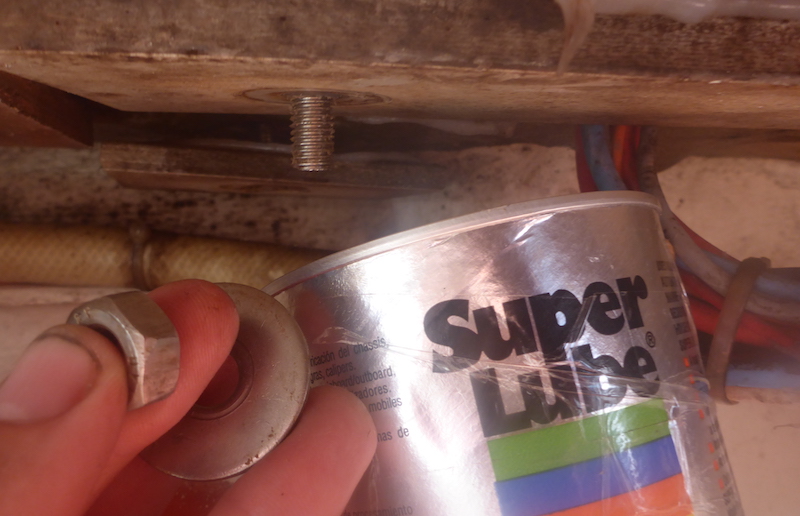
Picture 229
Through the forward port storage I add grease on the nut that hold the bolt
Picture 230
Tight by hand
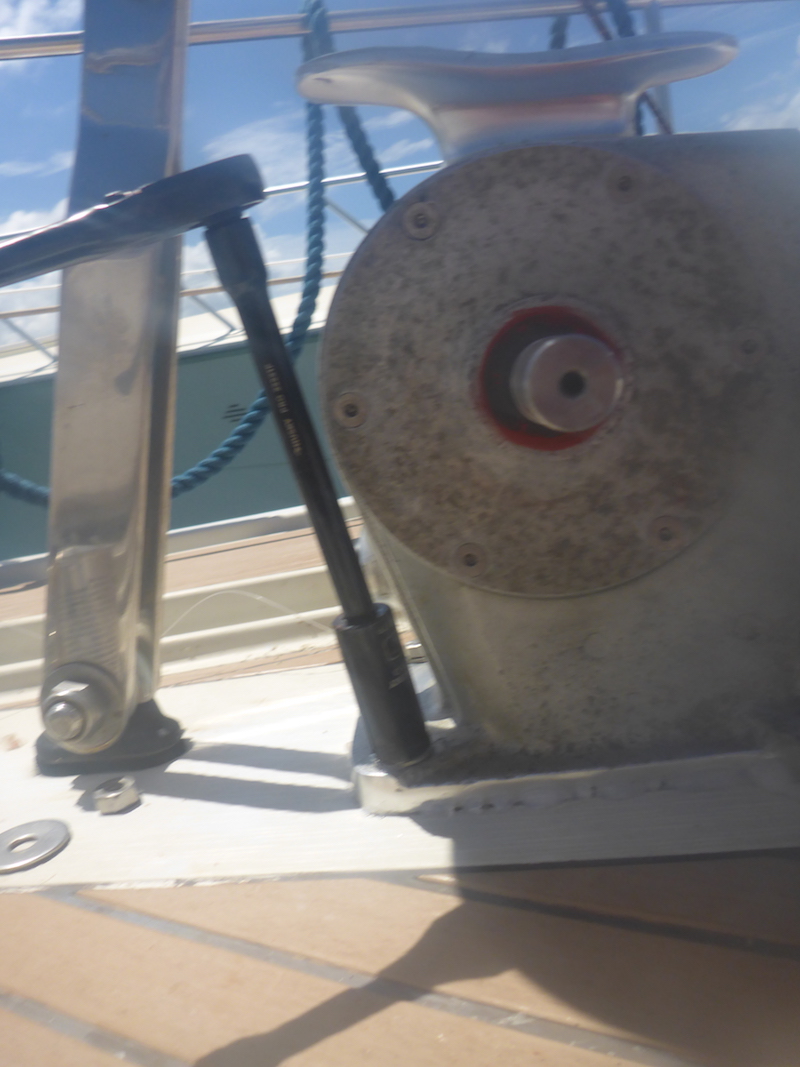
Picture 231
Using socket from the top
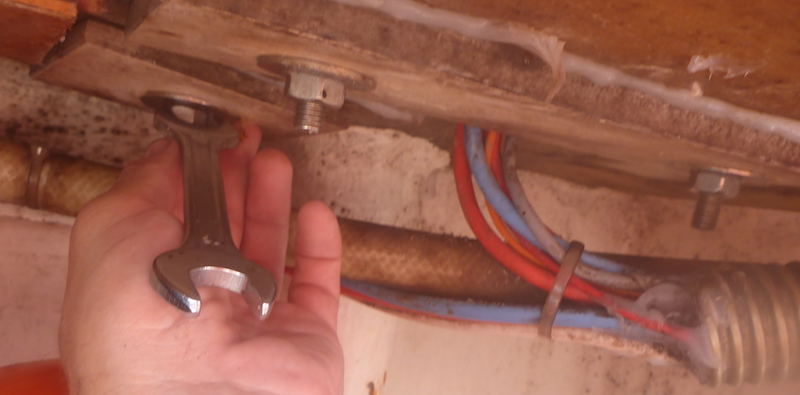
Picture 232
and wrench under I will tight
Picture 233
Next bolt putting silicone under the washer
Picture 234
Lowering
Picture 235
put grease and tie by hand
Picture 236
Then tight with tools
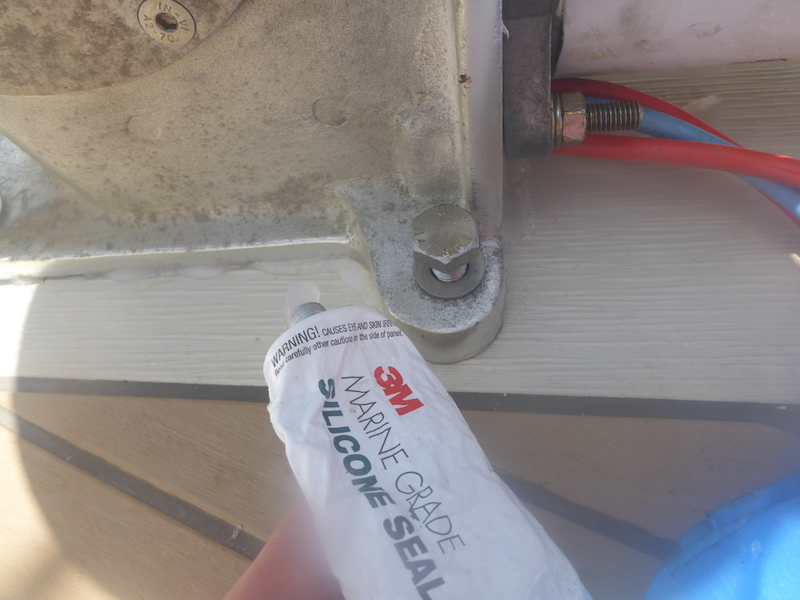
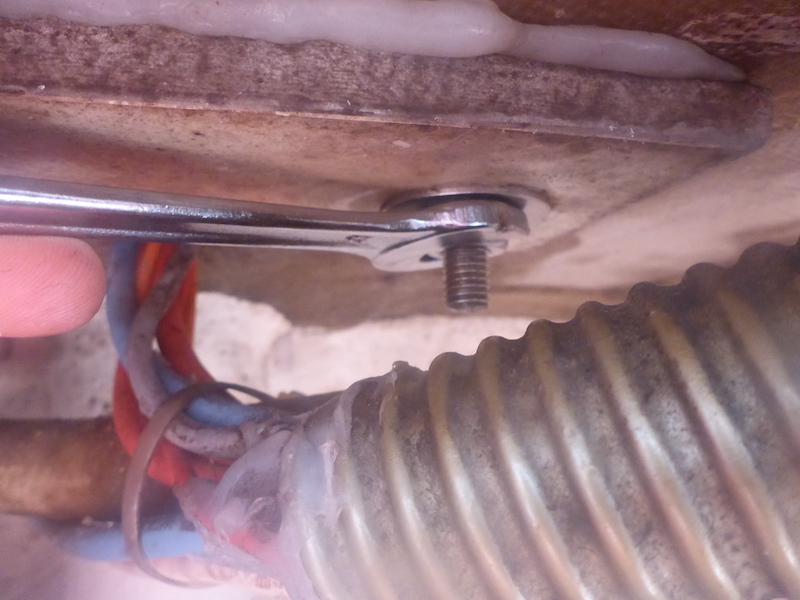
Picture 237
Last bolt with silicone under the washer
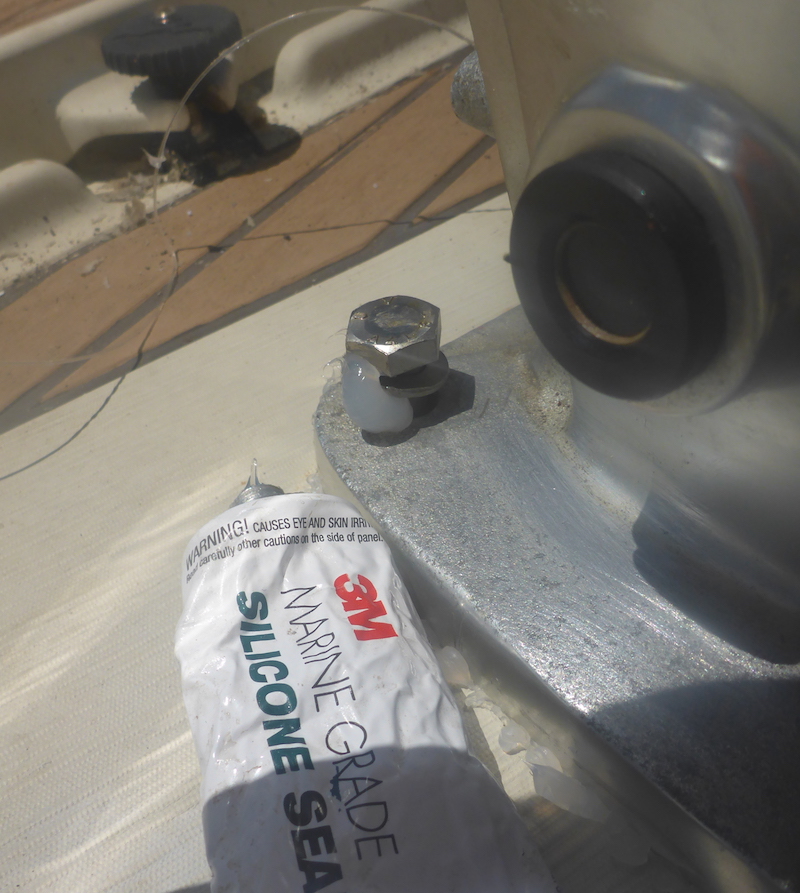
Picture 238
Tight
Picture 239
Using wrench to keep the previously greased nuts tight
|
Next: Part 25
|
|
Part 1 10 Pictures from 01 to 7
Part 2 17 Pictures from 8 to 24
Part 3 8 Pictures from 25 to 32
Part 4 15 Pictures from 26 to 40
Part 5 8 Pictures from 41 to 48
Part 6 7 Pictures from 49 to 55
Part 7 13 Pictures from 56 to 68
Part 8 5 Pictures from 69 to 73
Part 9 10 Pictures from 74 to 83
Part 10 4 Pictures from 84 to 87
Part 11 7 Pictures from 88 to 94
Part 12 6 Pictures from 95 to 100
Part 13 8 Pictures from 100 to 107
Part 14 6 Pictures from 108 to 114
Part 15 15 Pictures from 115 to 129
Part 16 16 Pictures from 130 to 145 |
Part 17 3 Pictures from 146 to 148 Putting key back on Electric motor shaft
Part 18 8 Pictures from 149 to 156
Part 19 12 Pictures from 157 to 168
Part 20 9 Pictures from 169 to 177
Part 21 16 Pictures from 178 to 193
Part 22 15 Pictures from 194 to 208
Part 23 19 Pictures from 209 to 217
Part 24 20 Pictures from 218 to 239
Part 25 5 Pictures from 240 to 244
Part 26 3 Pictures from 245 to 247
Part 27 6 Pictures from 248 to 253
Part 28 4 Pictures from 254 to 258
Part 29 7 Pictures from 259 to 266
Part 30 12 Pictures from 267 to 278
Part 31 16 Pictures from 279 to 294
Part 32 6 Pictures from 295 to 300
|