NIKIMAT


Amel Super Maramu 2000
|
Lofrans Tigres Windlass Overhaul Part 30: 12 Pictures from 267 to 278 Reassembly of the drum, emergency wheel clutch plate and manual emergency wheel |
Pictures 267 to 278 are similar to the link below but some pictures are clearer
Reassembly of the drum, emergency wheel clutch plate and manual emergency wheel
Picture 267
James from Maramu #220 SV Sueno suggests to use the white lithiums because they tend to stain the deck and sails less.
The best white lithium James came across for this application (and winches/turnbuckles as well) is the Vari-prop grease
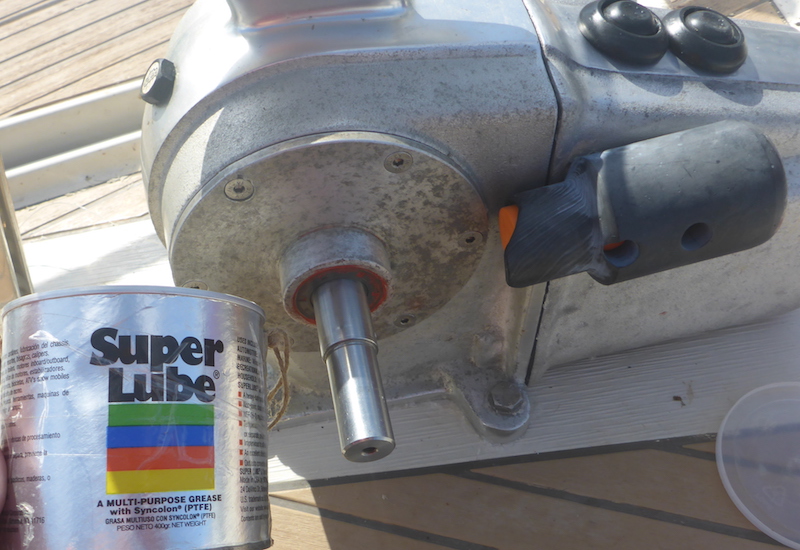
Picture 268
Grease and put the plastic washer (Part 339)
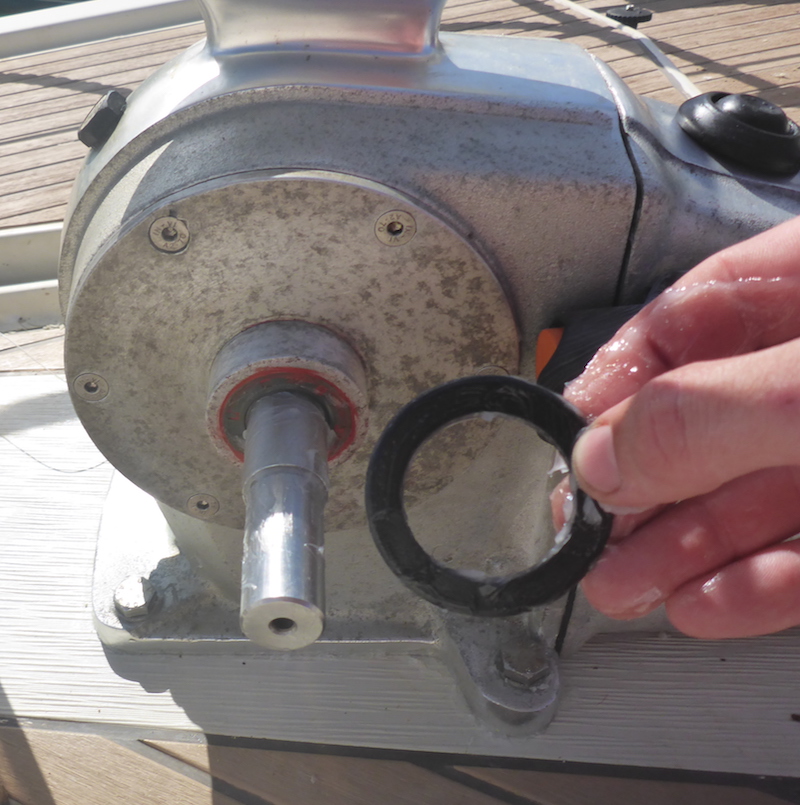
Picture 269
Grease and put the manual emergency wheel (part 340)
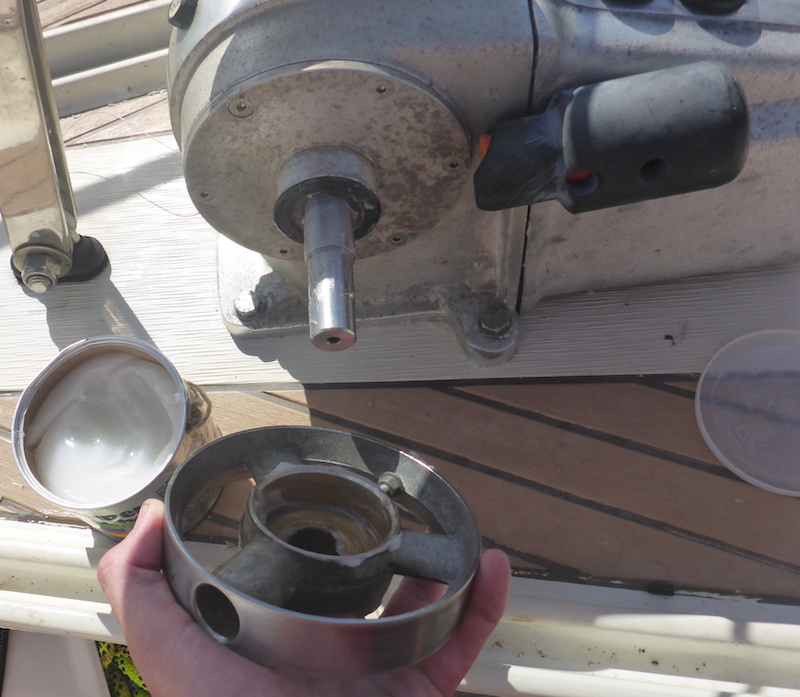
Picture 270
grease and put back the Dog Clutch (Part 341) and its 2 springs (Part 342)
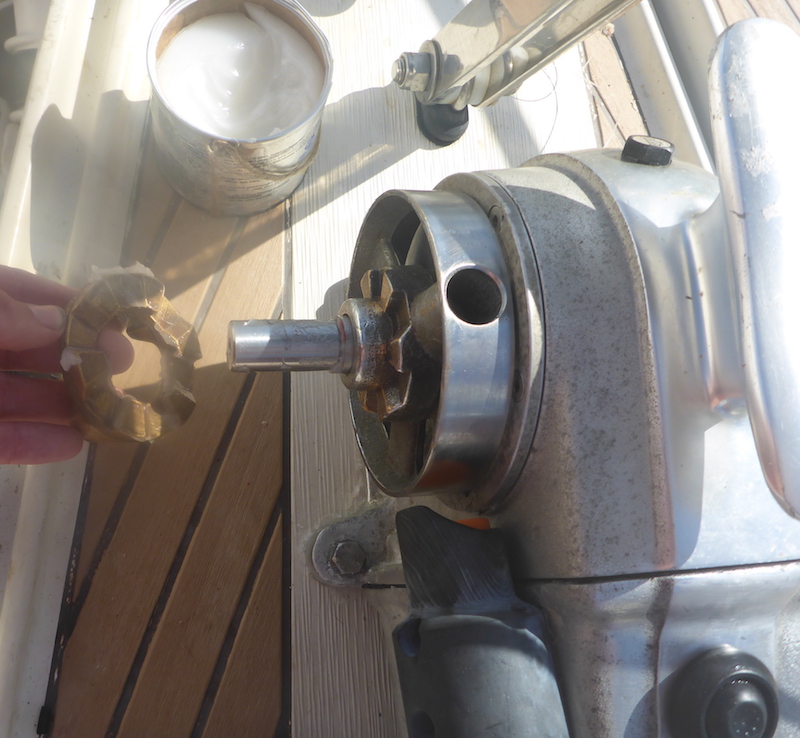
Picture 271
Now we can see the 2 springs (Part 342)
Note these 2 springs need to be against these 2 parts of the Drum (Part 343) (Yellow Arrows)
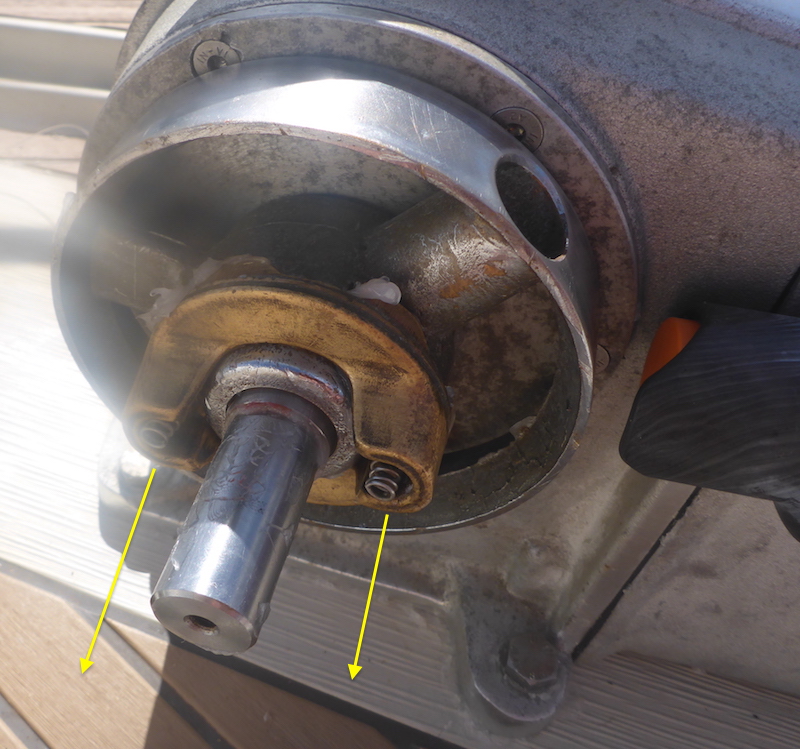
Picture 272
Where the 2 spring will rest on the Drum (Part 343)
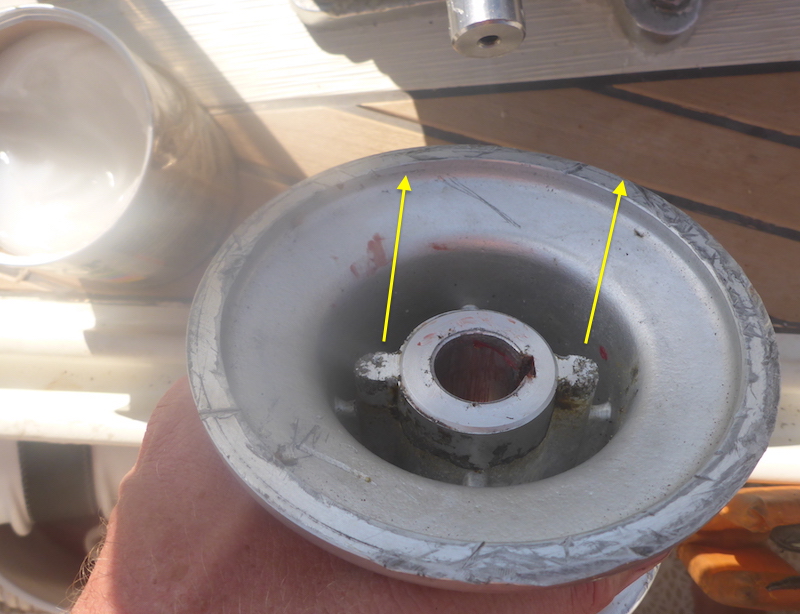
Picture 273
Greasing and adding the Key 6x6x30 (Part 209) on the shaft
note: last time did a better planning having the shaft in a position where the key space was up
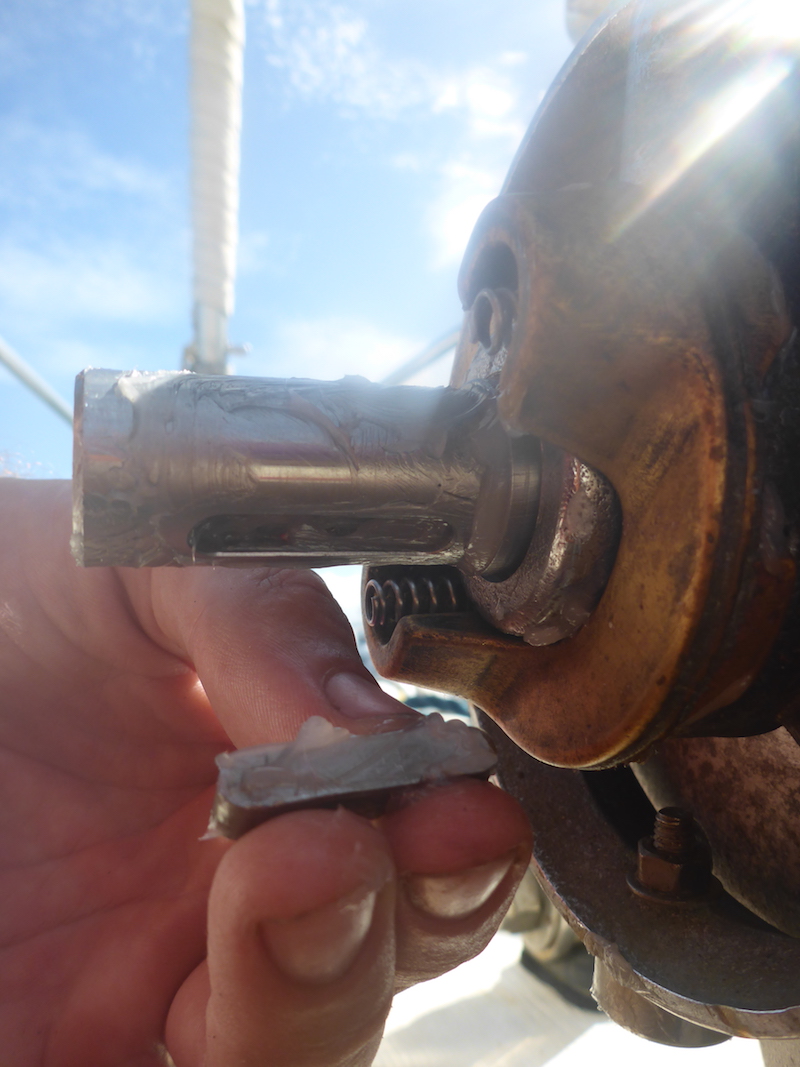
Picture 274
Grease and slide the Drum (Part 343) over the Key 6x6x30 (Part 209)
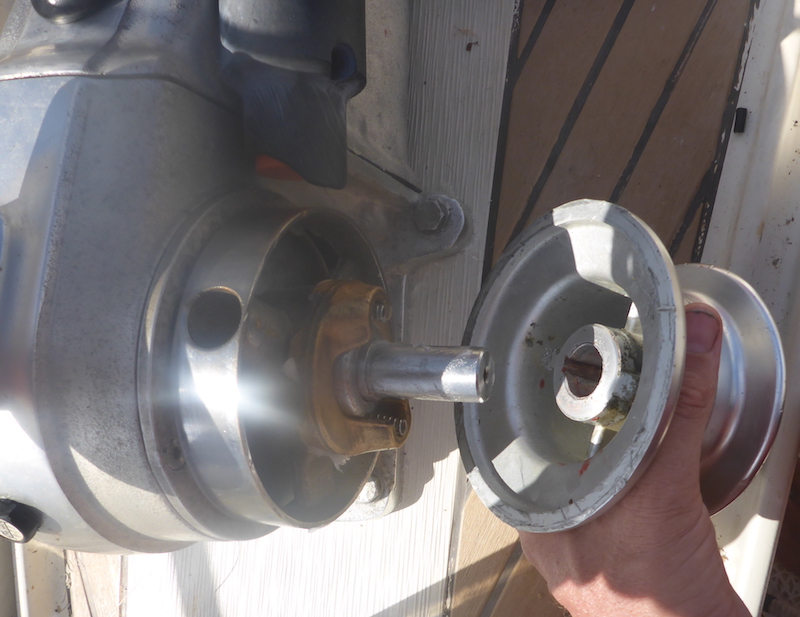
Picture 275
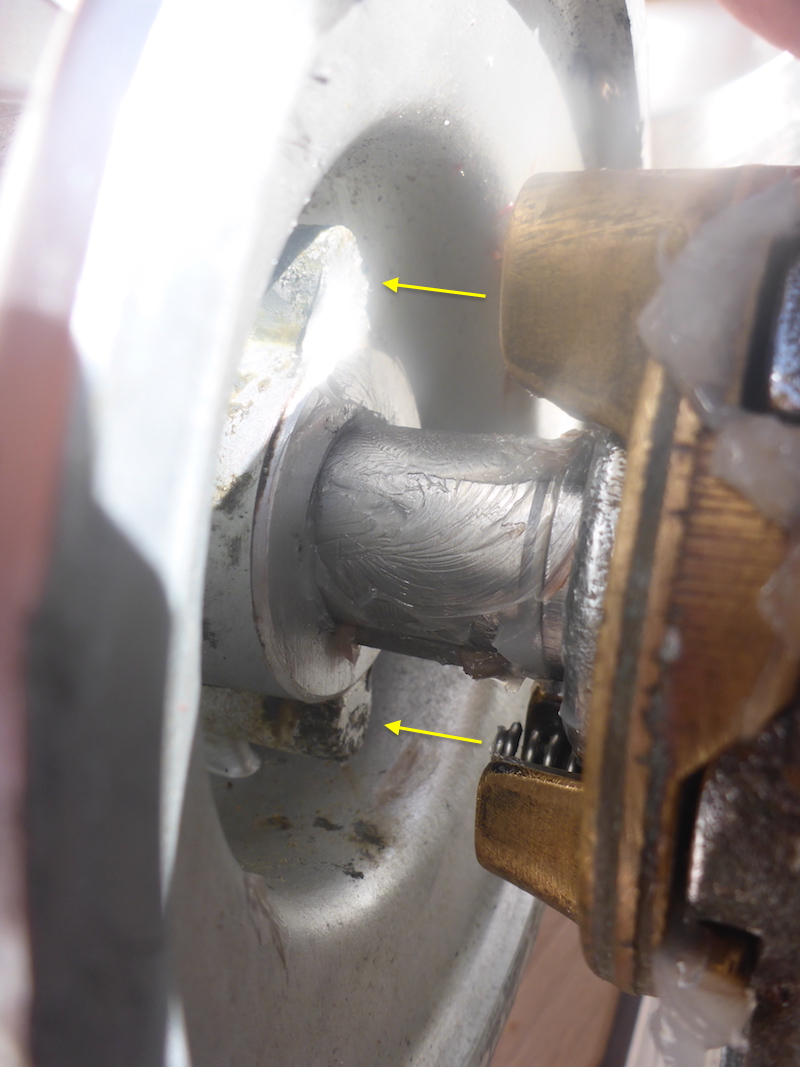
Again yellow arrows to show how the springs will go
Picture 276
Drum (Part 343) back in place
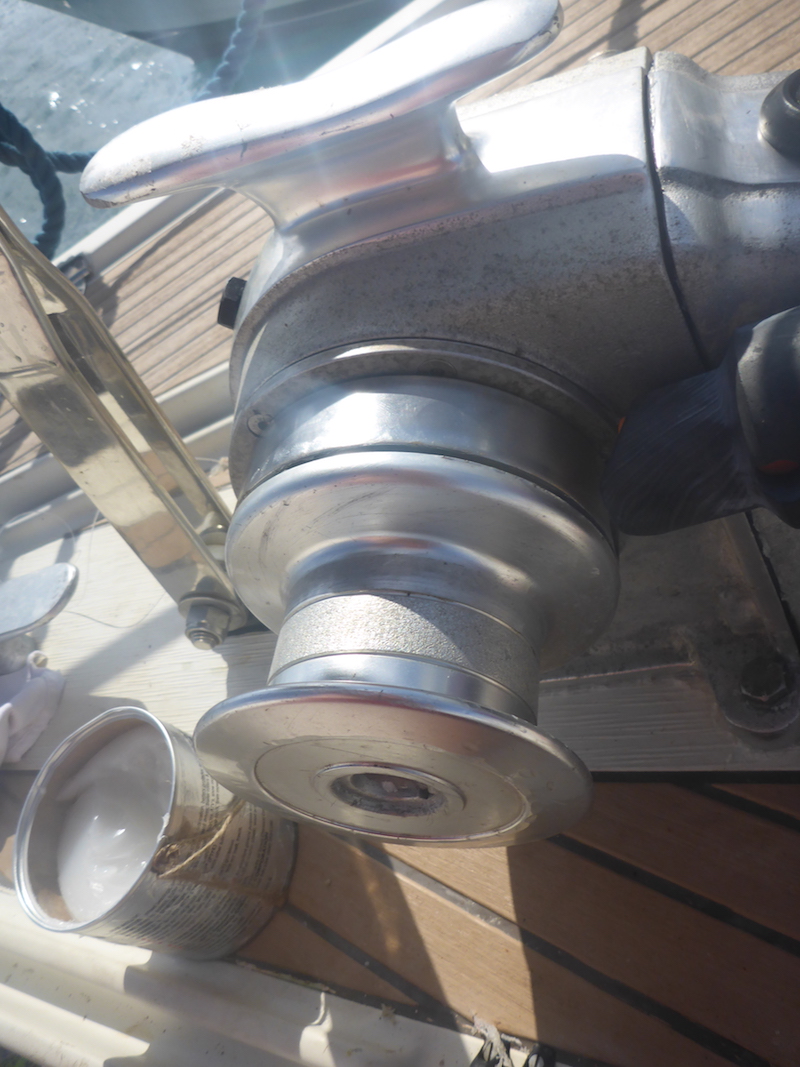
Picture 277
Washer (Part 344) back in place
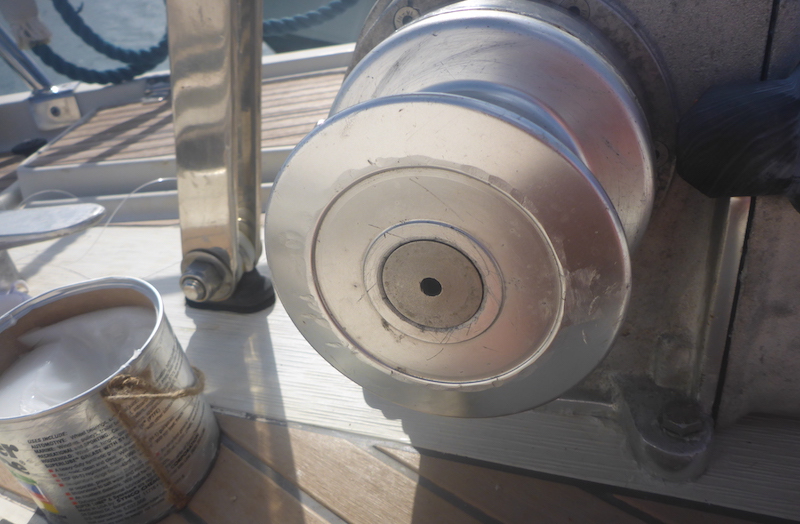
Picture 278
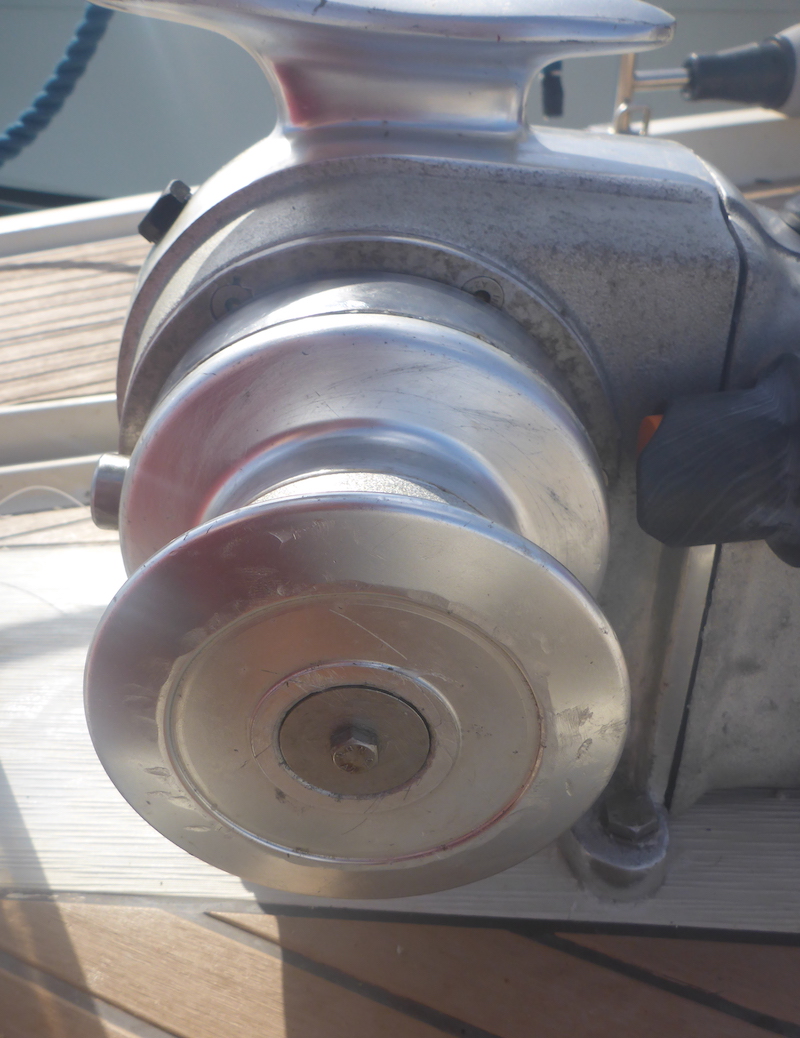
Bolt Hex hd screw M6x20 Uni 5739 (Part 345) back in place - I forgot to put lock tight like last time
|
Next: Part 31
|
|
Part 1 10 Pictures from 01 to 7
Part 2 17 Pictures from 8 to 24
Part 3 8 Pictures from 25 to 32
Part 4 15 Pictures from 26 to 40
Part 5 8 Pictures from 41 to 48
Part 6 7 Pictures from 49 to 55
Part 7 13 Pictures from 56 to 68
Part 8 5 Pictures from 69 to 73
Part 9 10 Pictures from 74 to 83
Part 10 4 Pictures from 84 to 87
Part 11 7 Pictures from 88 to 94
Part 12 6 Pictures from 95 to 100
Part 13 8 Pictures from 100 to 107
Part 14 6 Pictures from 108 to 114
Part 15 15 Pictures from 115 to 129
Part 16 16 Pictures from 130 to 145 |
Part 17 3 Pictures from 146 to 148 Putting key back on Electric motor shaft
Part 18 8 Pictures from 149 to 156
Part 19 12 Pictures from 157 to 168
Part 20 9 Pictures from 169 to 177
Part 21 16 Pictures from 178 to 193
Part 22 15 Pictures from 194 to 208
Part 23 19 Pictures from 209 to 217
Part 24 20 Pictures from 218 to 239
Part 25 5 Pictures from 240 to 244
Part 26 3 Pictures from 245 to 247
Part 27 6 Pictures from 248 to 253
Part 28 4 Pictures from 254 to 258
Part 29 7 Pictures from 259 to 266
Part 30 12 Pictures from 267 to 278
Part 31 16 Pictures from 279 to 294
Part 32 6 Pictures from 295 to 300
|