NIKIMAT


Amel Super Maramu 2000
|
Air Conditioning Climma Marine Compact 9 |
Changing the hose direction of the Aft cabin Air Conditioning Climma Marine Compact 9 to later realize it will not fit
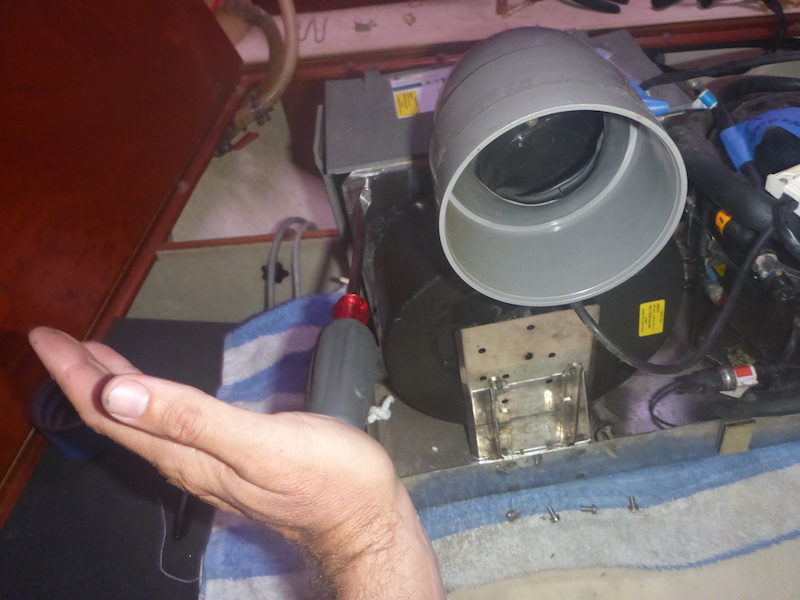
Original unit in the aft cabin has the hose pointed in one direction
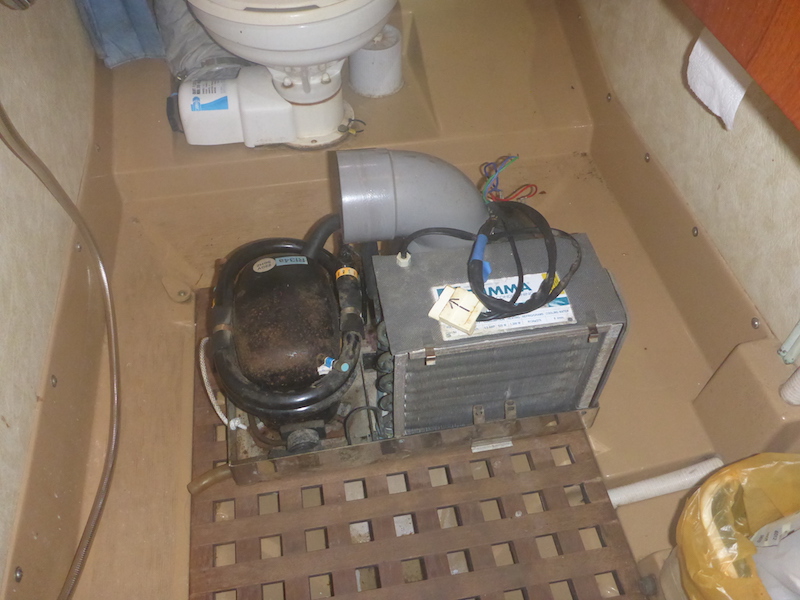
Original unit in the forward cabin has the hose pointed in a different direction
So naturally I thought of changing the directions - unfortunately this was wasted time
look at the pictures before you do the work
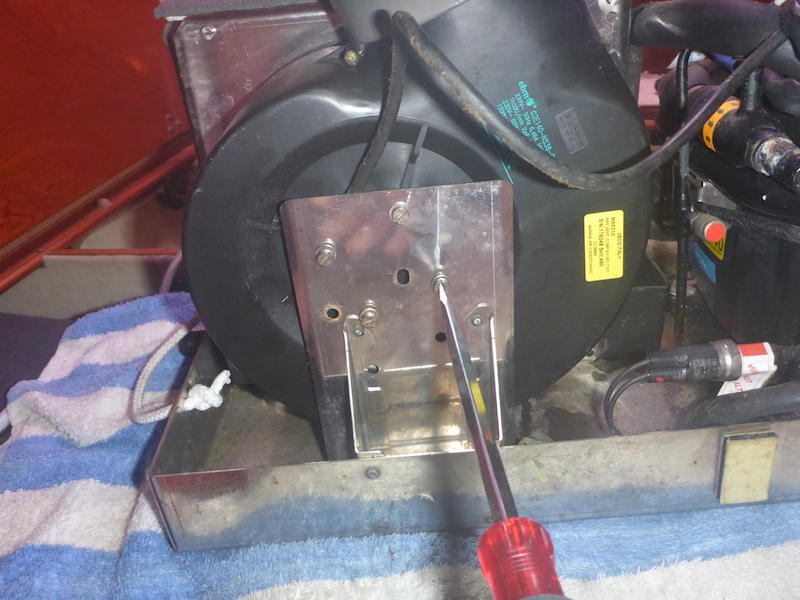
unscrew in the middle
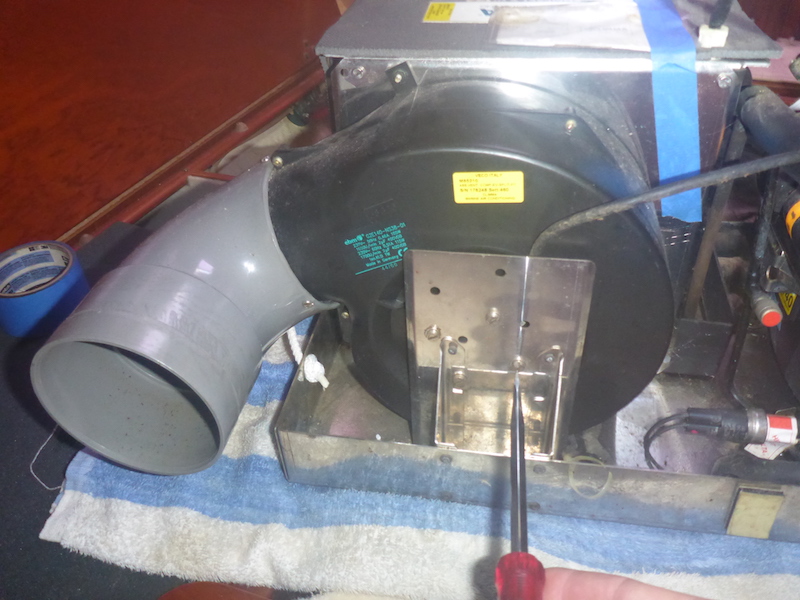
4 bolt total
unscrew the plate that hold the fan
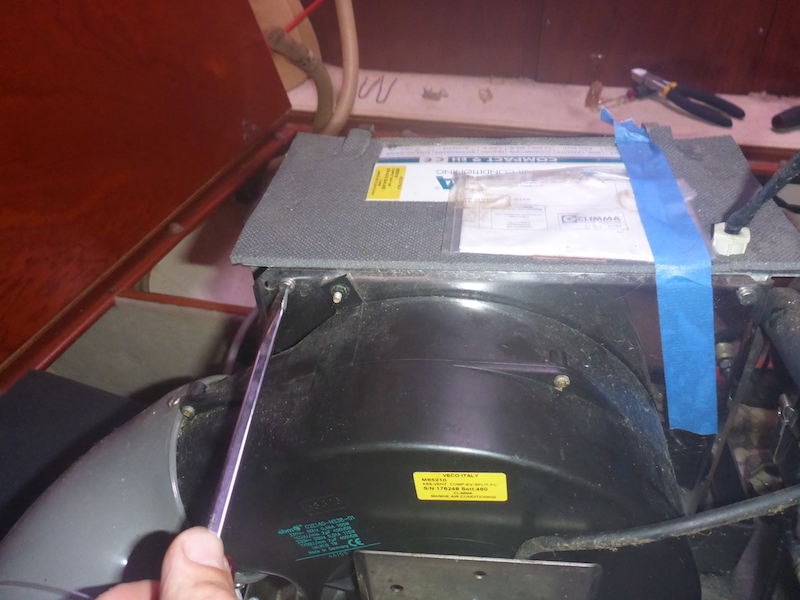
2nd bolt
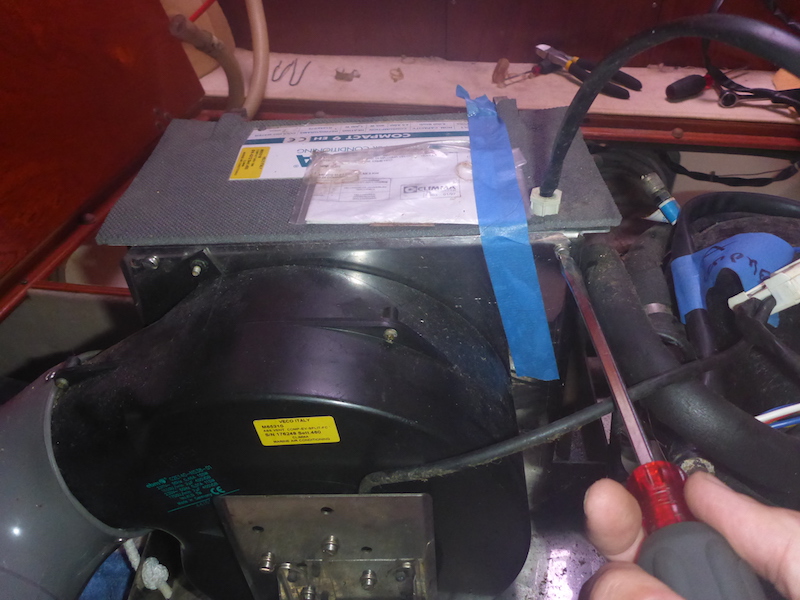
the plate goes out
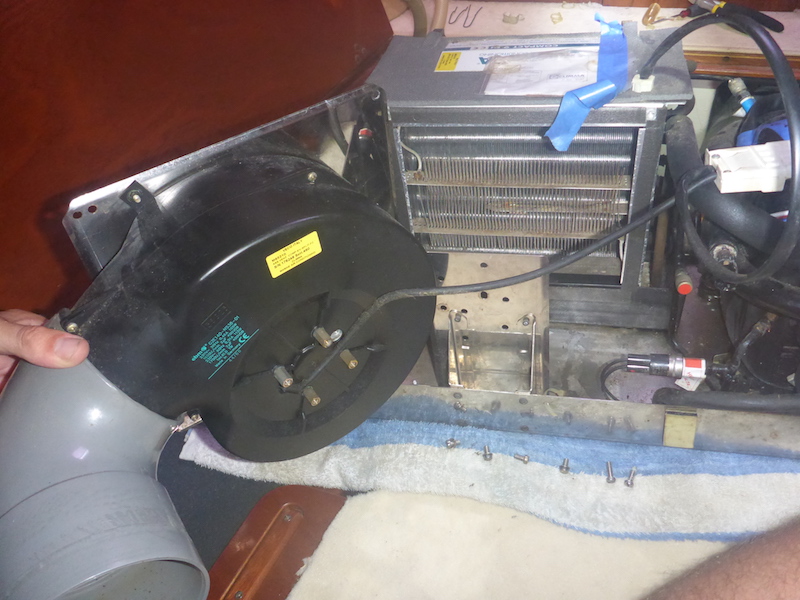
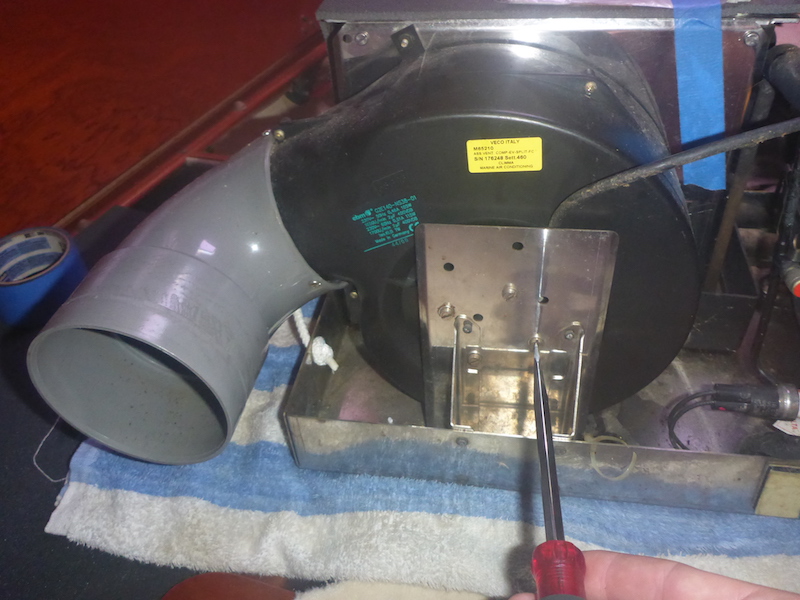
Put it back the plate turning it 90 degrees
put bolt on
and the 4 in the middle
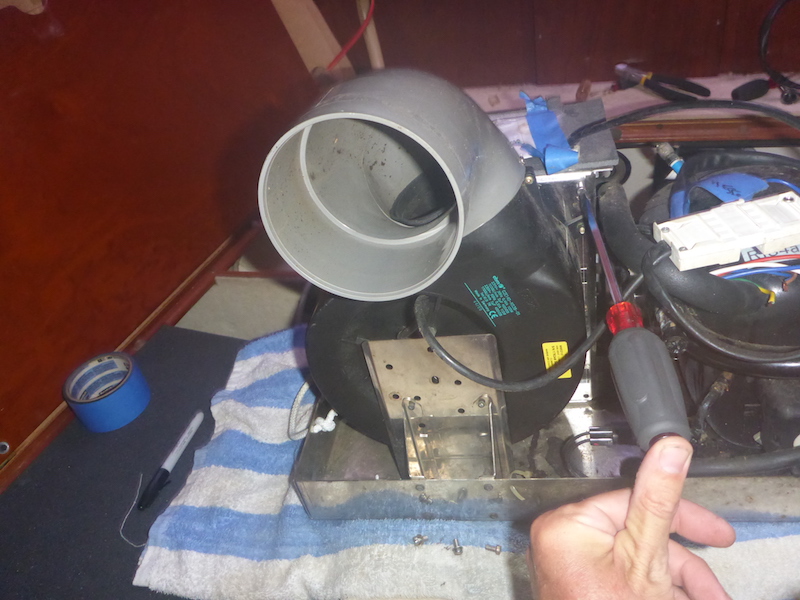
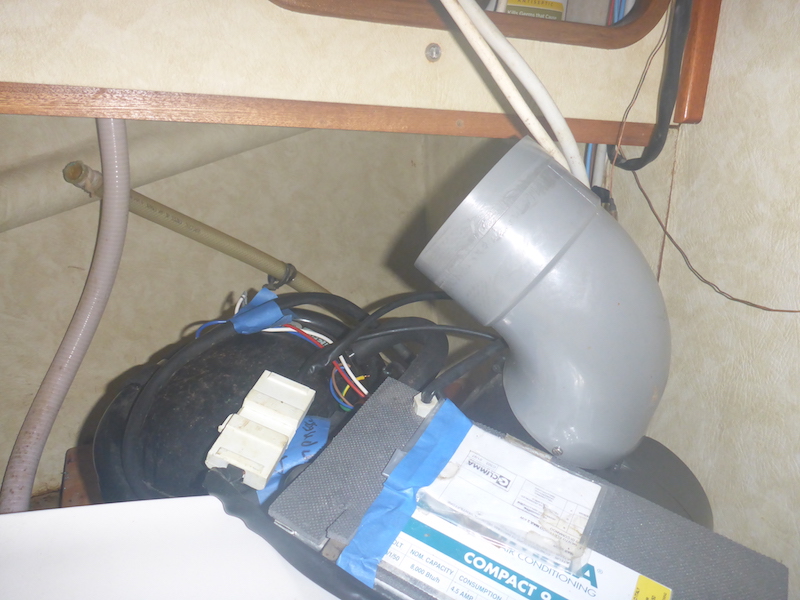
unbolt the 90 elbow

has 3 screw
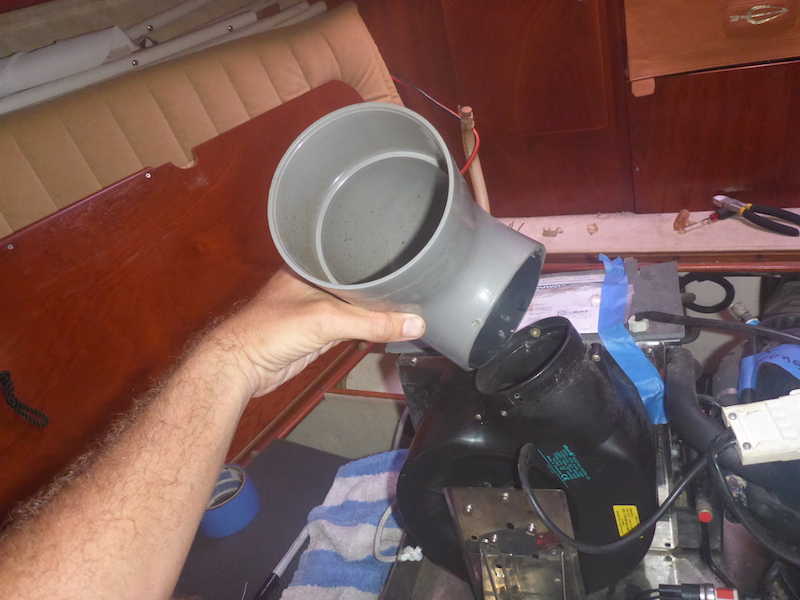
turn is 90 degree and screw it back
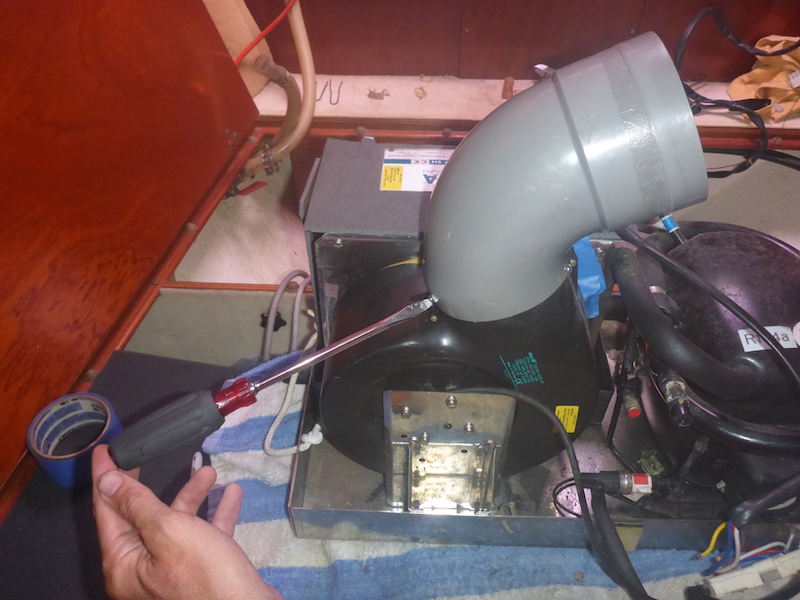
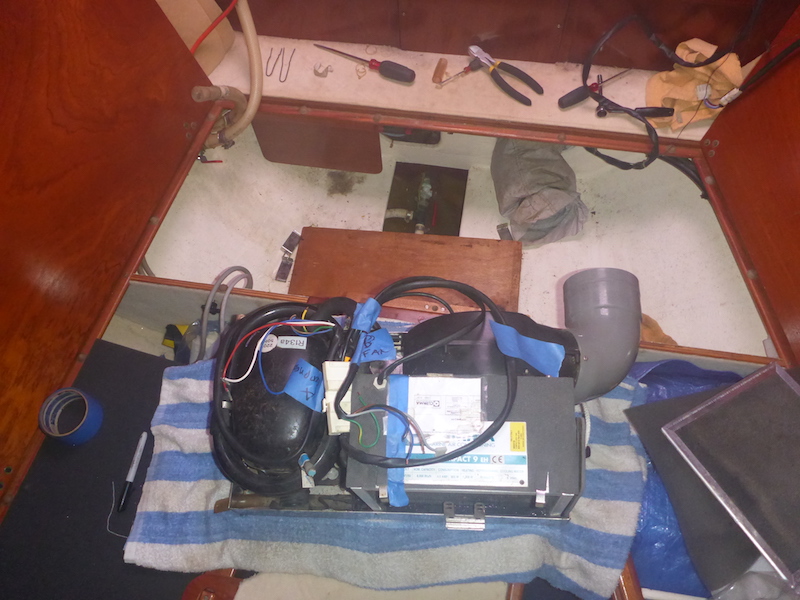
Bring the unit to the aft cabin
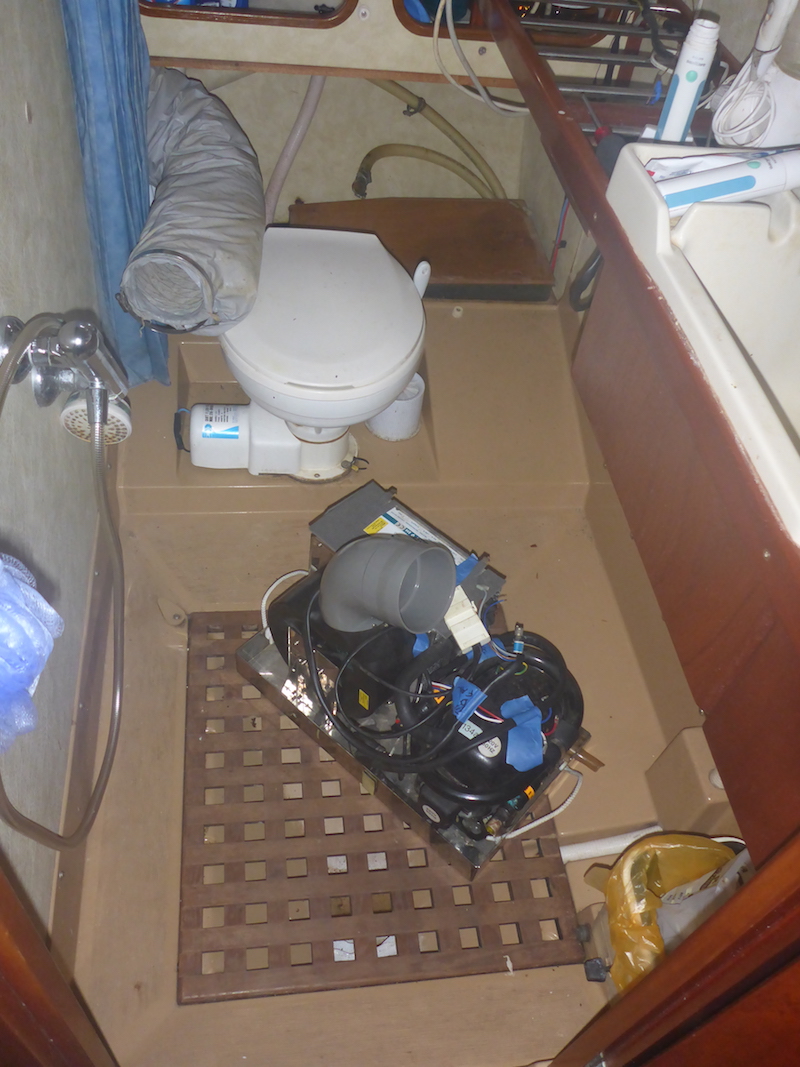
And it does not fit...
|
Next: Part 16
|
|
Removal Aft cabin Air Conditioning Climma Marine Compact 9
Part 1
Part 2
Part 3
Part 4
Part 5
Part 6
Part 7
Part 8
Part 9
Part 10
Part 11
Part 12
Part 13
Part 14
Part 15
Part 16 |
Swapping the fan covers
Part 17
Part 18
Part 19
Part 20
Part 21
Part 22
Part 23
Part 24
Part 25
Part 26
Part 27 Swapping the control box and attach of the Aft and forward units
Part 28
Part 29
Part 30
Part 31
Part 32
Part 33
Part 34
|