NIKIMAT


Amel Super Maramu 2000
|
Galvanic Isolator Installation Tracing the wire from the shore to the engine room
|
Coming from the dock (50 amp 125/250 Volt going to my European plug)
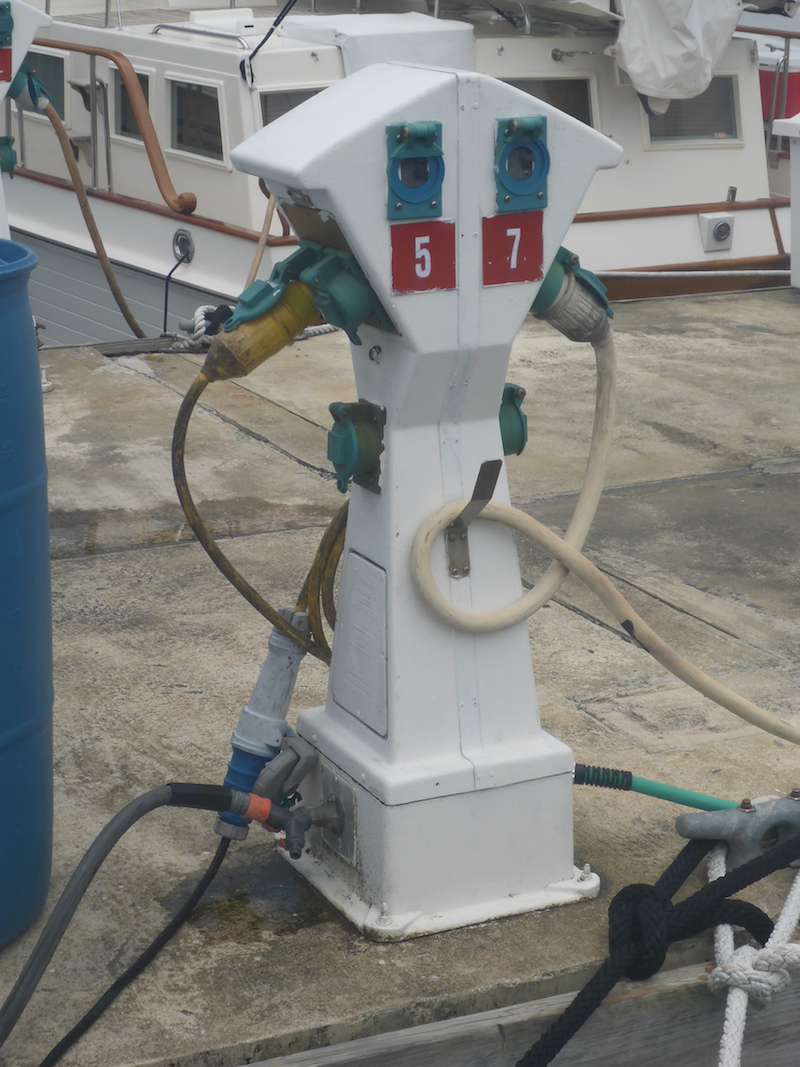
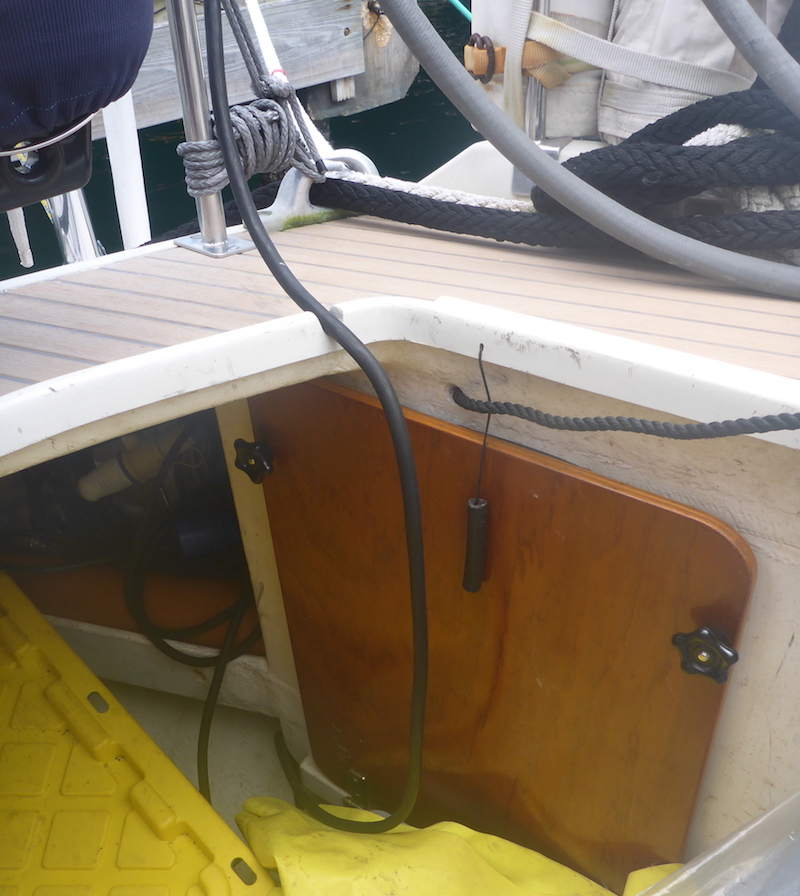
To the Lazarette through the special opening
(which I find a brilliant attention to detail, including its plug hanging for when you are sailing)
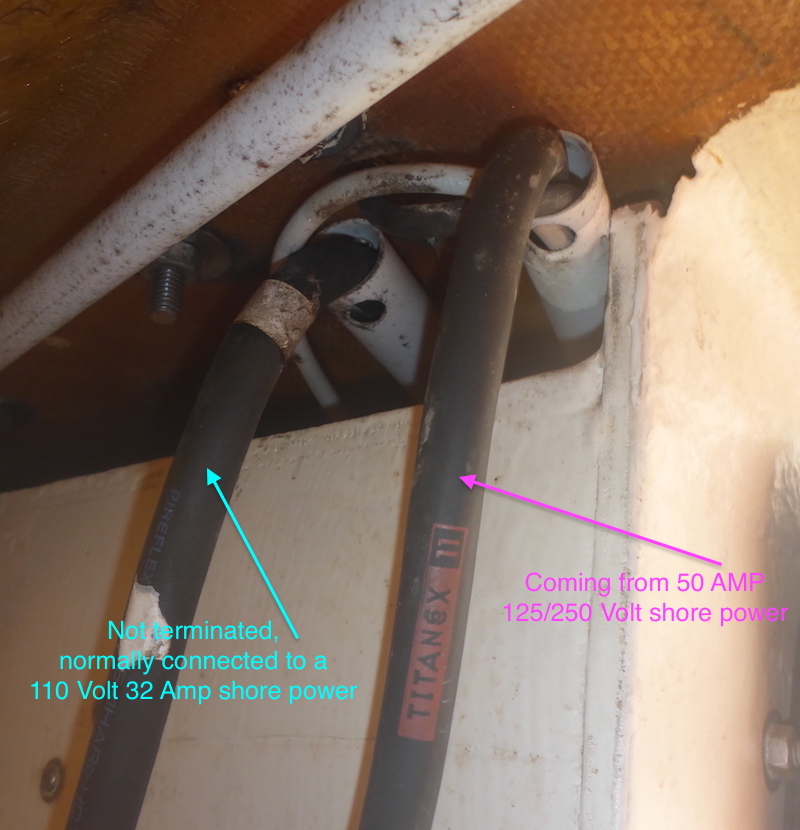
You can see 2 shore power cable of slightly different size
One is for 220 Volt the other (larger one) is for 110 Volt
Going on top of the propane storage box
Note: the one of the right saying TITAN?X 11 this is the one going to the 50 amp 125/250 Volt plug
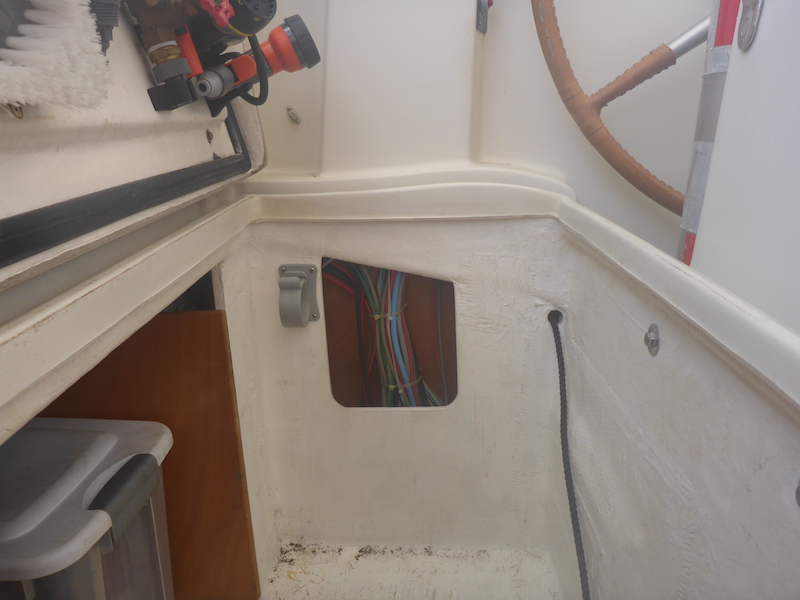
Then going to the aft cabin
Inside the aft cabin

Removing the tissue you can see the shore power cables
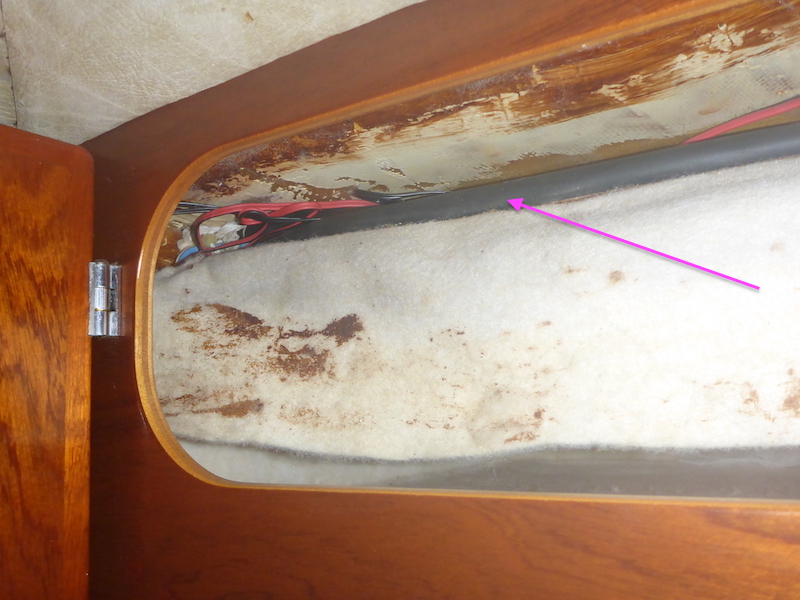
Going across the cabinet
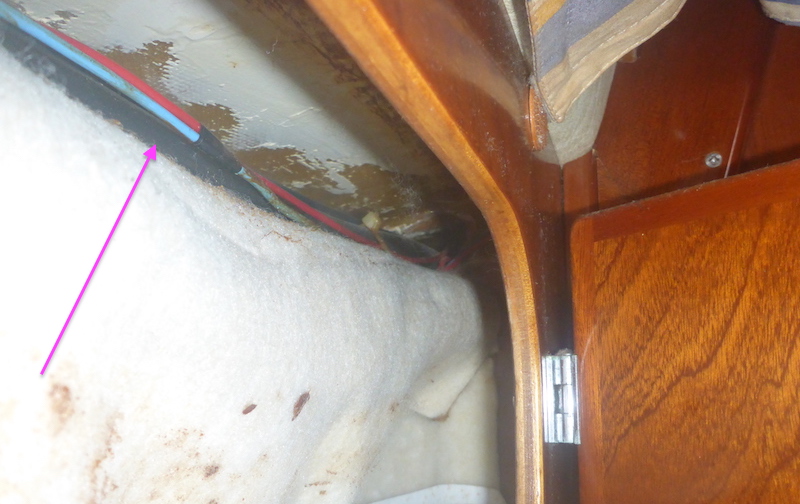
Through the aft Head
Here they are
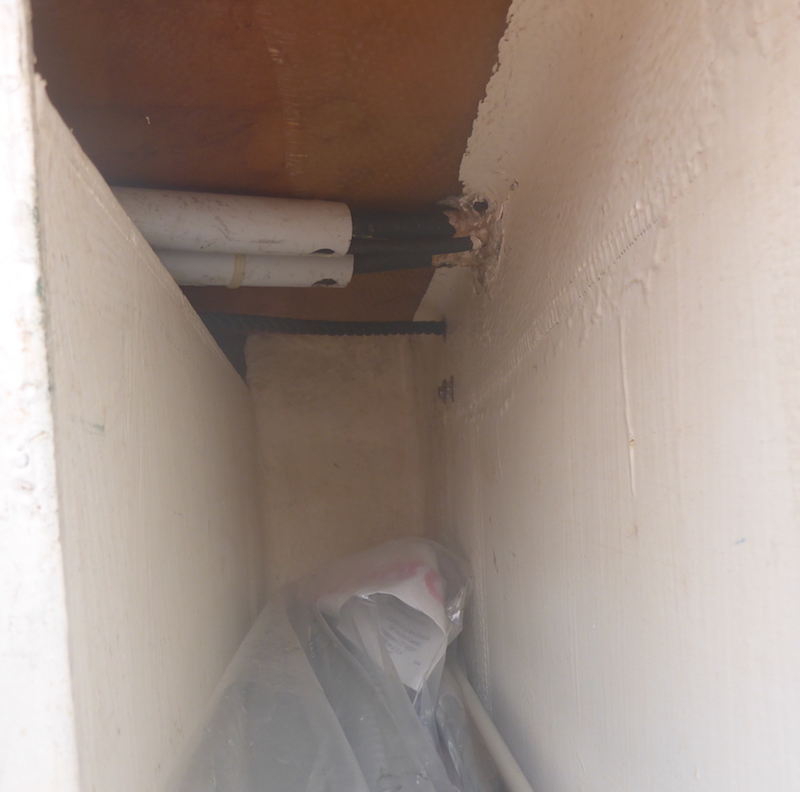
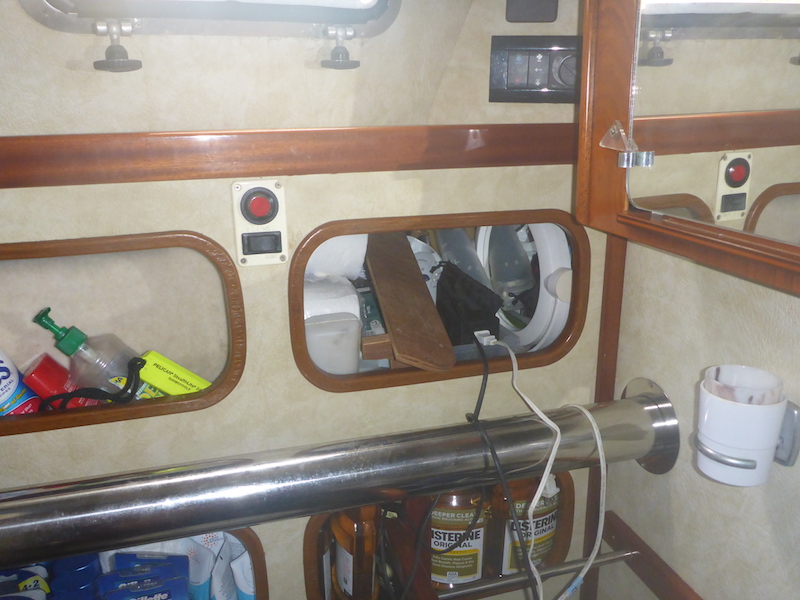
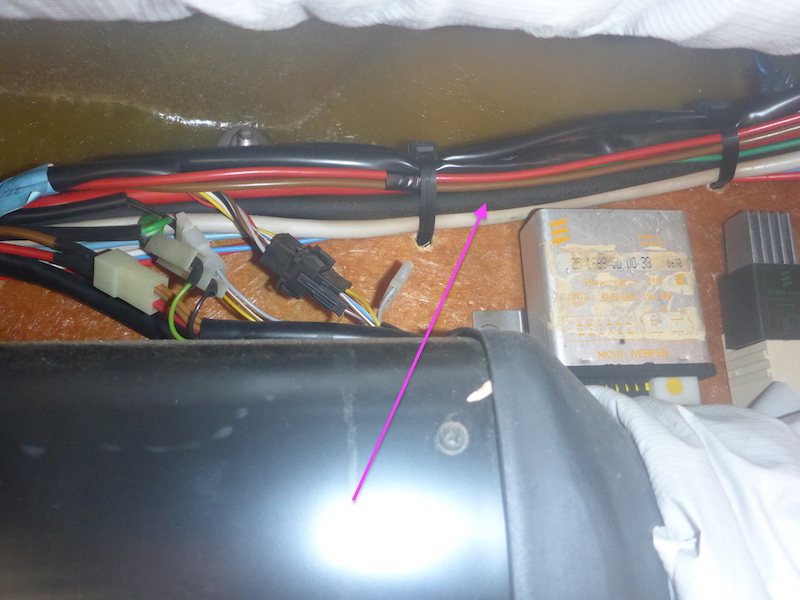
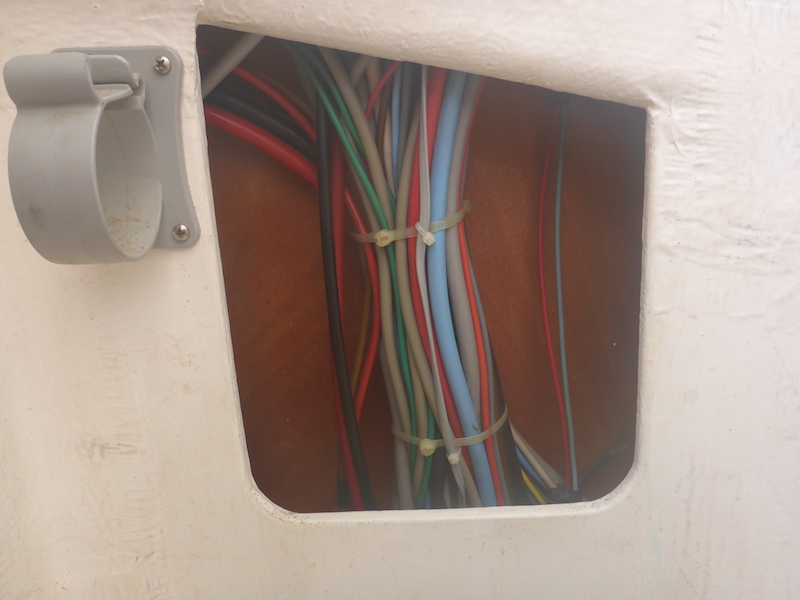
Then entering the cockpit storage
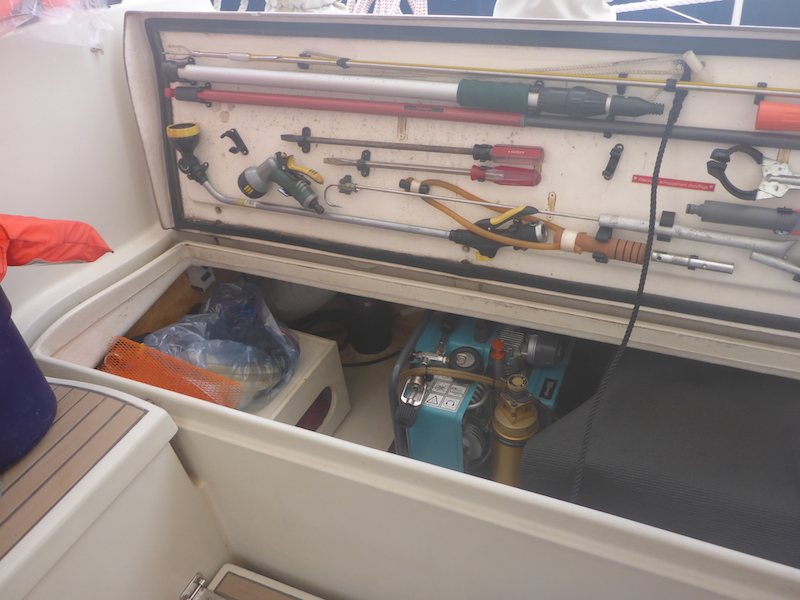
Behind the scuba compressor plug
More cables are joining such as the 24 volt of the Port Electric Winch
Going by the Espar D5LC Heater
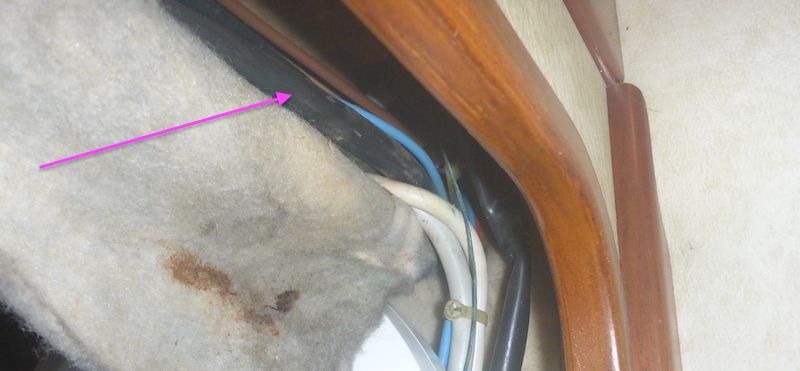
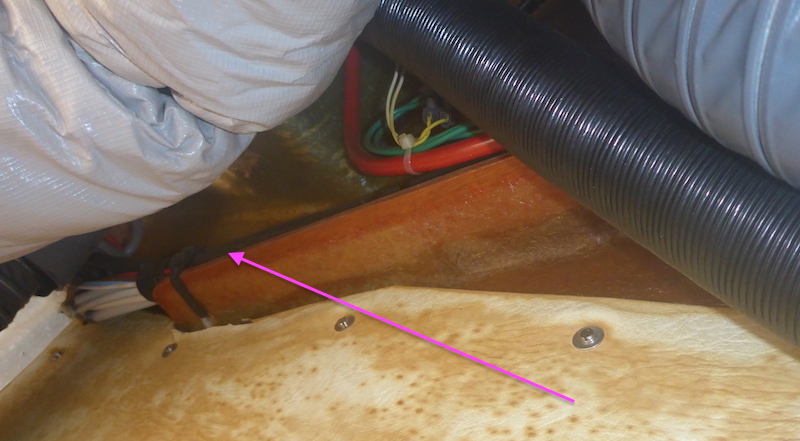
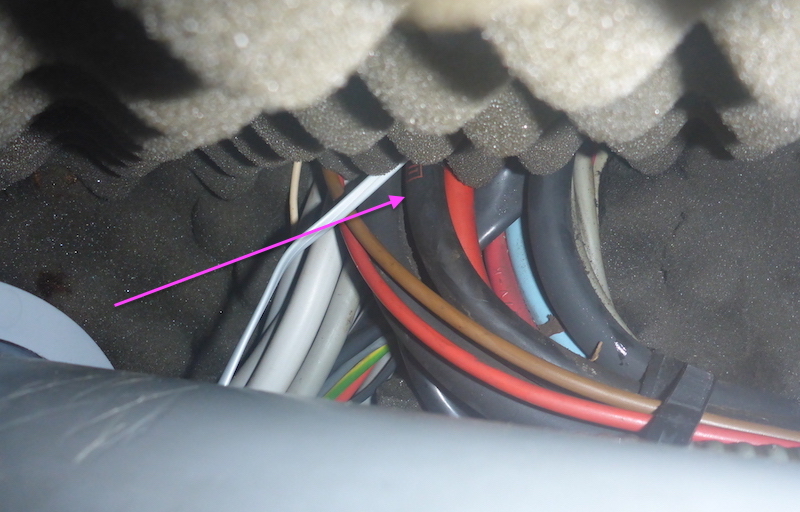
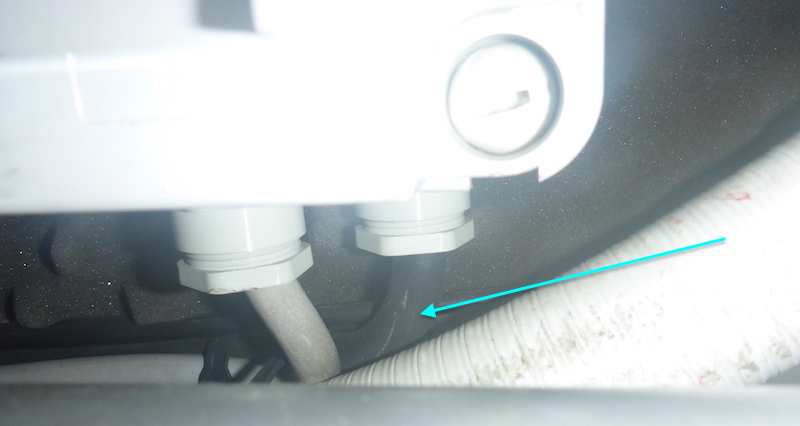
Now going down

Forward of the cockpit storage
close up
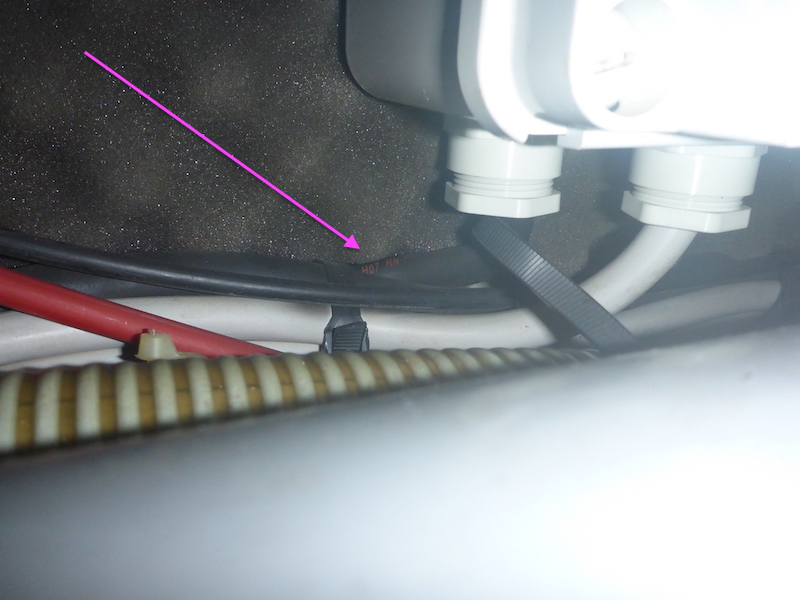
Down to the engine room
Note: in the middle you can see the rest of the marking of "TITAN?X 11" mentionned previously
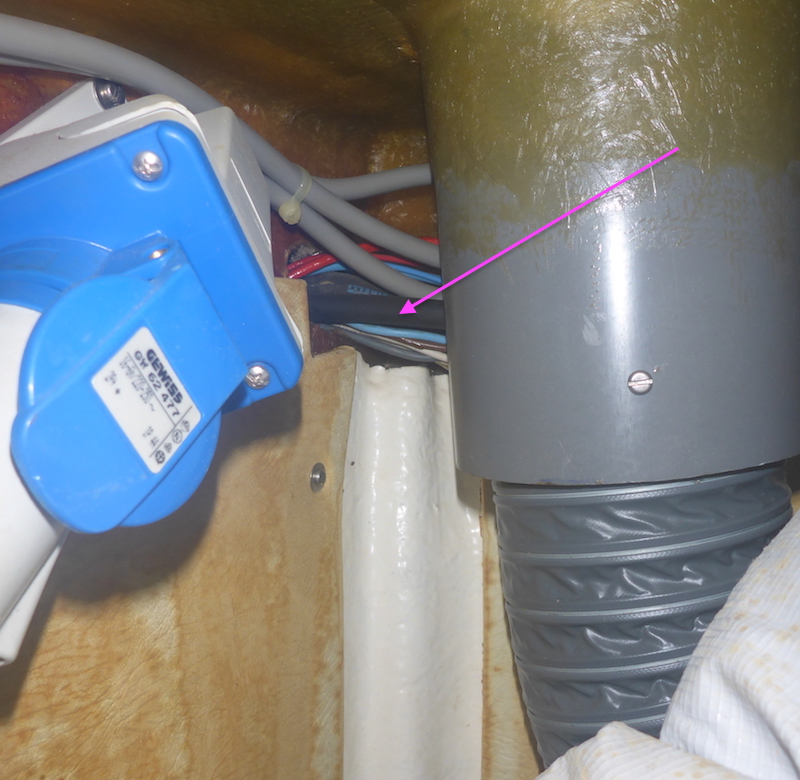
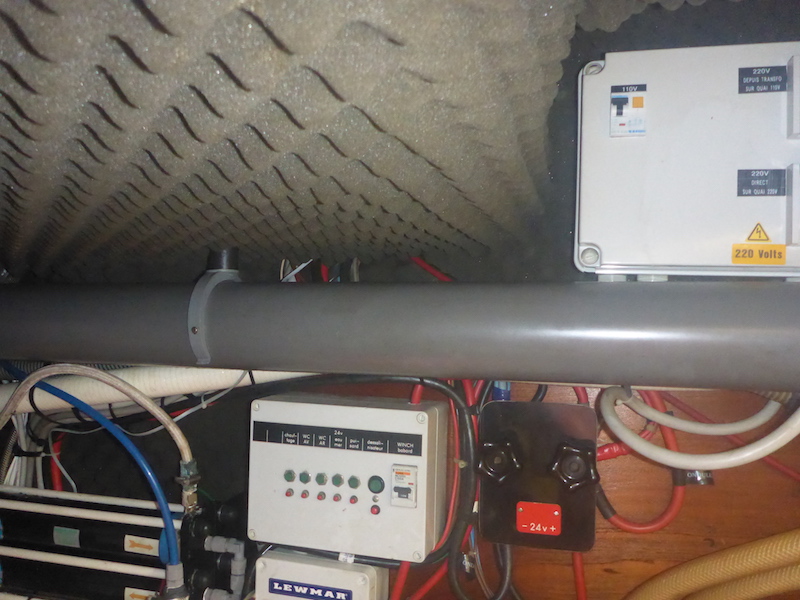
Now going to the box (which I thought was Magic until I opened it)
Note: let's call the plug (Red Arrow) 220 Volt shore power
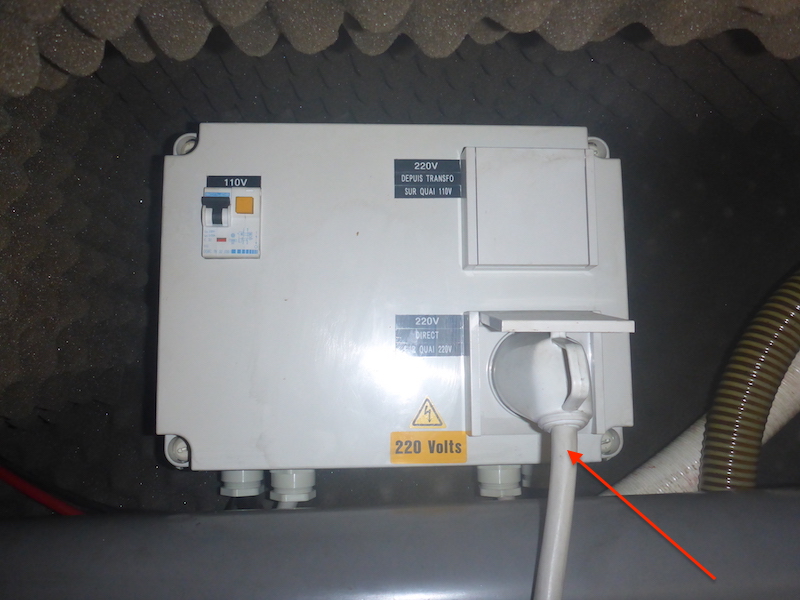
Here is our "TITAN?X 11" entering the first opening
Here is the 2nd, larger shore power plug for 110 Volt connection
I was expecting a lot more complicated than that...
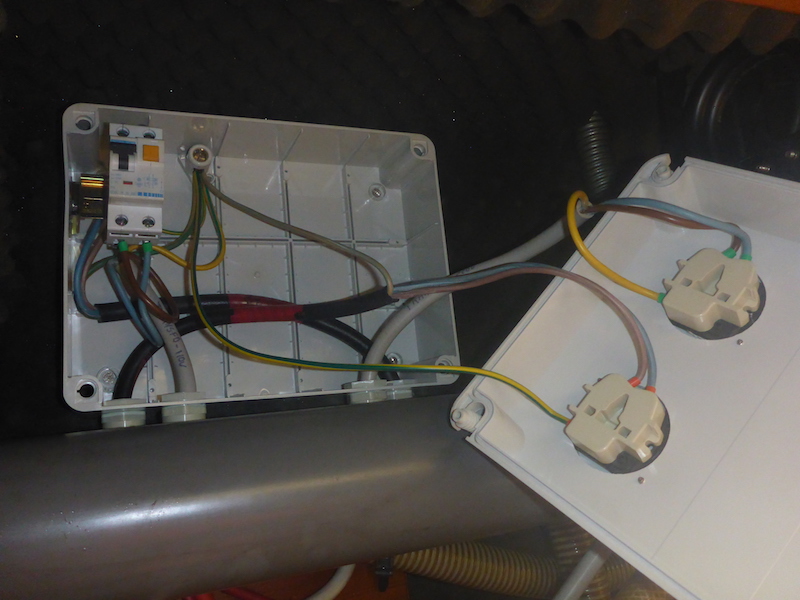
The shore power (left 50 Amp 125/250 Volt) is directly going to the bottom plug
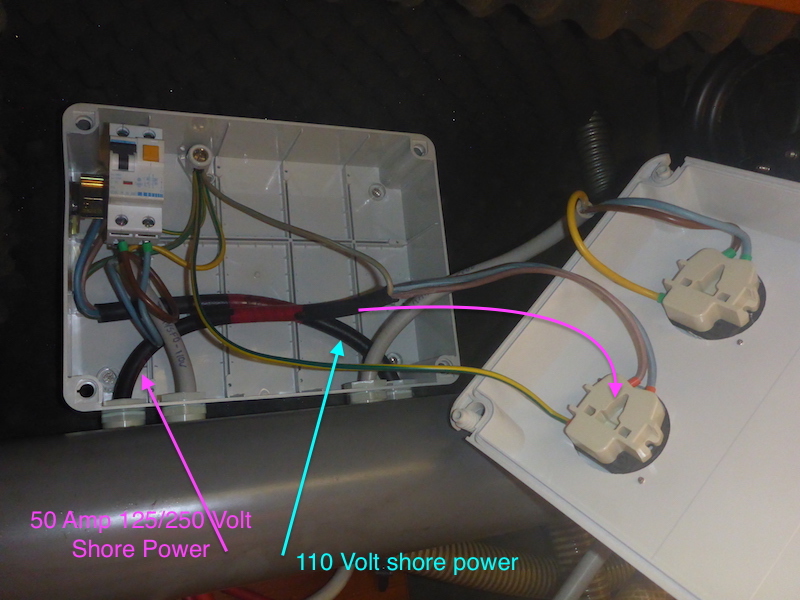
After exploring deeper, I will connect the Galvanic Isolator to this box.
If you are curious you can look at
Part 2
Or skip to the installation itself:
Part 3
Exploring further which helped me decide on the location of the Galvanic Isolator
Deciding on the location, testing the Galvanic Isolator and adding spacers