NIKIMAT


Amel Super Maramu 2000
|
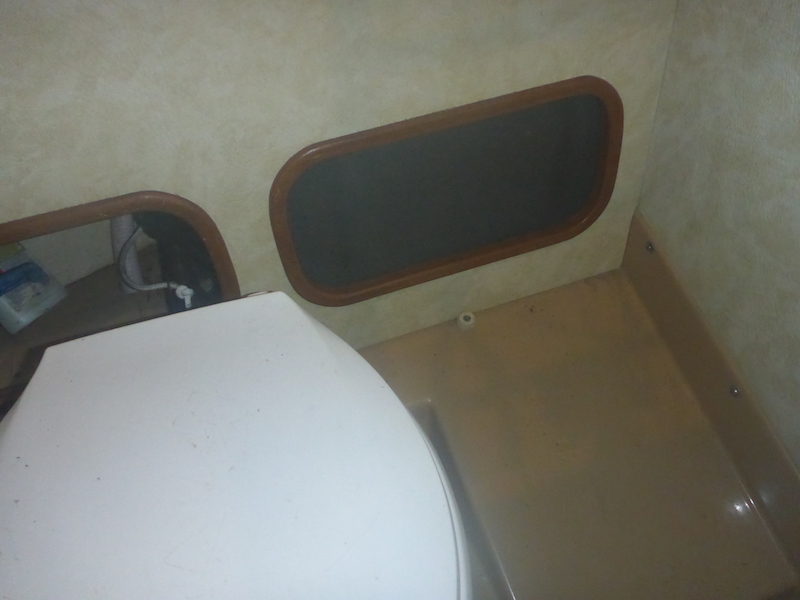
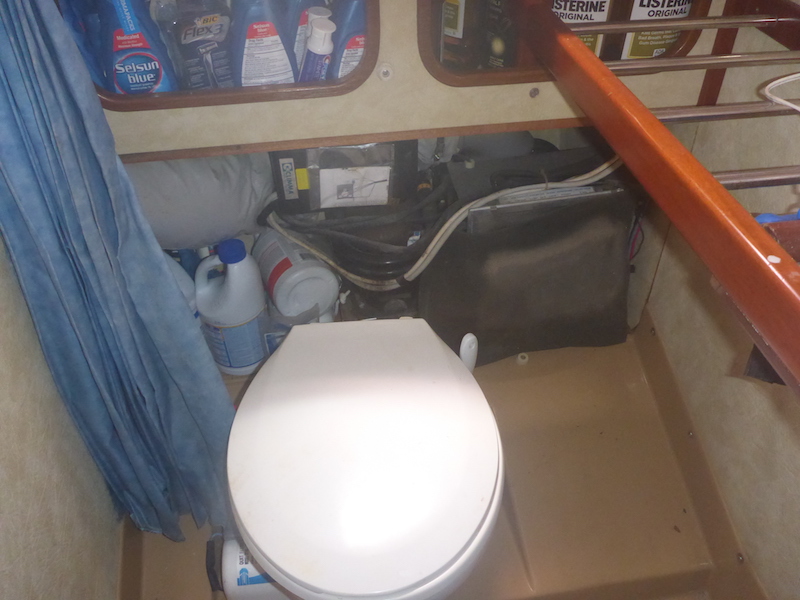
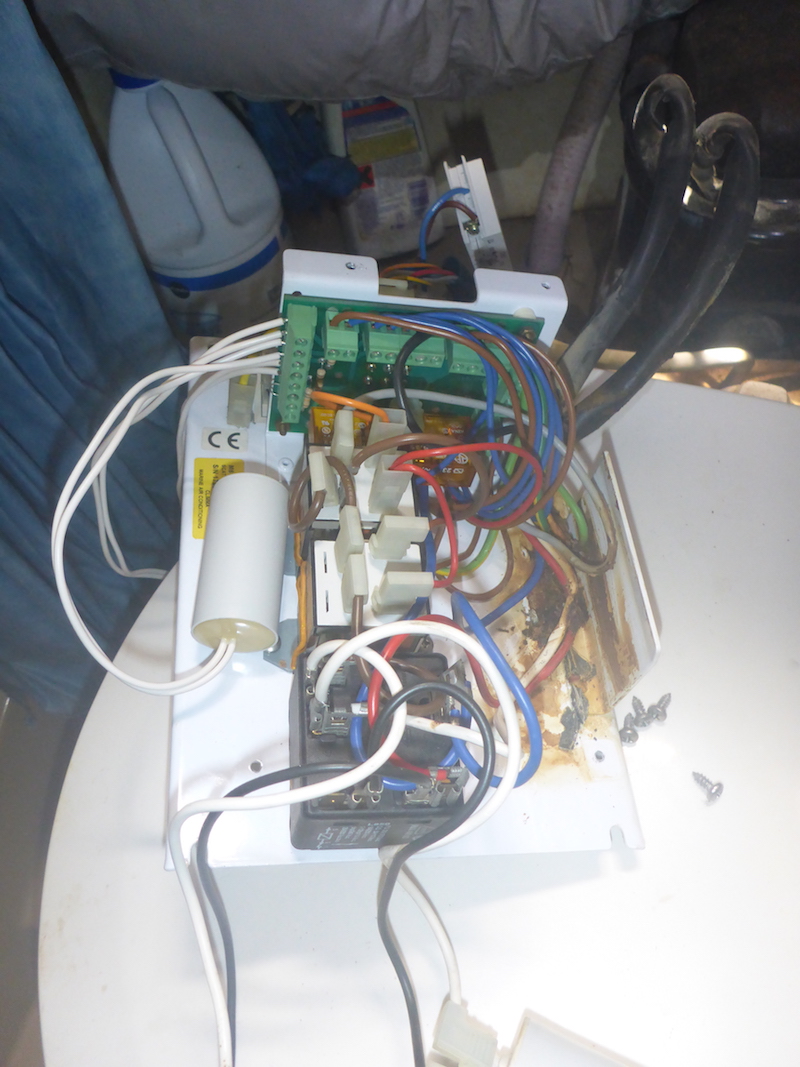
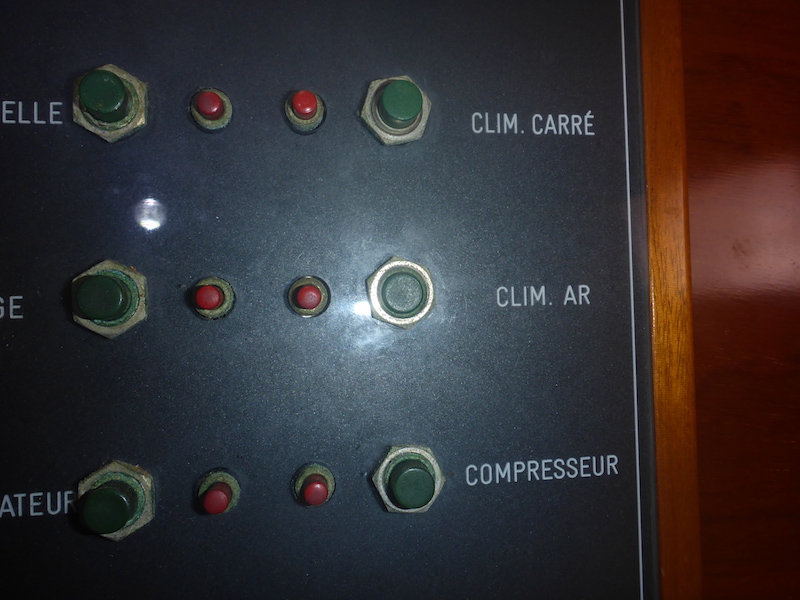
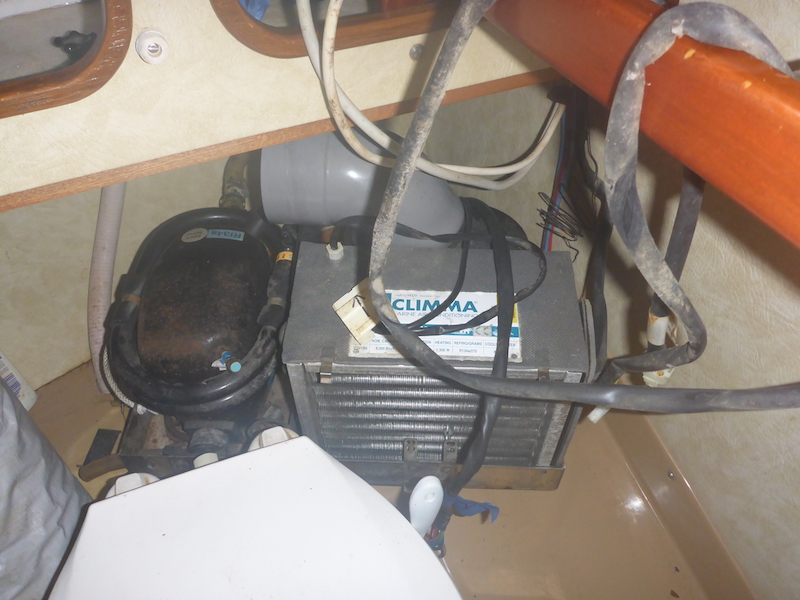
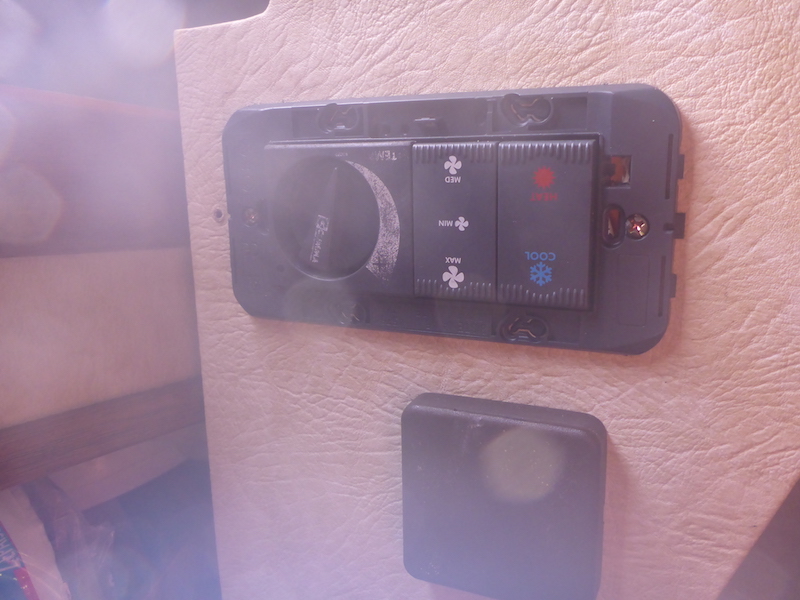
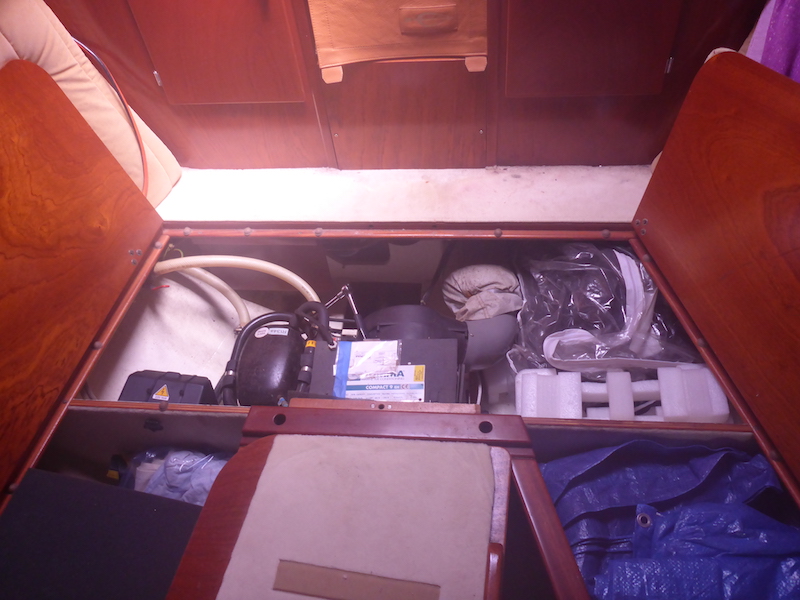
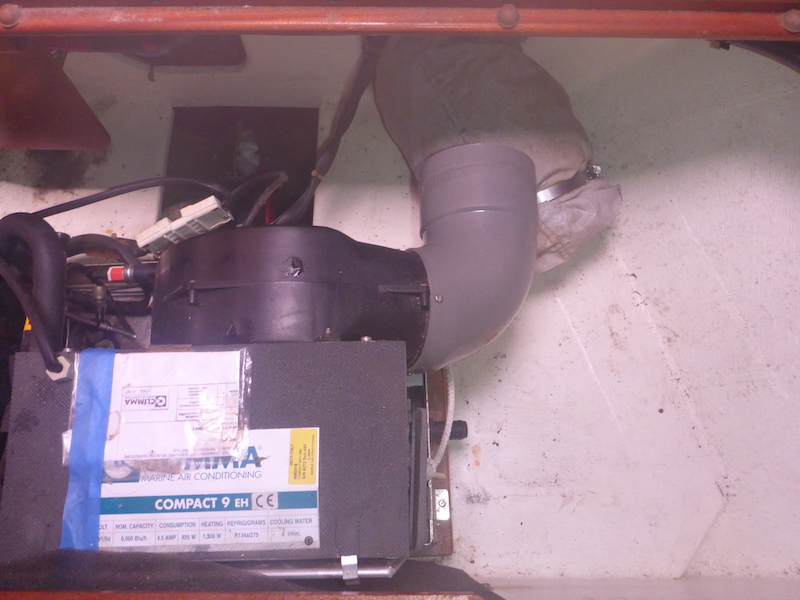
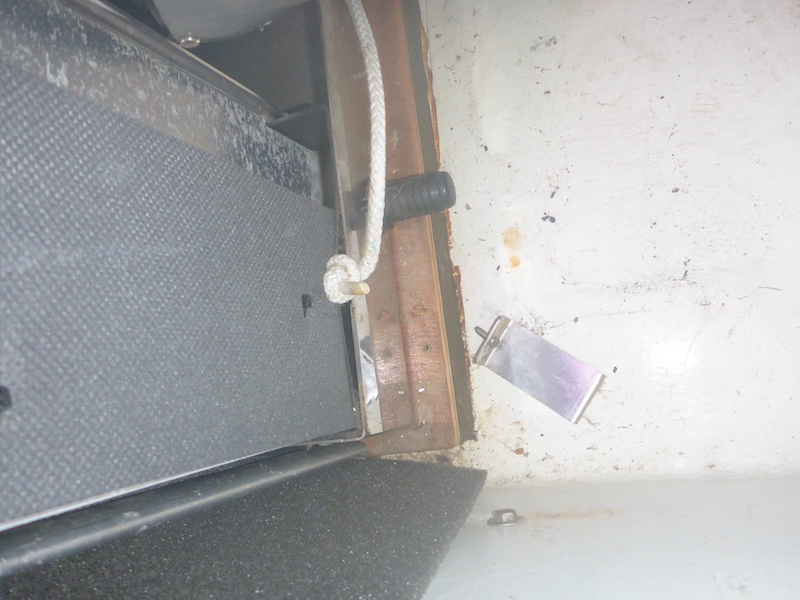
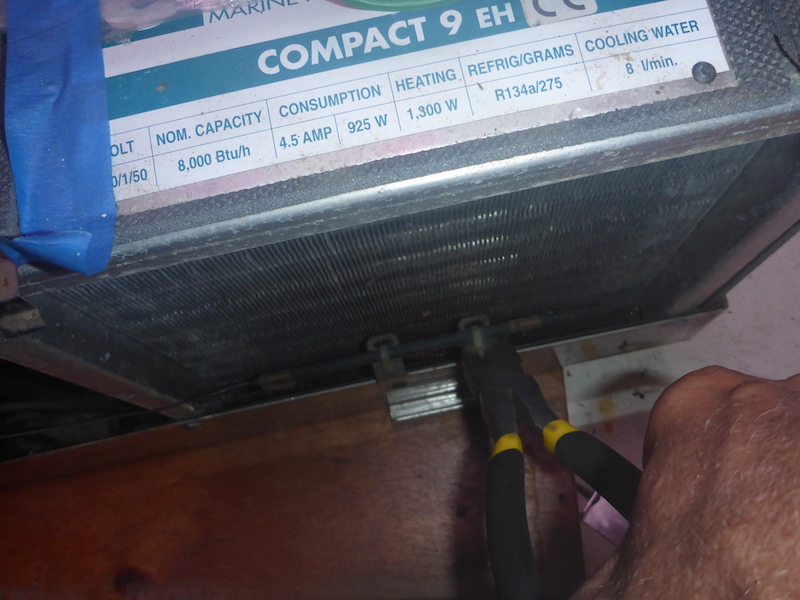
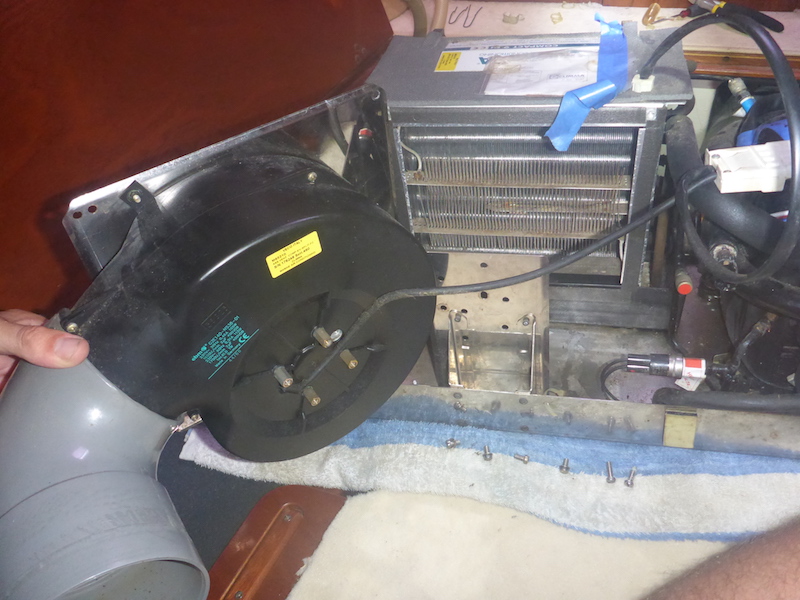
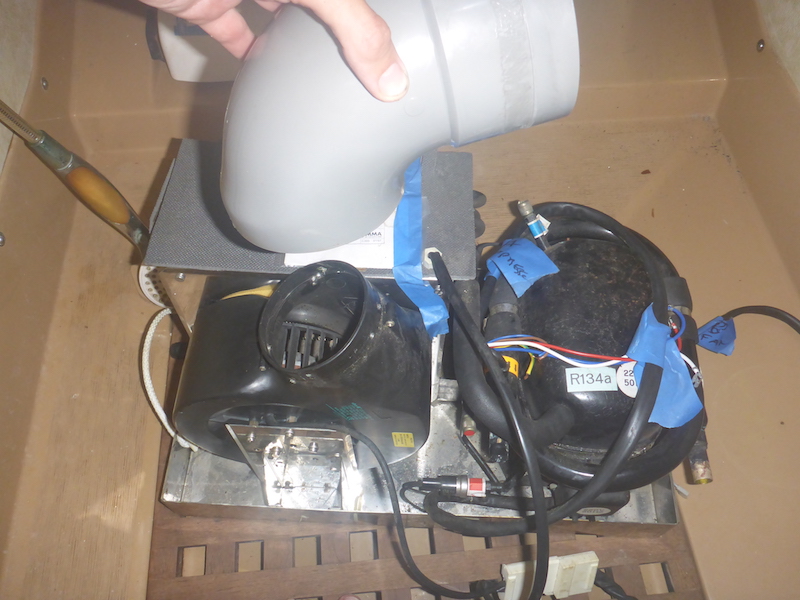
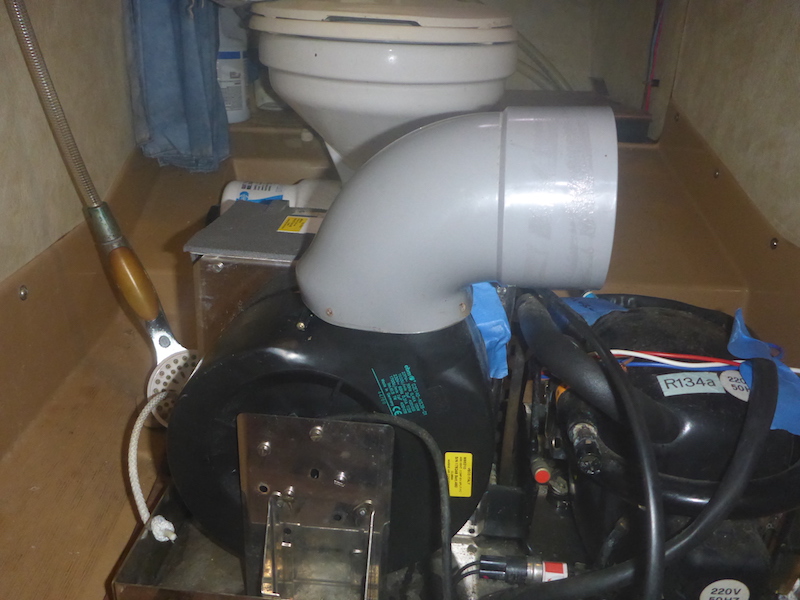
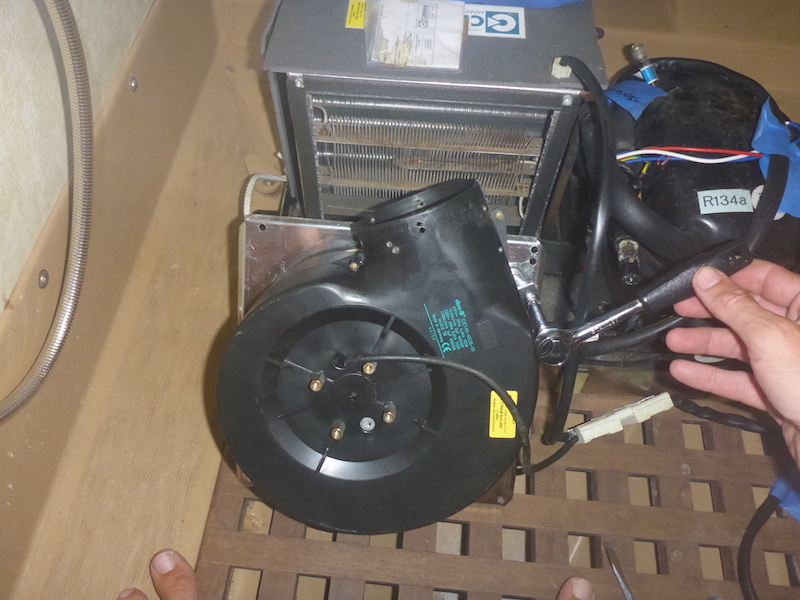
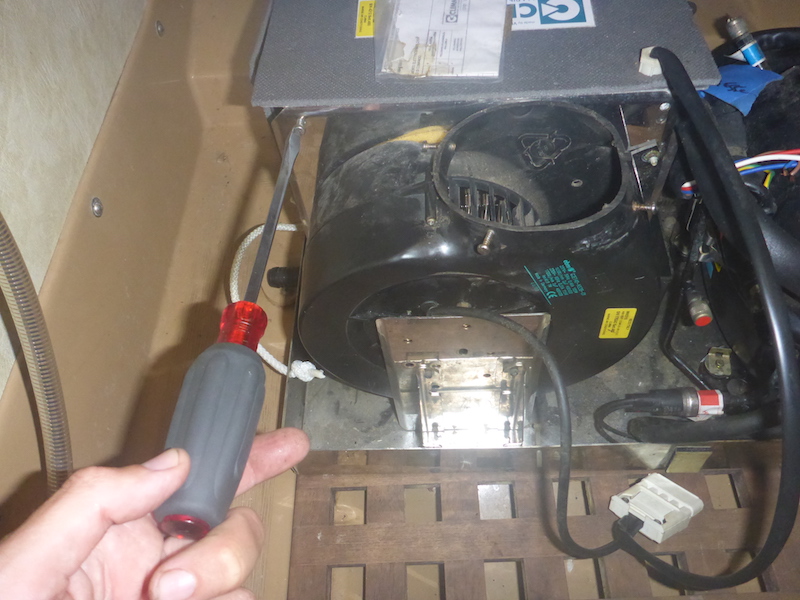
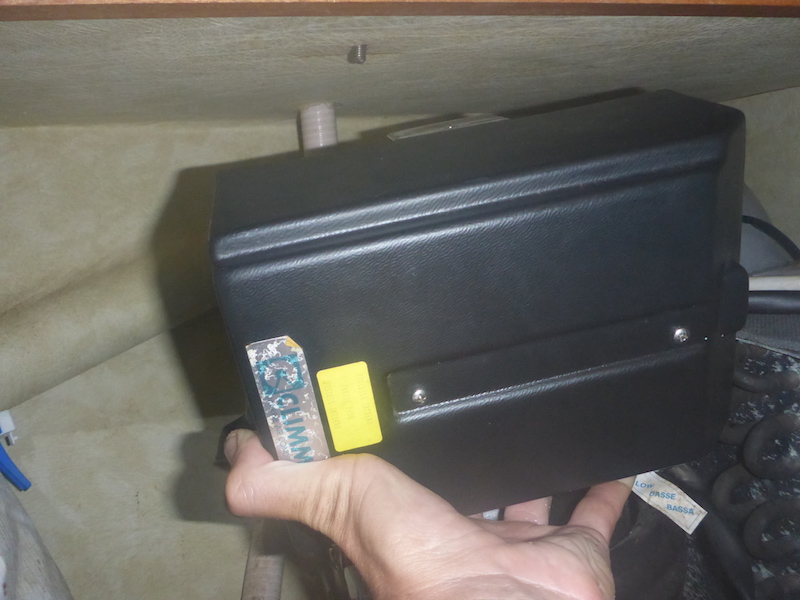
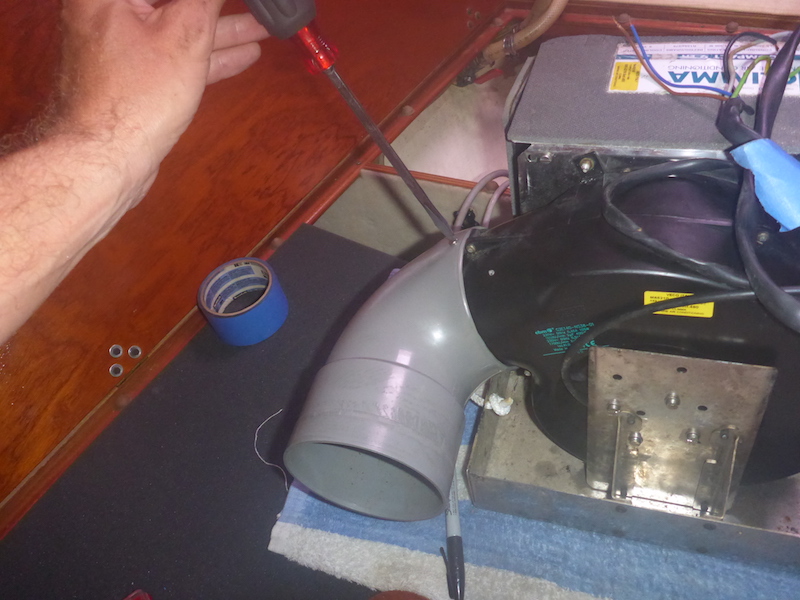
Air Conditioning Climma Marine Compact 9 The original Air Conditioning Climma Marine Compact 9 in the aft cabin stop working (and was tripping the boat power as well as the marine shore power).
Since a new unit will take 3 months to arrive, I decided to swap the forward and aft air conditioning units.
You will see the removal of the aft and forward cabin air conditioning. Then reinstallation of both units with unexpected complications of the fan and bracket holding the control boxes It is common sense that the power to the air conditioning units should be turn off at the 220 Volt panel (diruptor) before doing anything. |
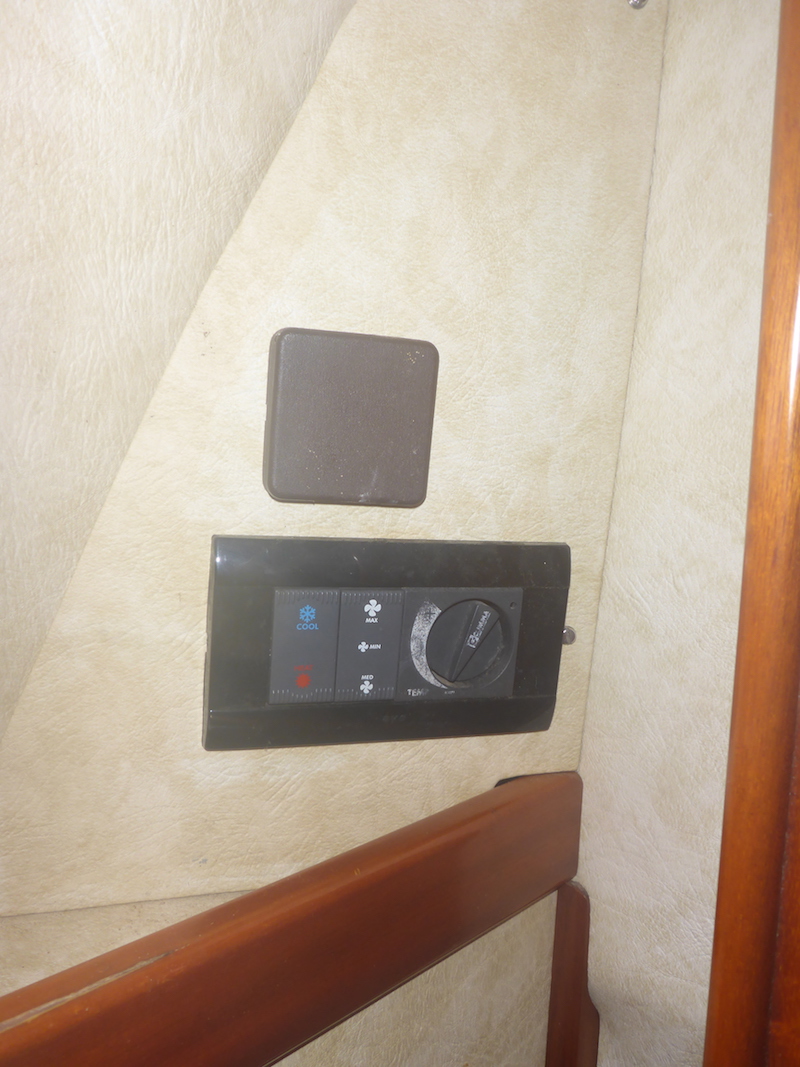
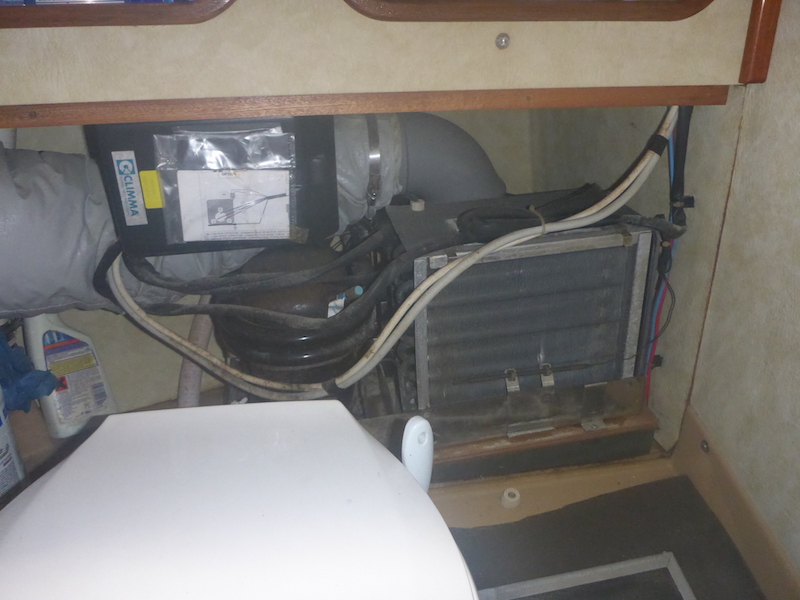
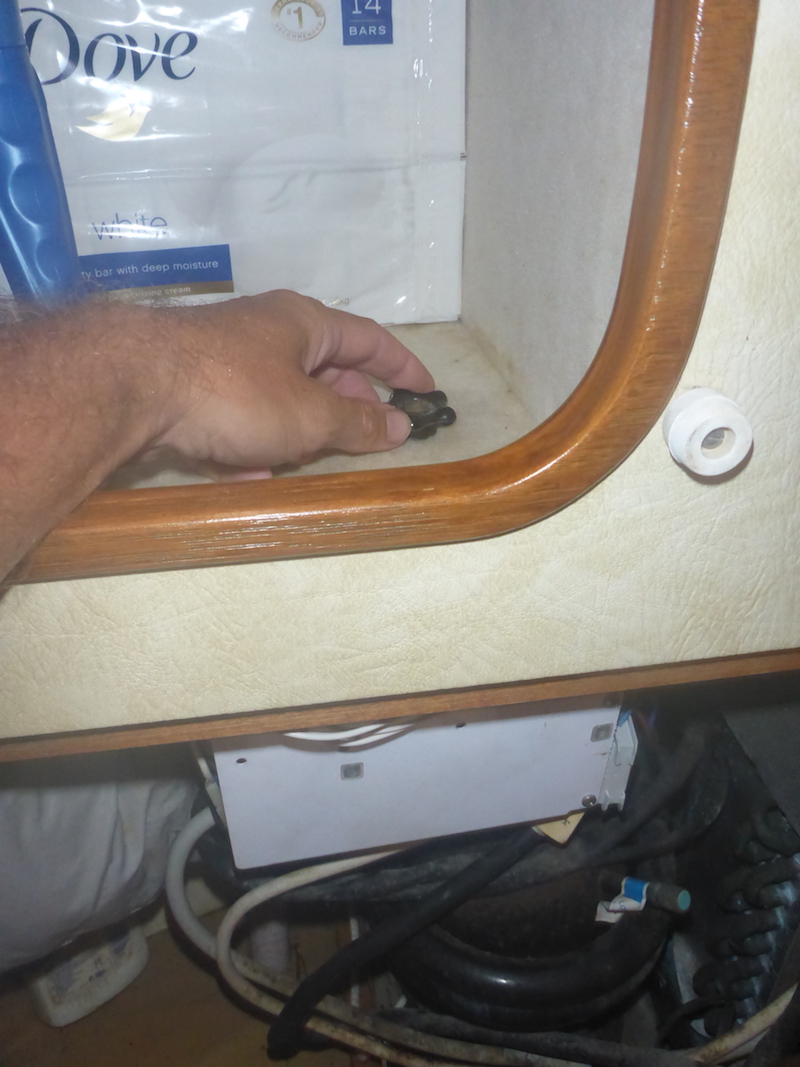
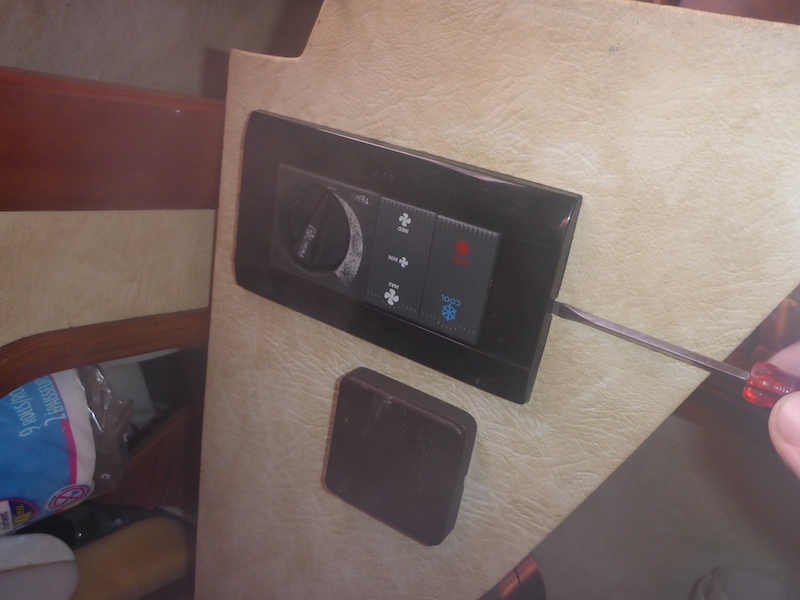
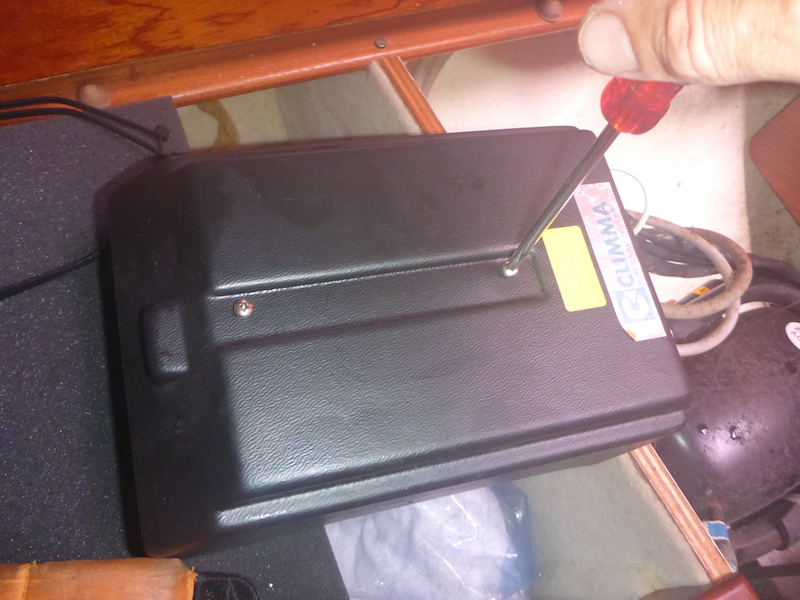
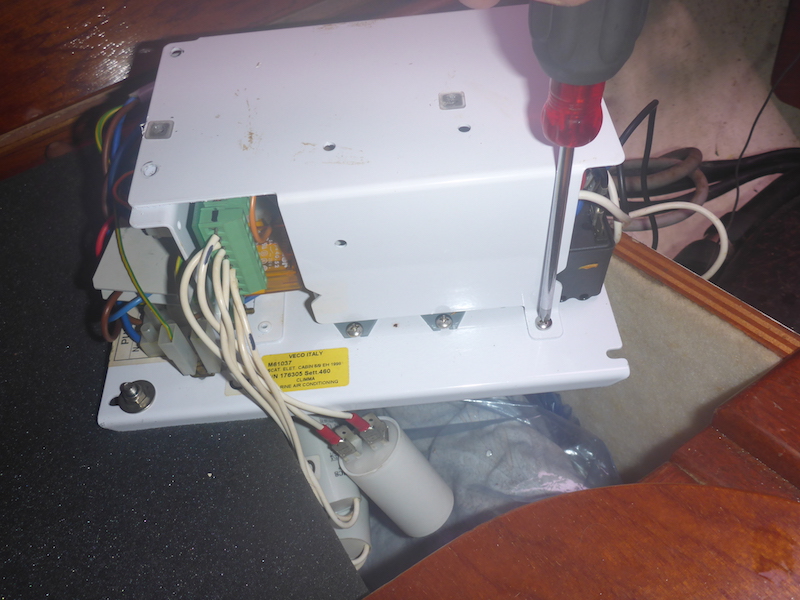
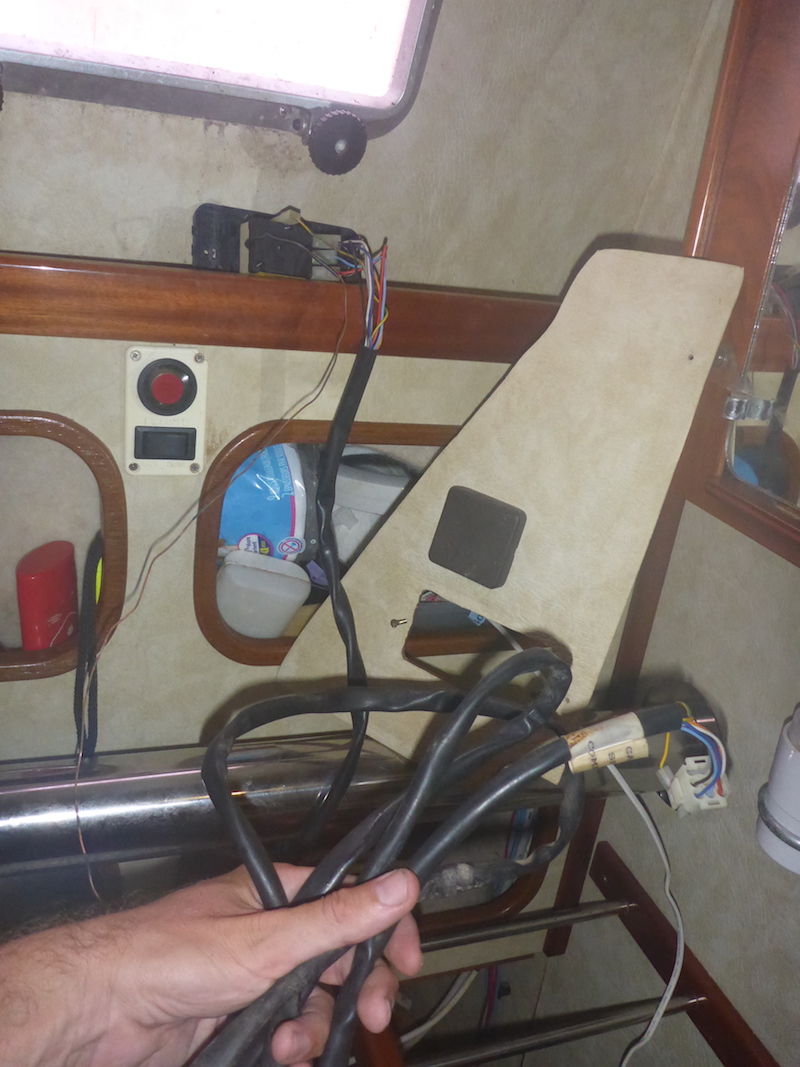
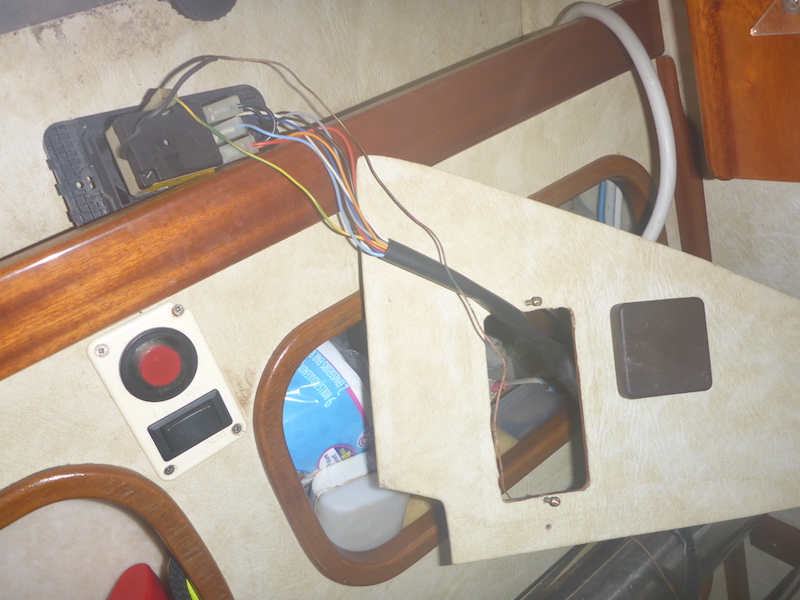
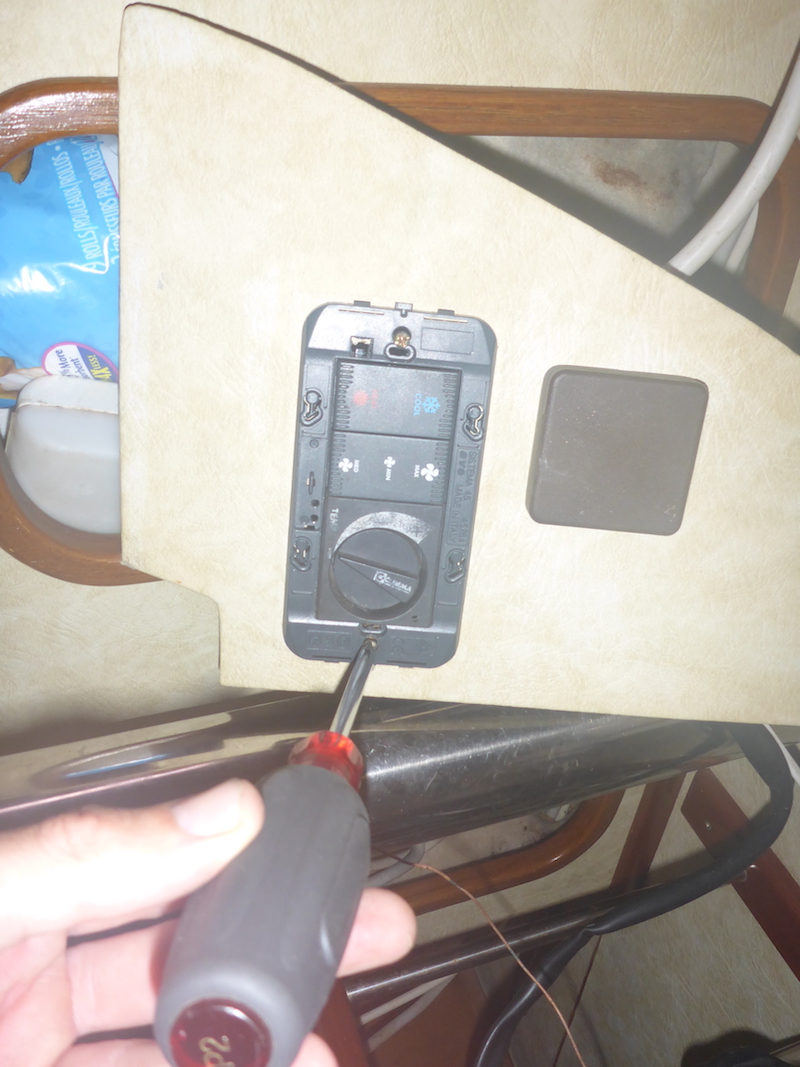
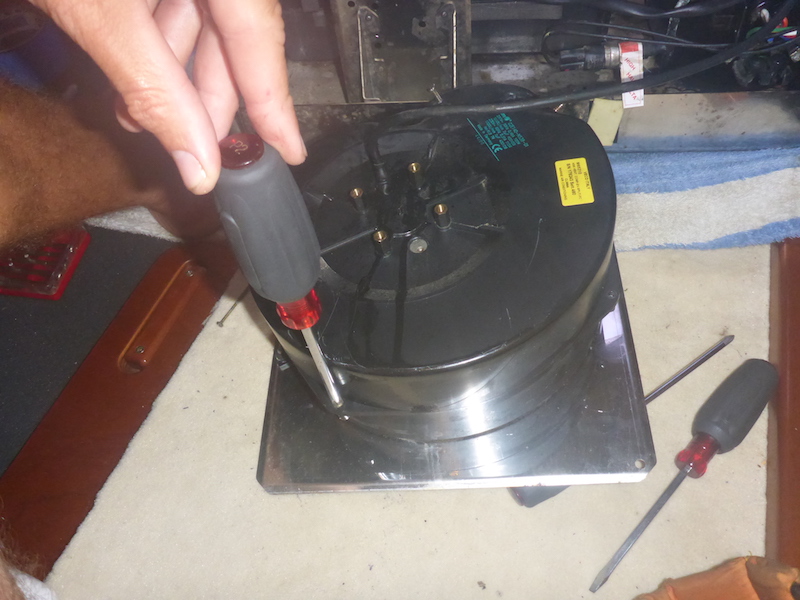
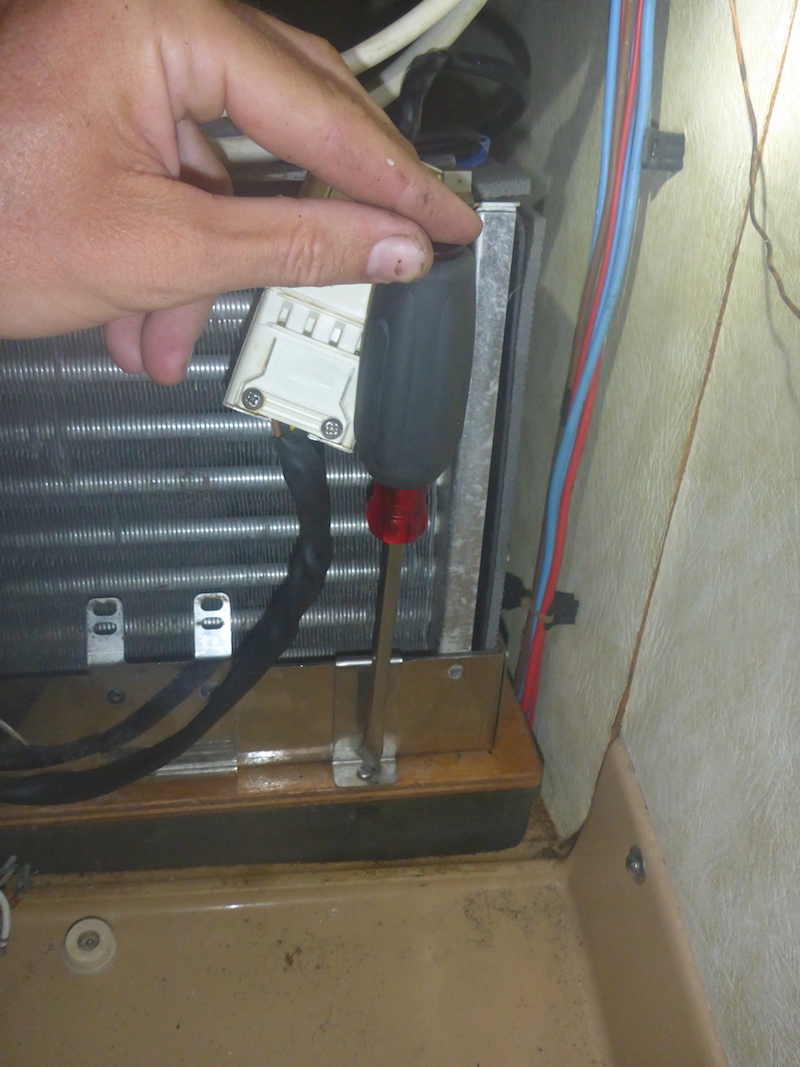
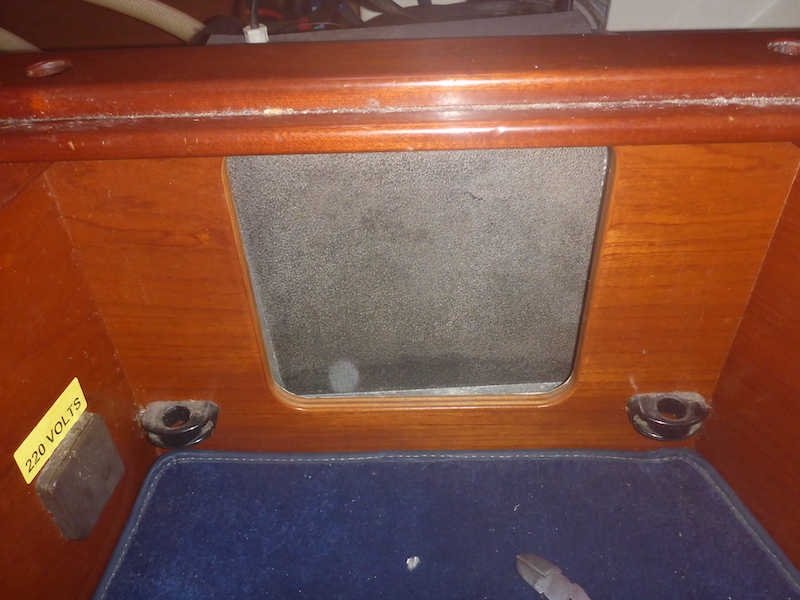
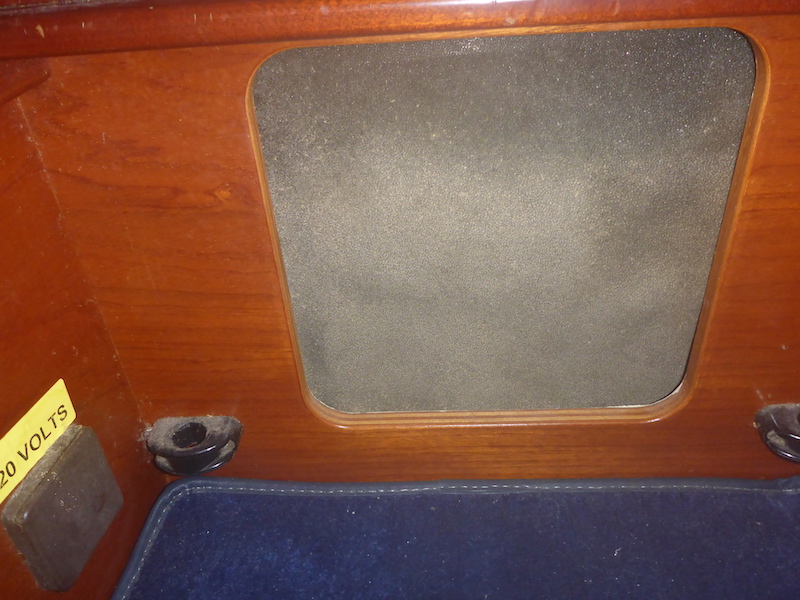
Air Conditioning Climma Marine Compact 9 EH Thermostats and control box removal
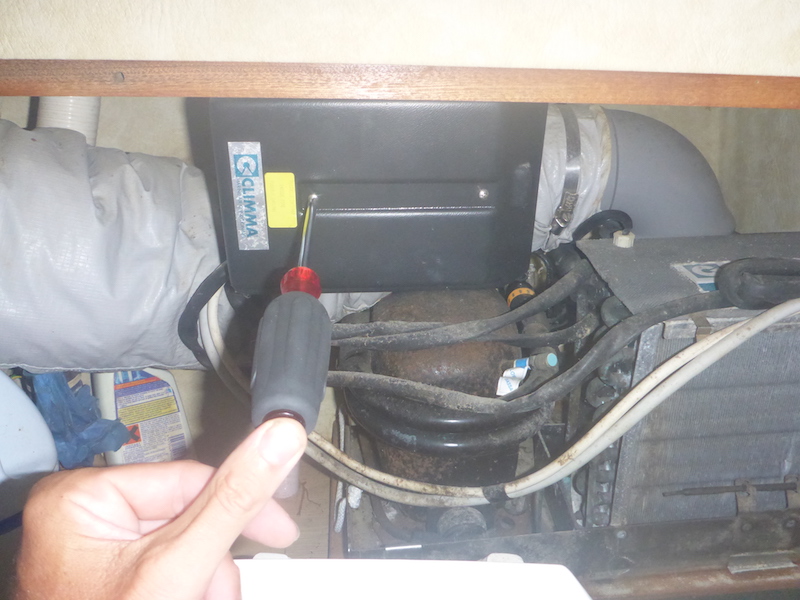
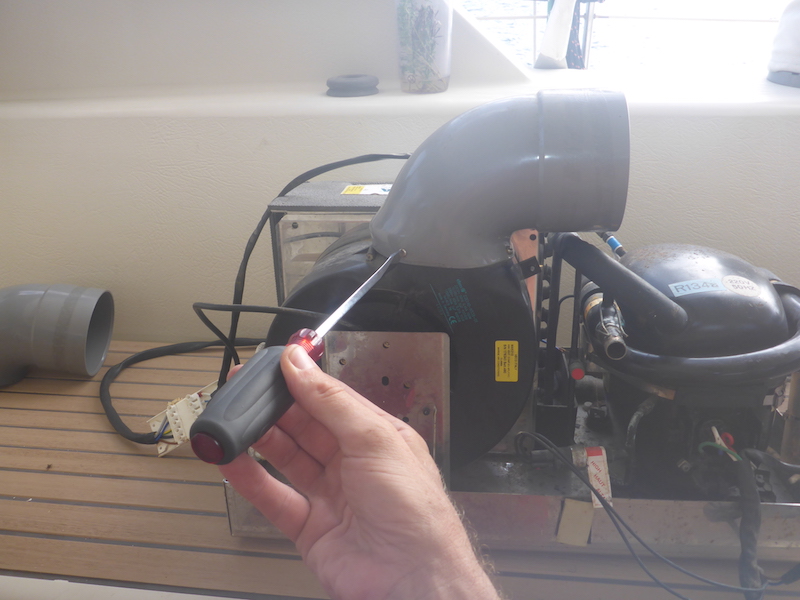
Not necessary to swap the air conditioning, but I removed the control panel in order to test the unit in the cockpit.
Unscrew the 2 bolt holding the panel.
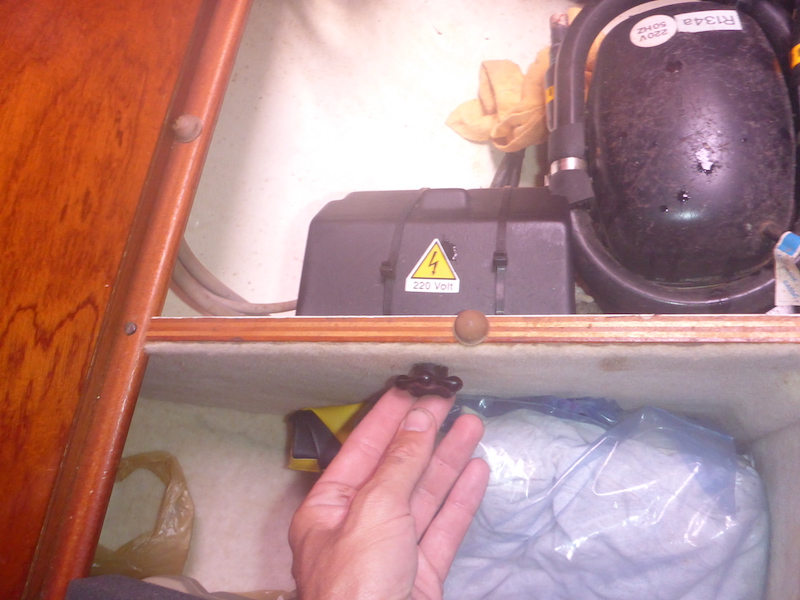
It is preferable to switch off the 220 Volt outlets, which I did not do in order to have a fan cooling me off
I was always very careful not to couch the plug.
Turn the 2 screw, to open the panel
Slide the panel out of the way.
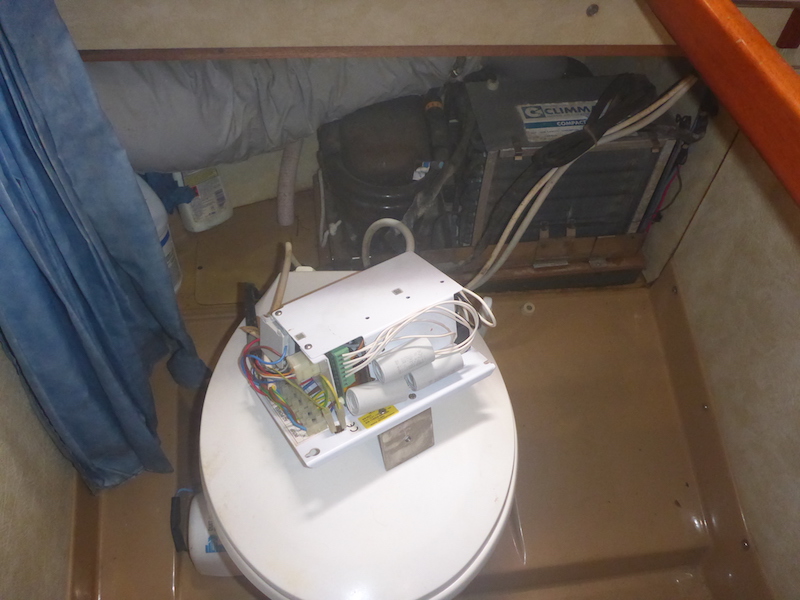
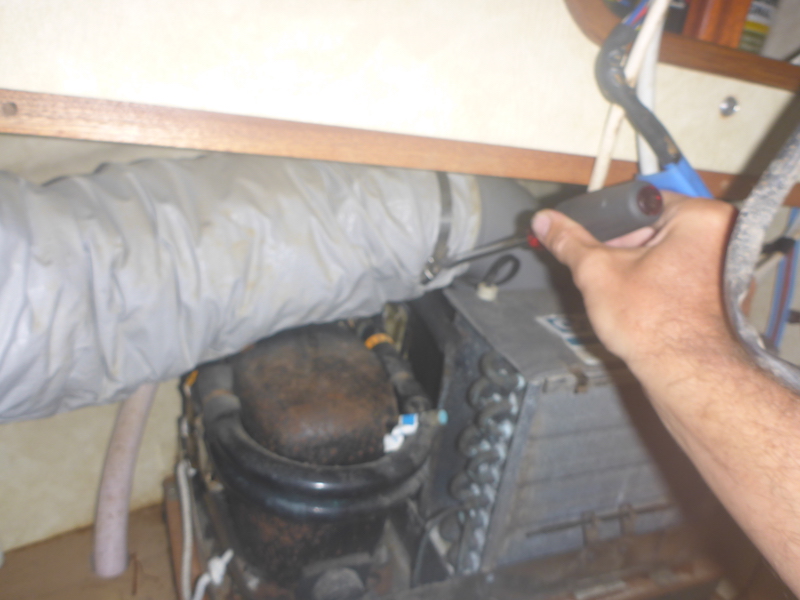
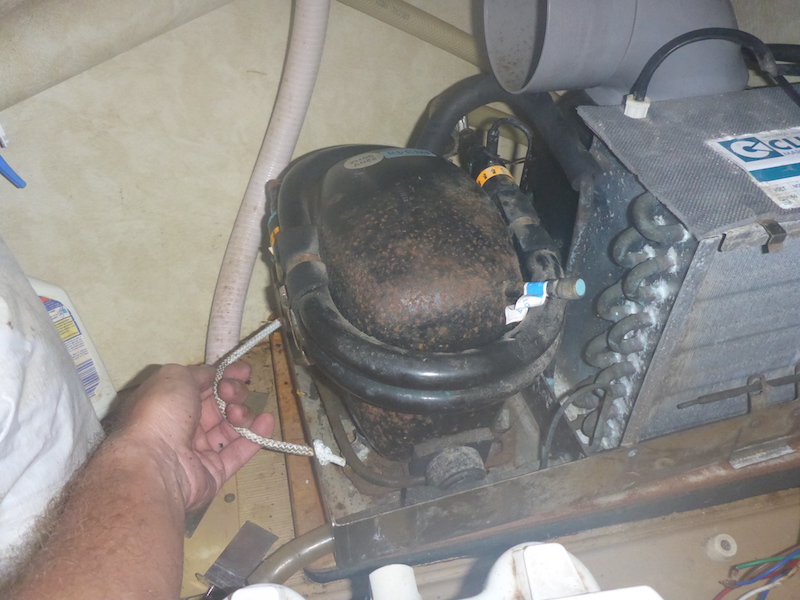
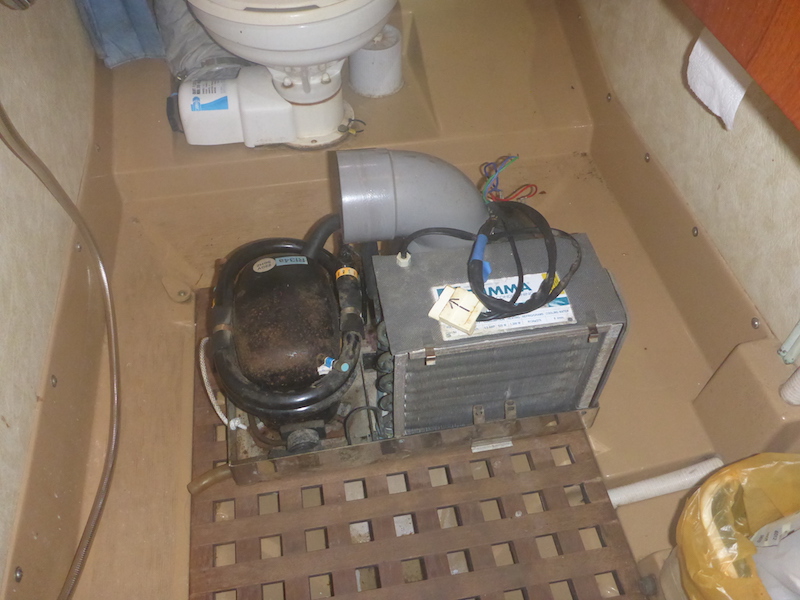
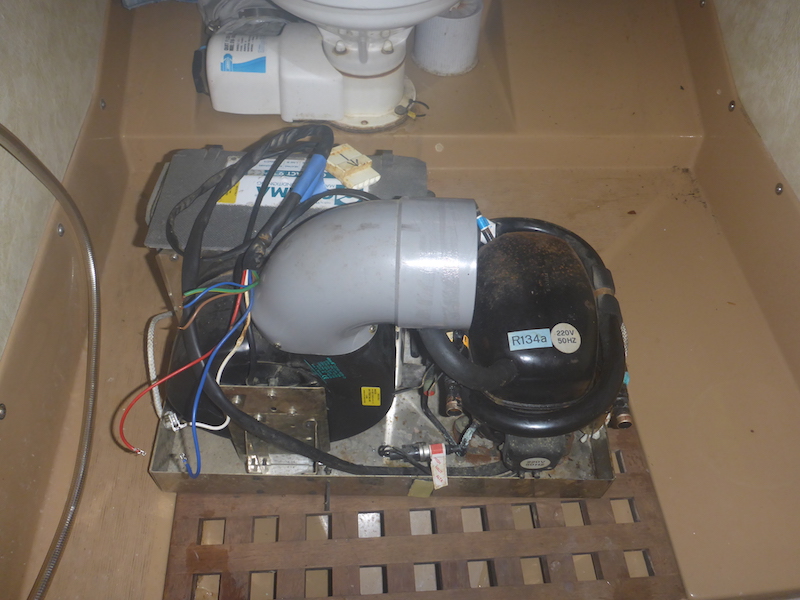
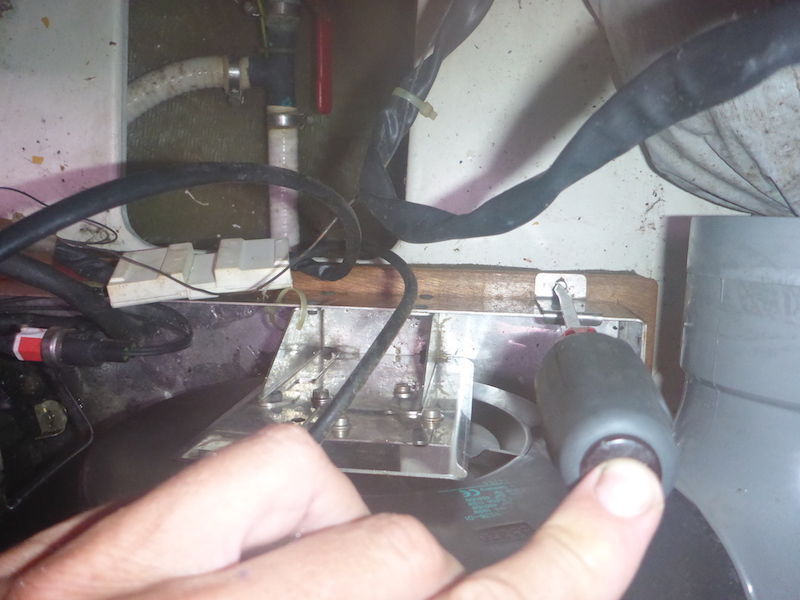
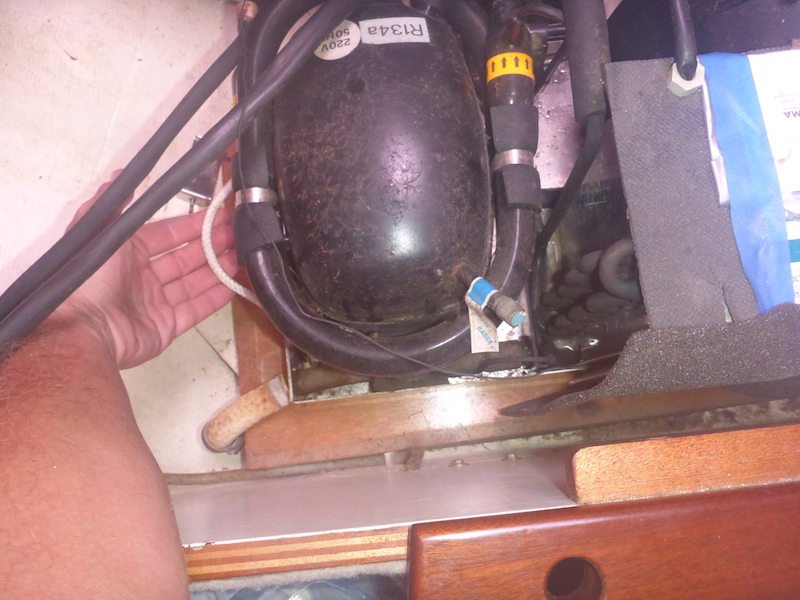
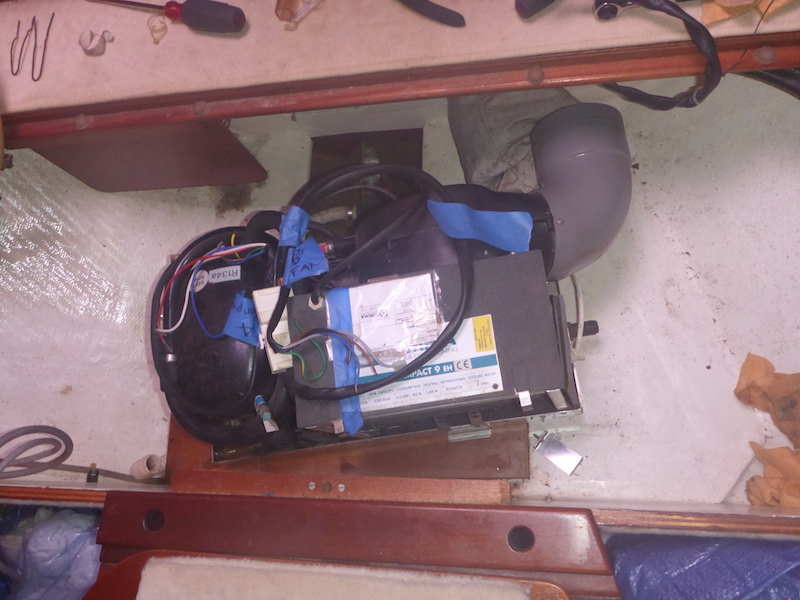
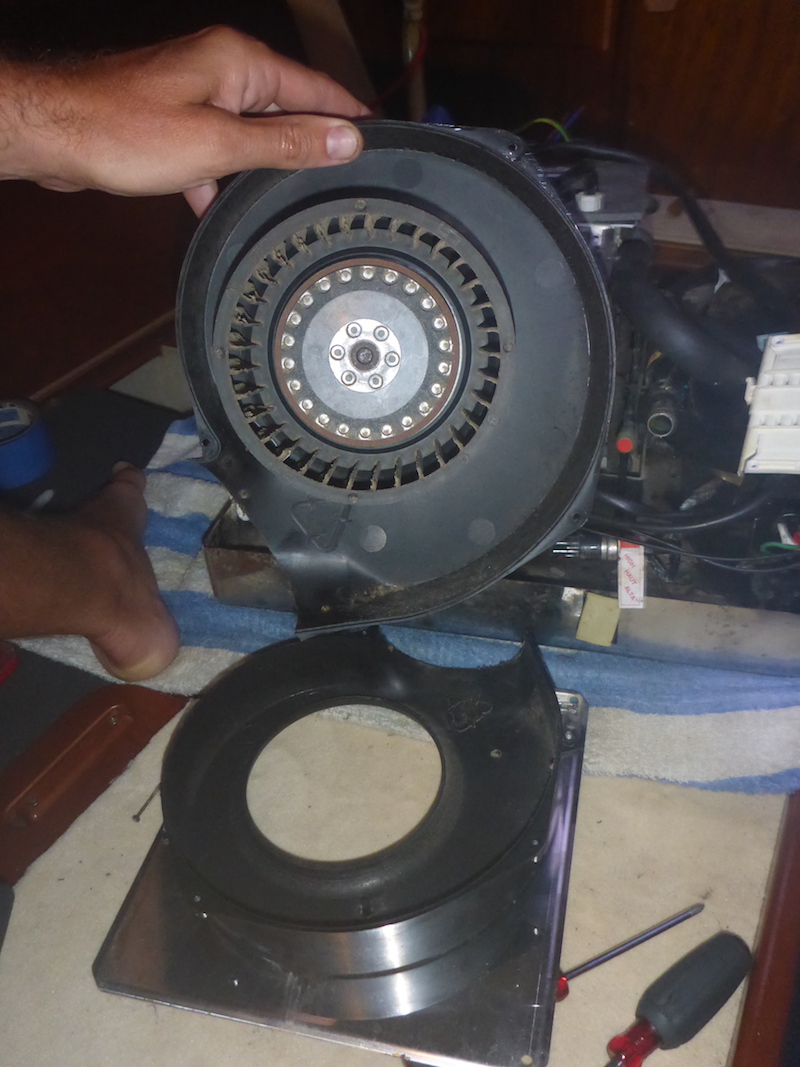
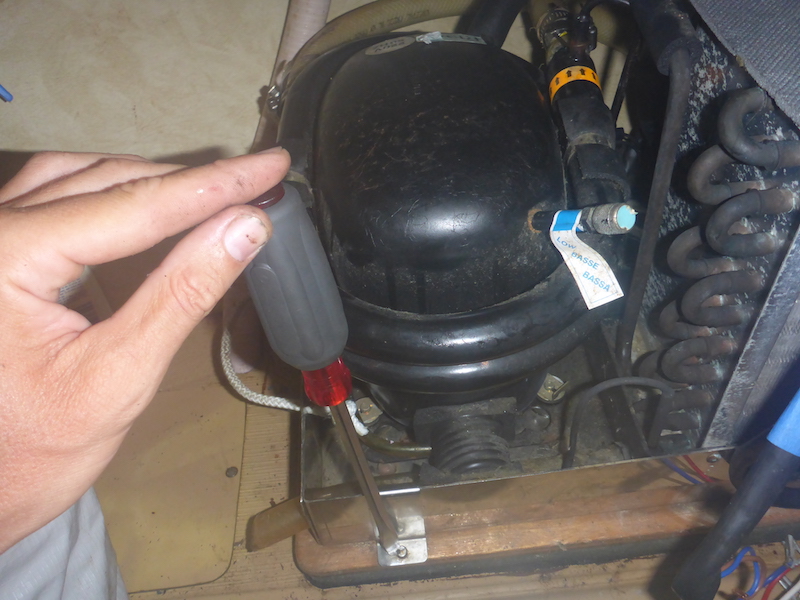
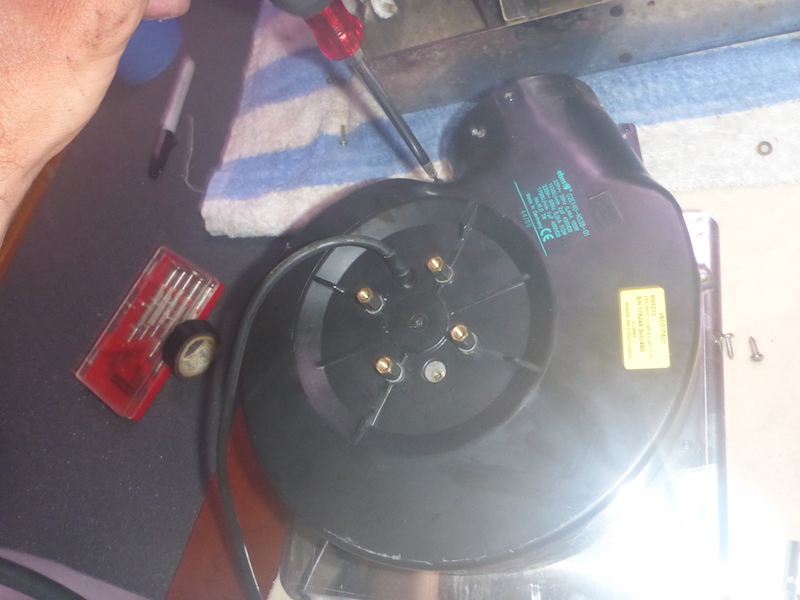
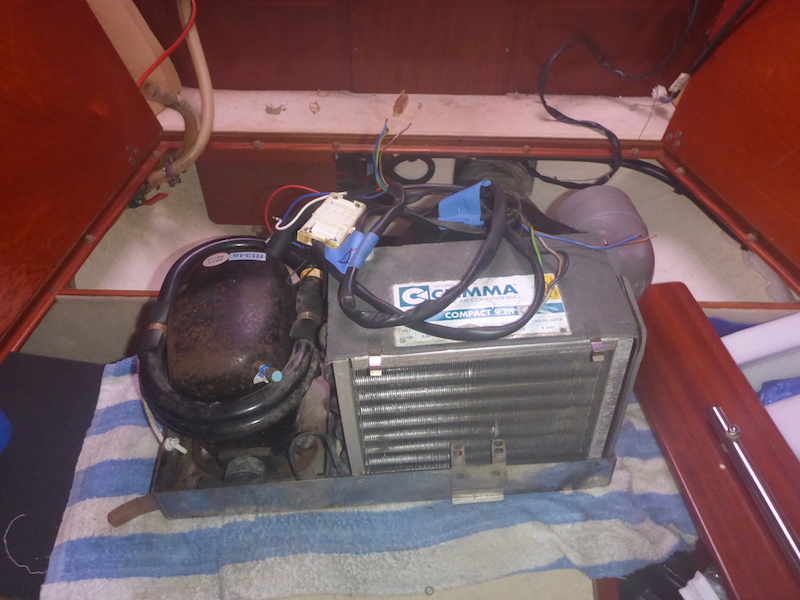
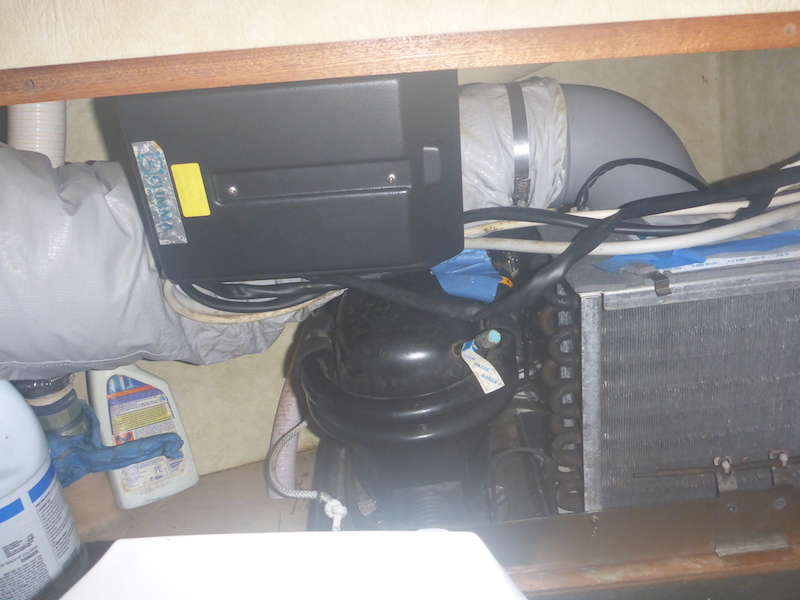
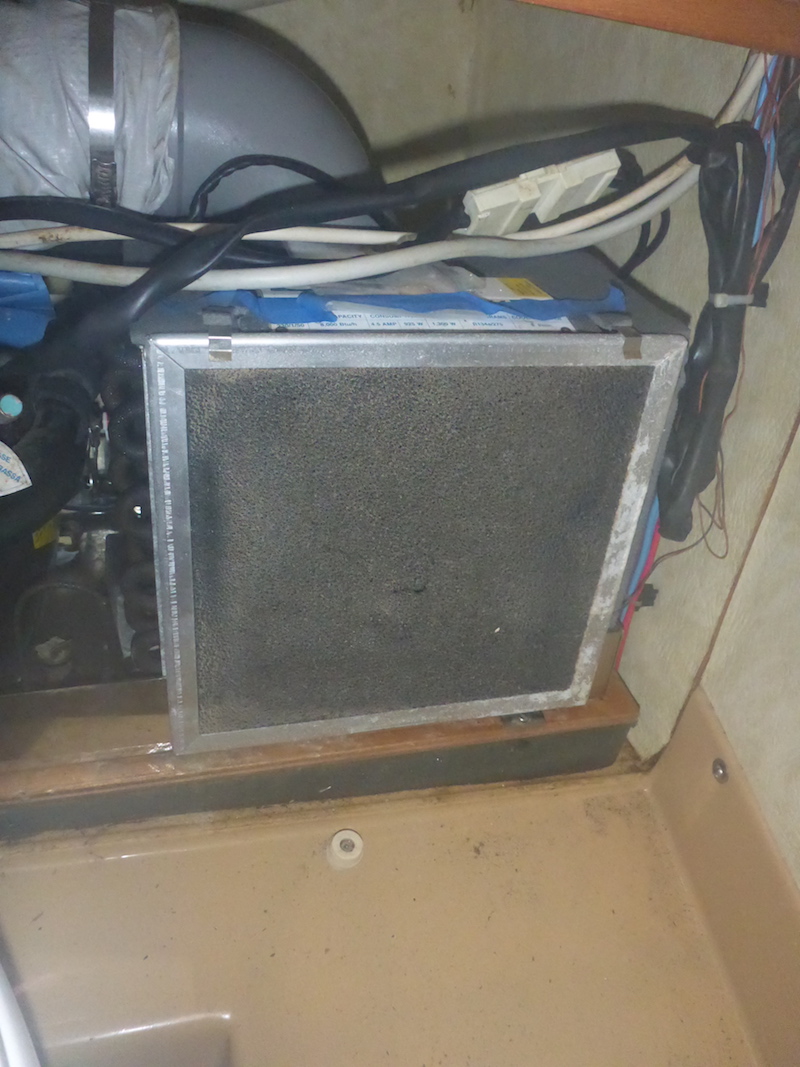
Now you see the compressor
Remove the filter
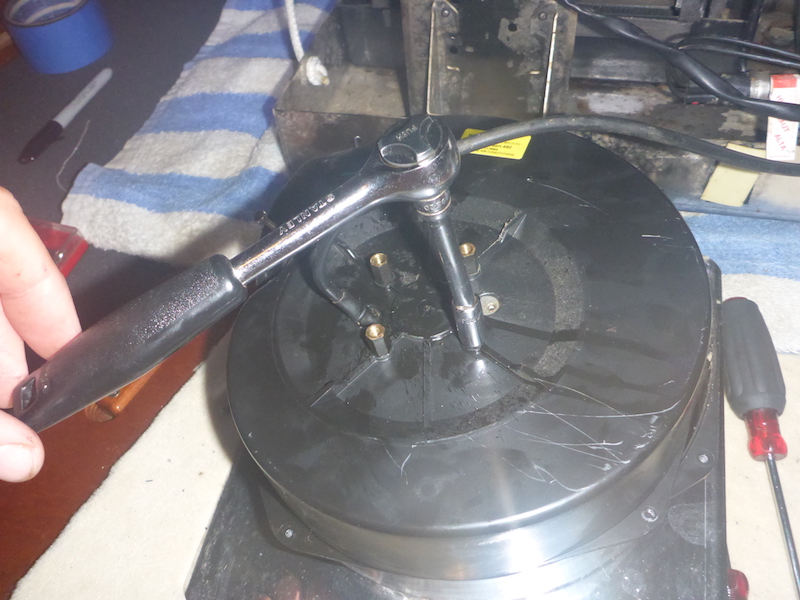
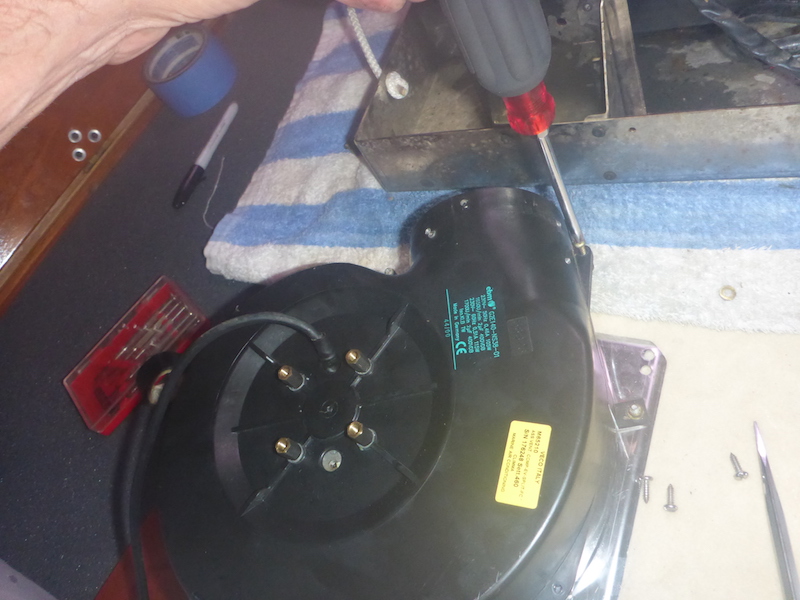
I started to unscrew the cover of the control box only to realize I need to let it loose from the bolt
Cover removed
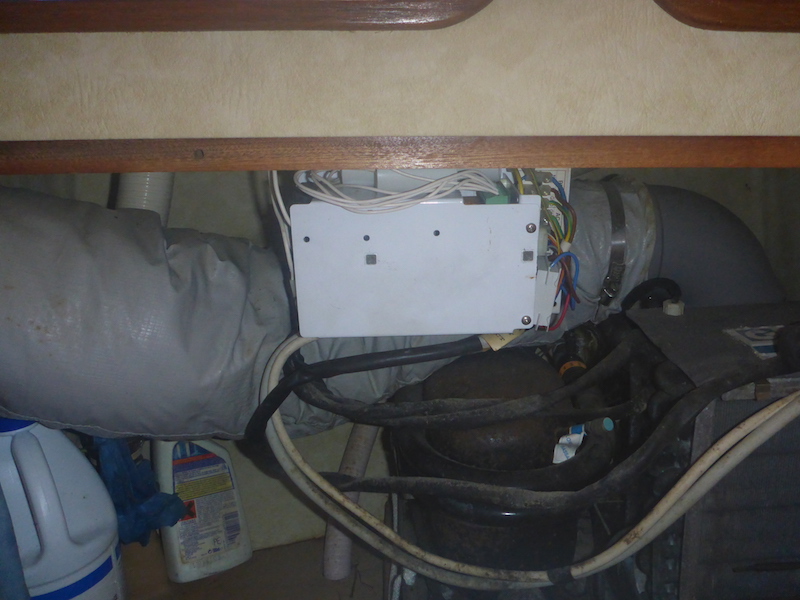
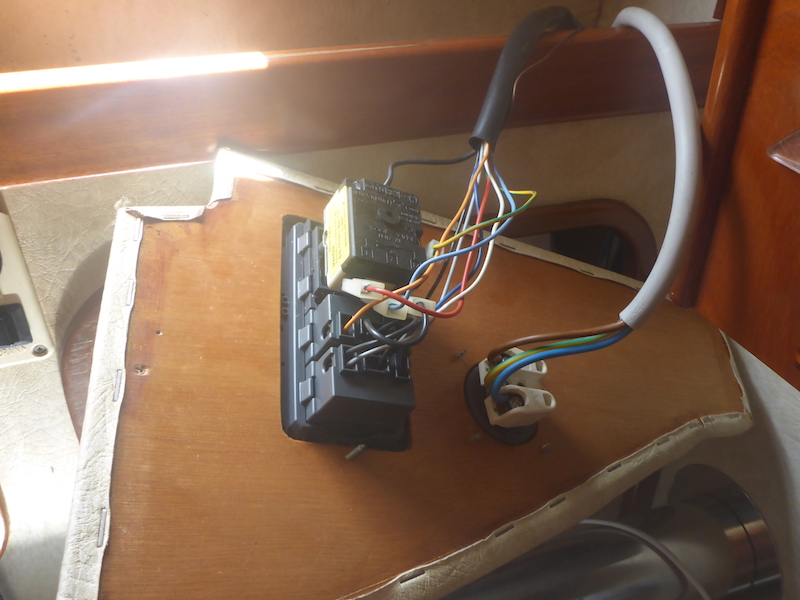
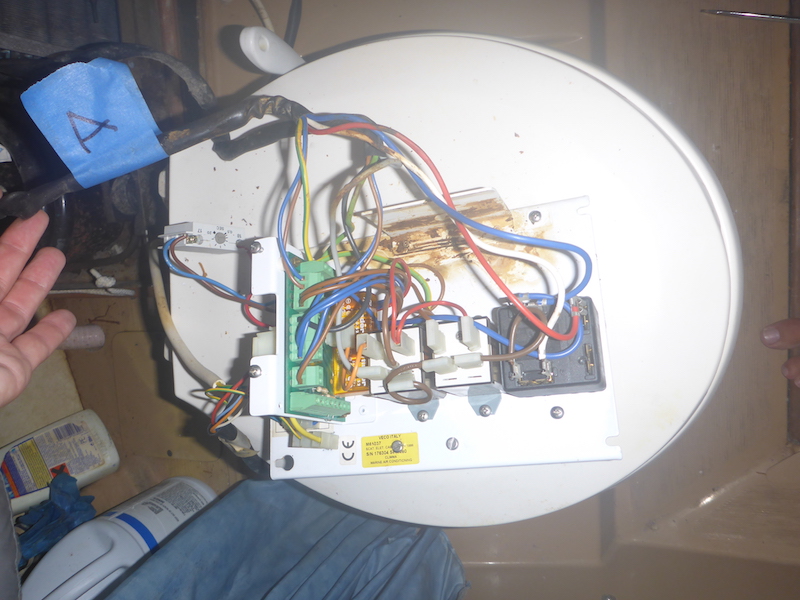
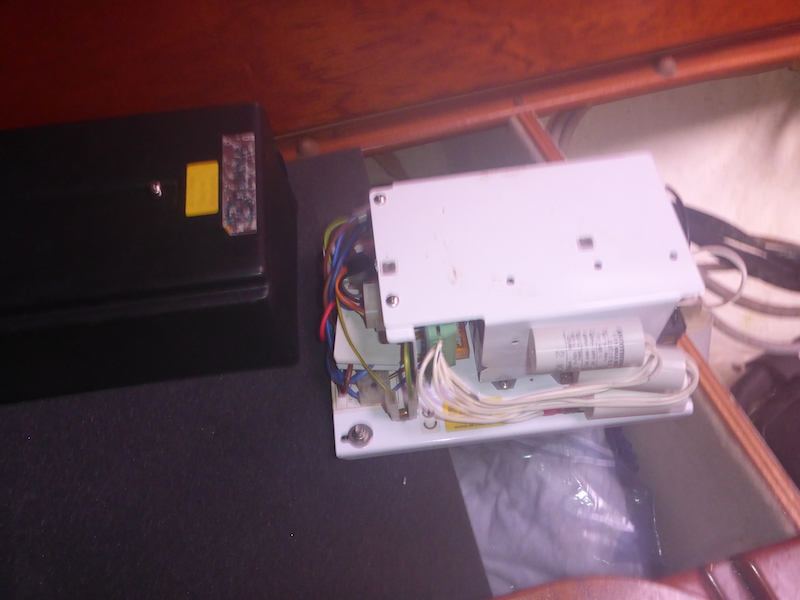
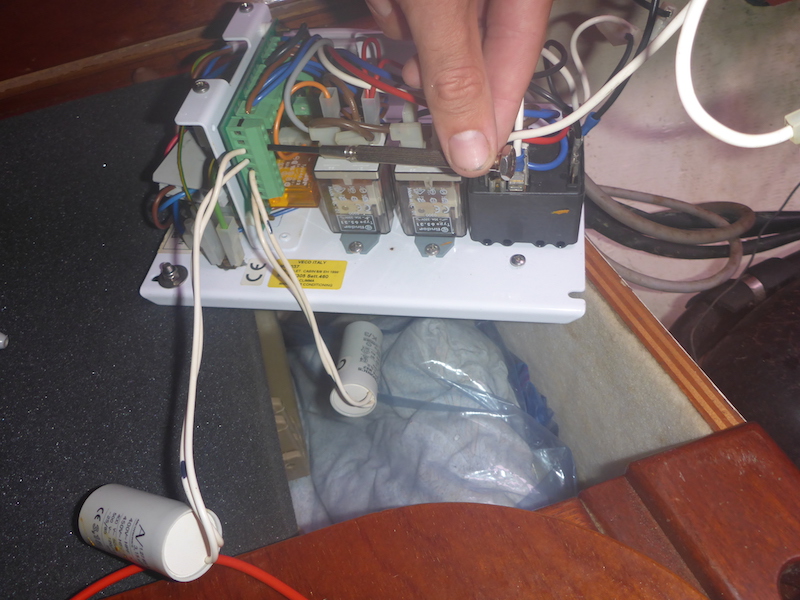
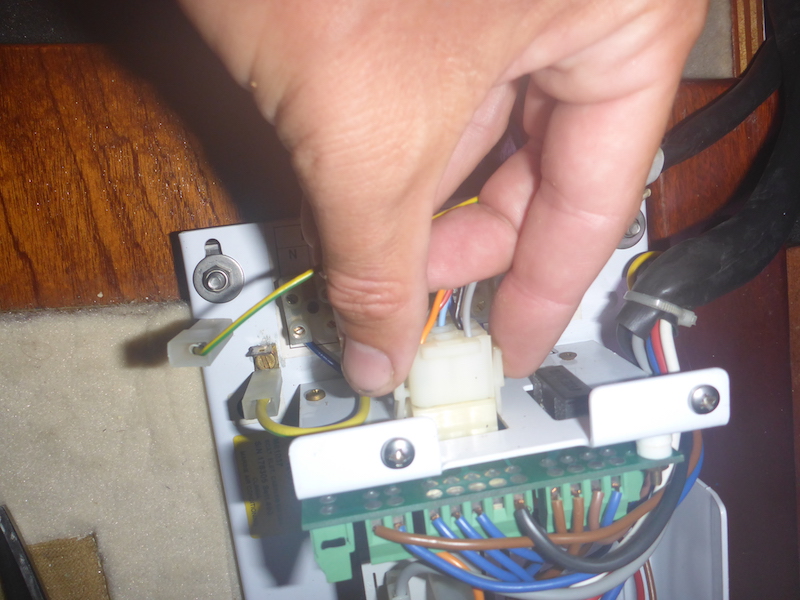
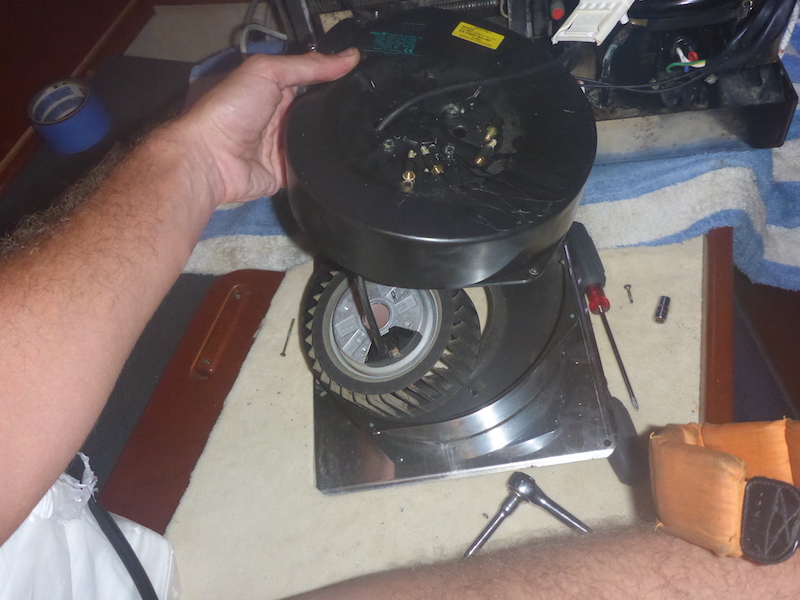
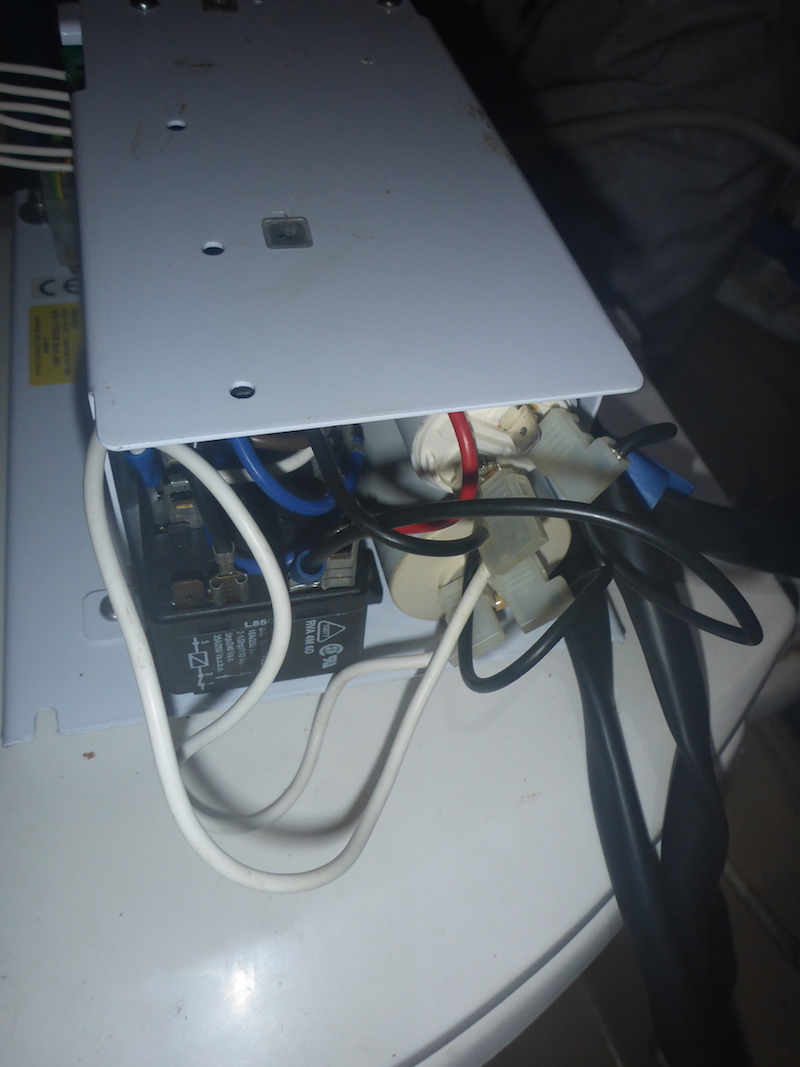
Now I am getting the control box loose.
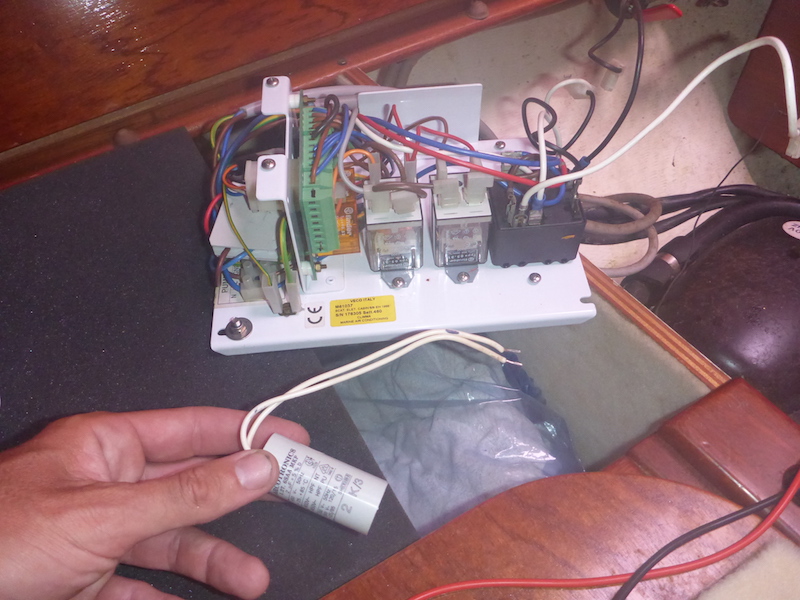
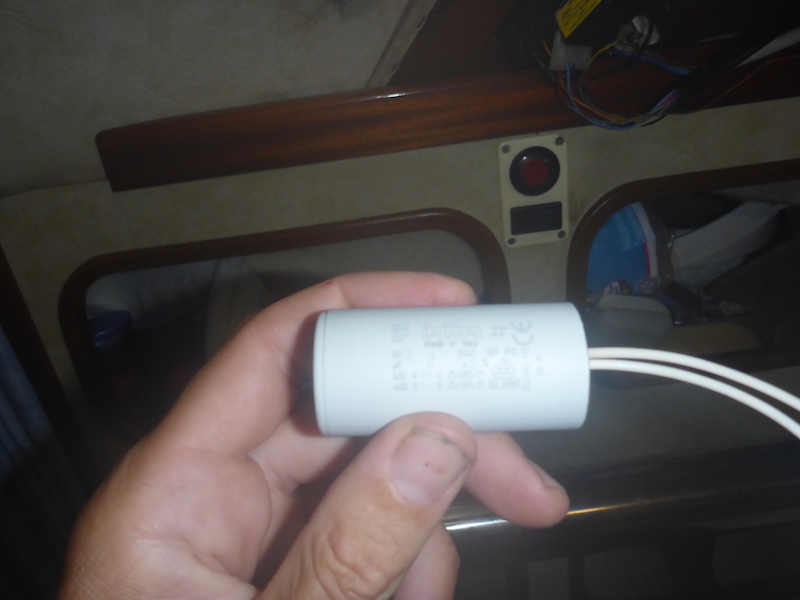
You can see the 3 capacitors for the fans
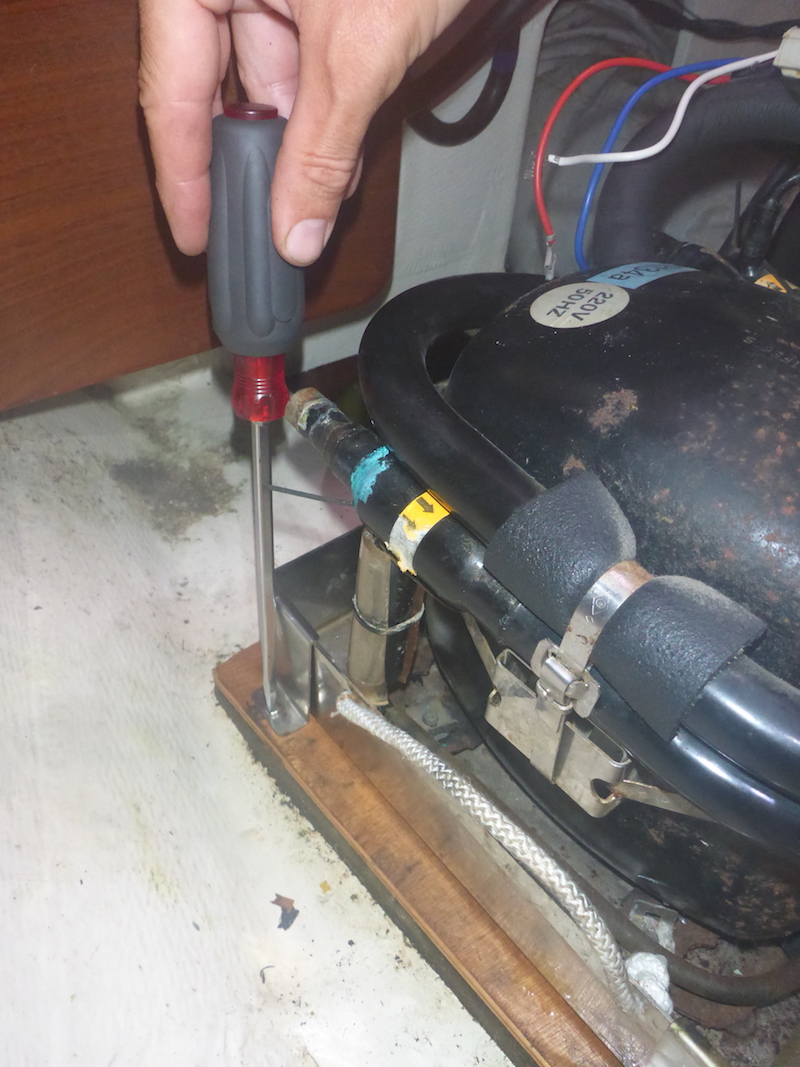
Disconnecting the current of the Aft Climma Marine Compact 9 Control Box and testing voltage
Then inside the 2 to start the compressor
I did not get shock, but was told it is possible and hurts.
You are supposed to "discharge" the capacitors.

At first I thought I found my problem, but in fact this was from a previously burnt capacitor.
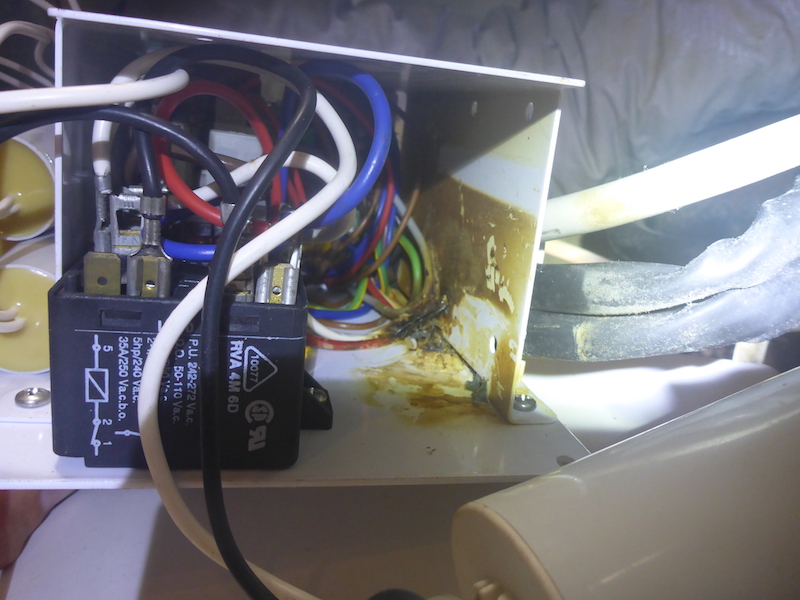
Removing the top of the control box
inside view
Here is the timer set on 15 or so seconds.
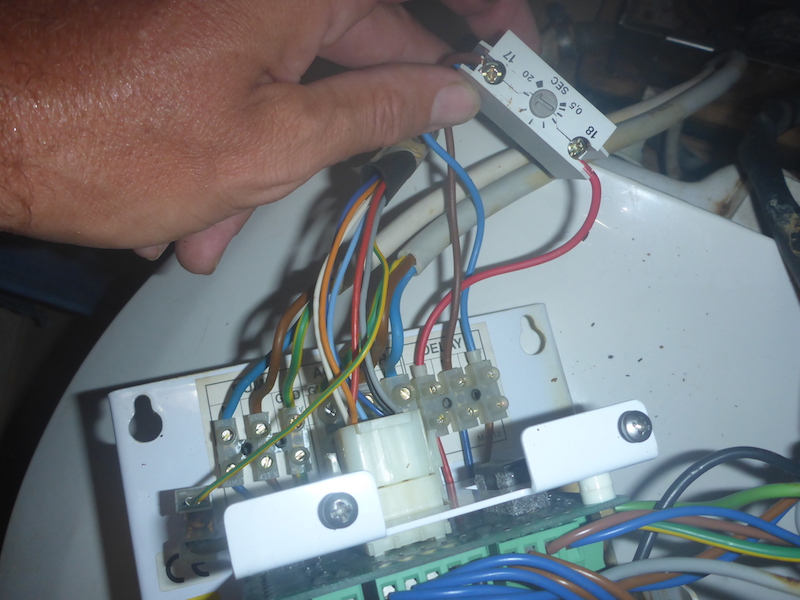
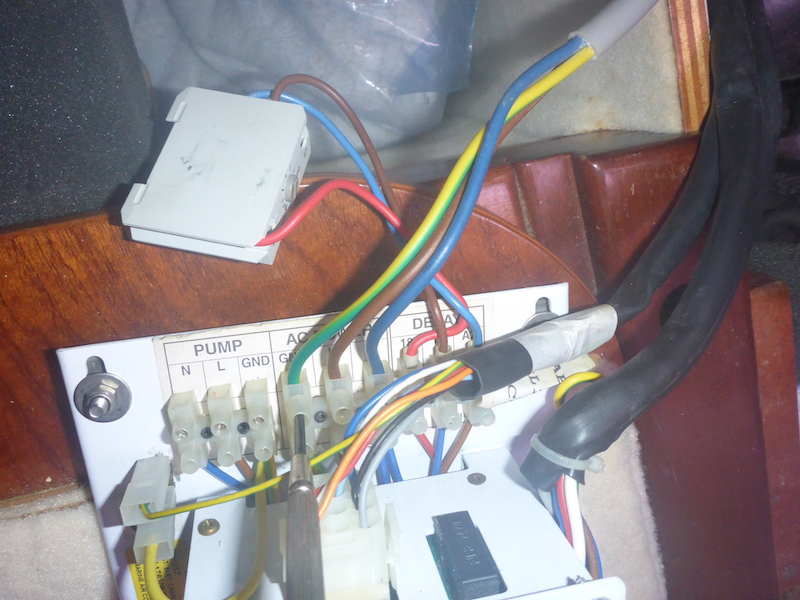
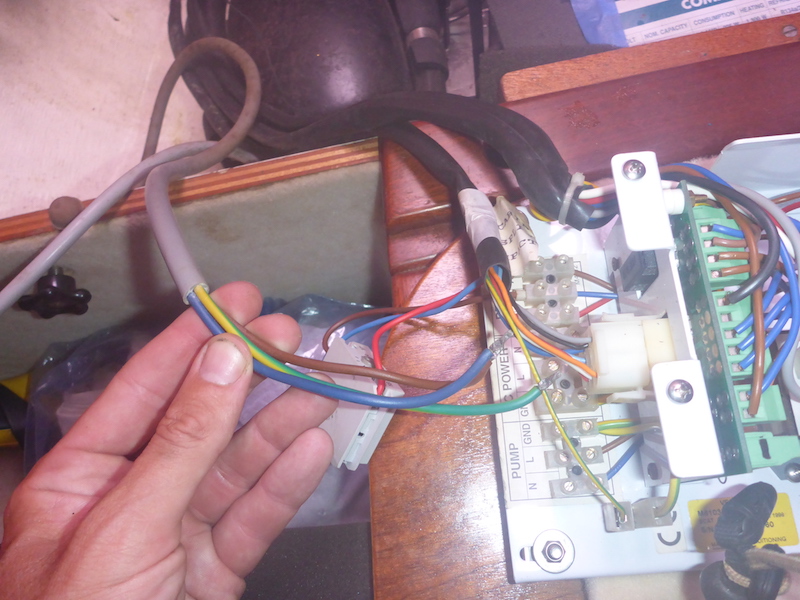
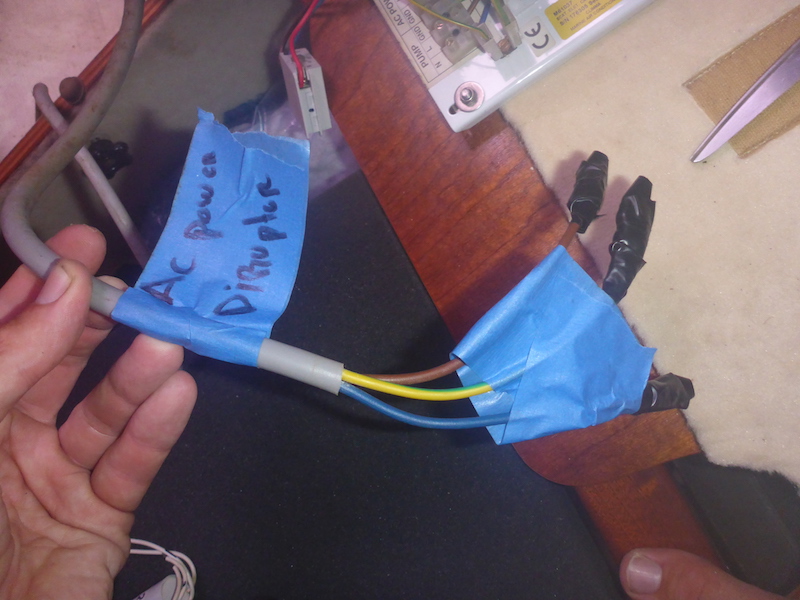
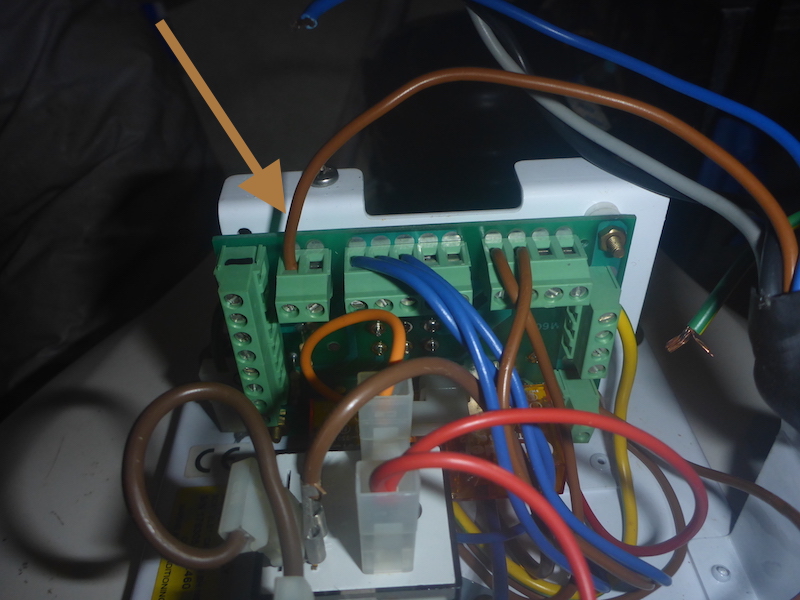
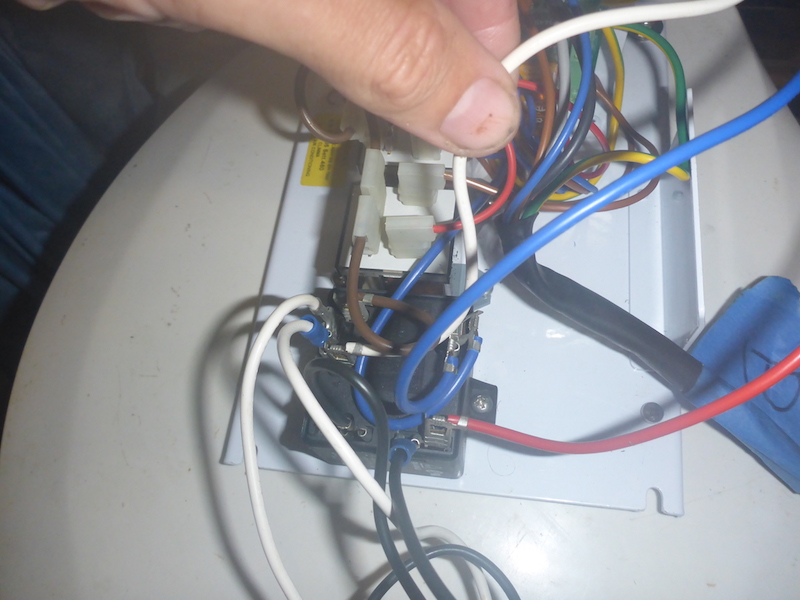
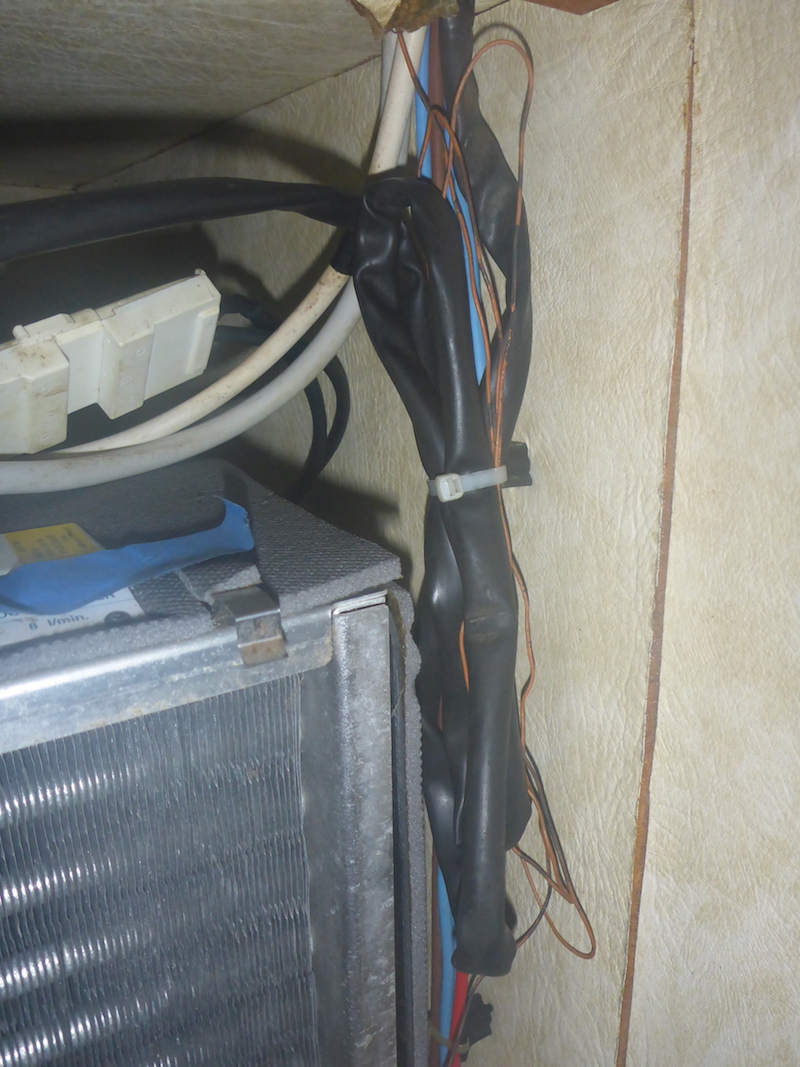
The 3 wires going to the 220 volt panel
Now removed - then I put clamp on them
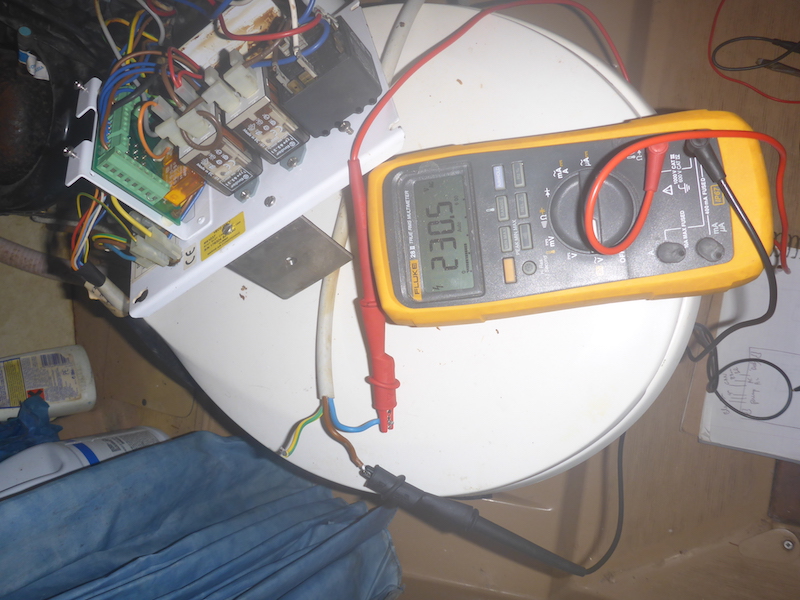
Then I turn the Diruptor on the 220 Volt panel
Then I measure 230 Volt of electricity.
This allow me to confirm there was no short in the wiring going to the air conditioning unit.
Then I Switch Off the Diruptor on the 220 Volt panel.
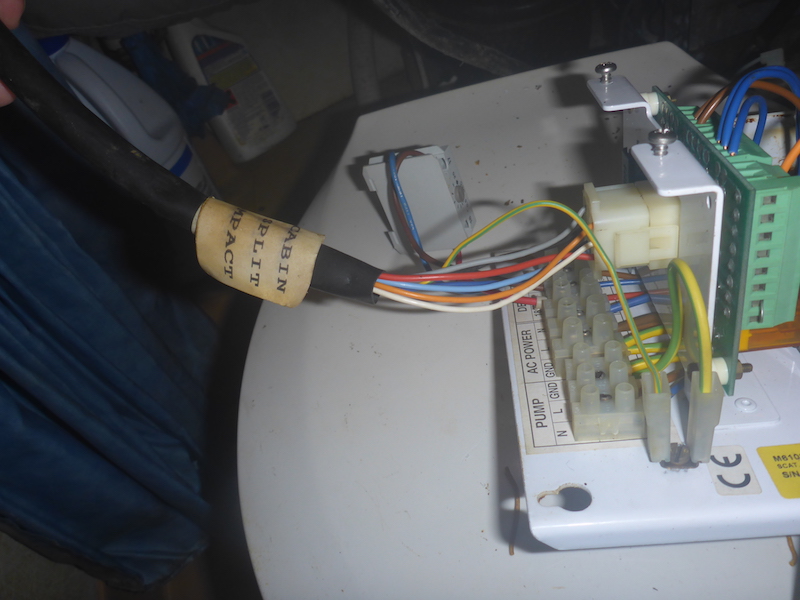
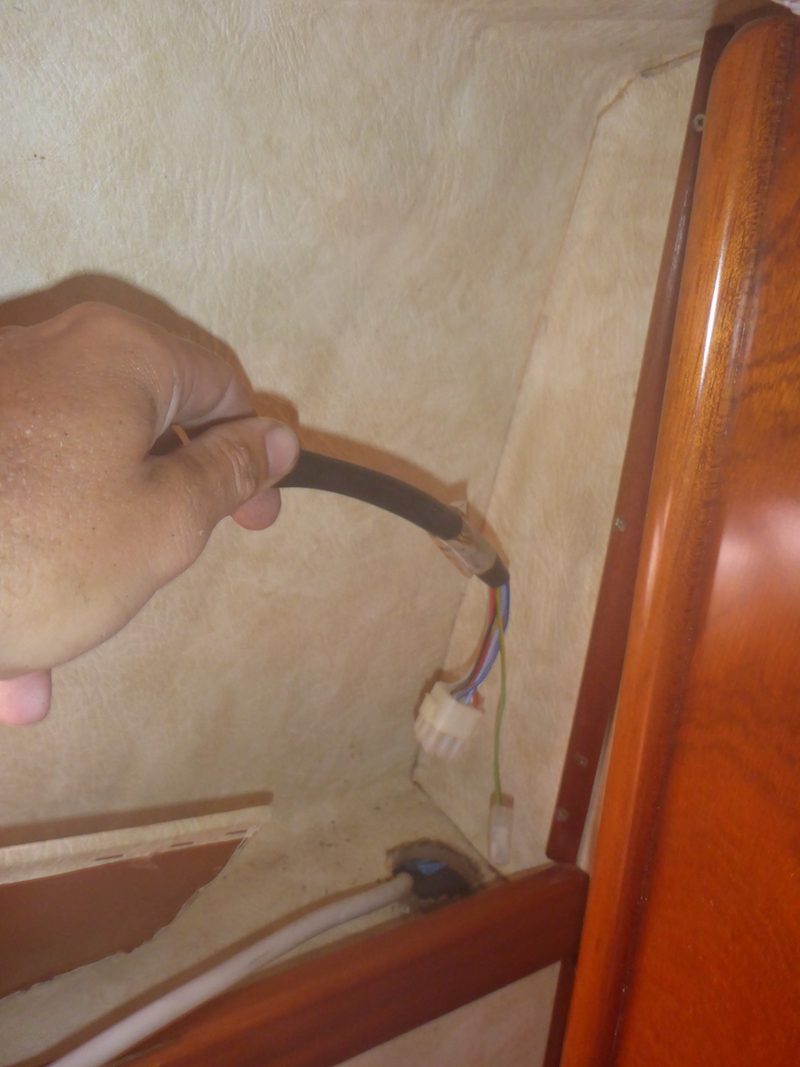
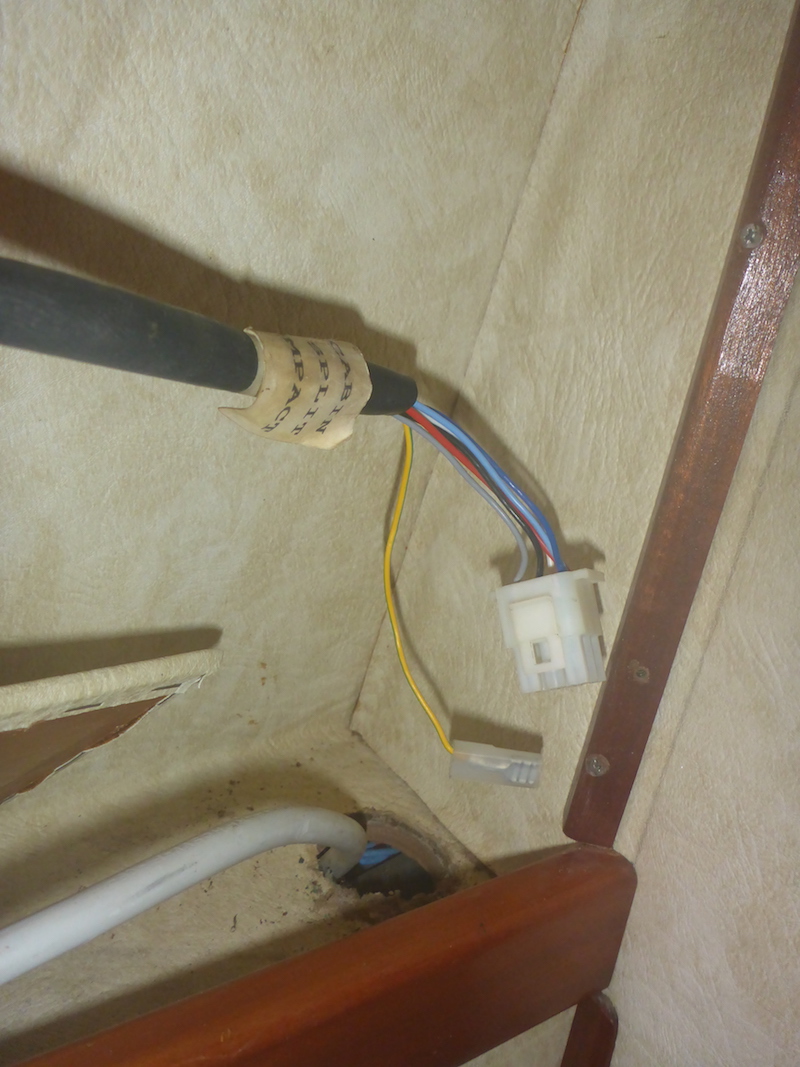
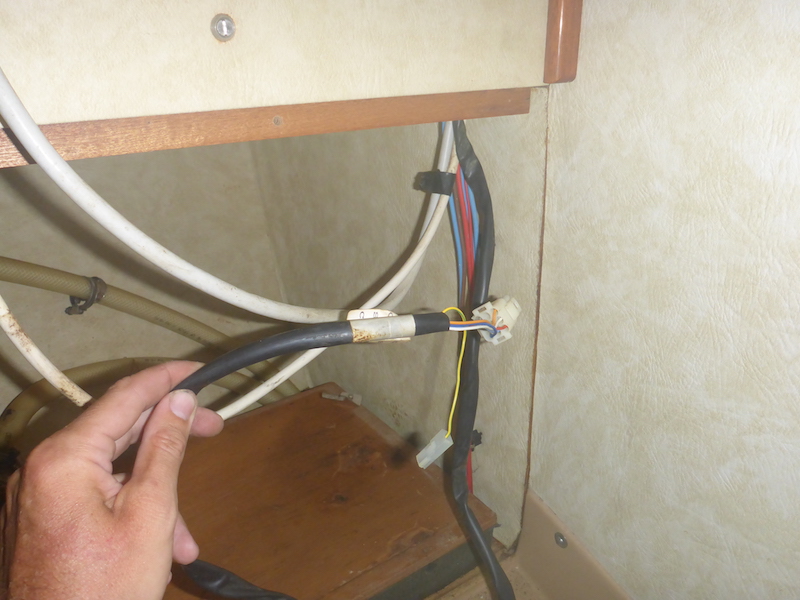
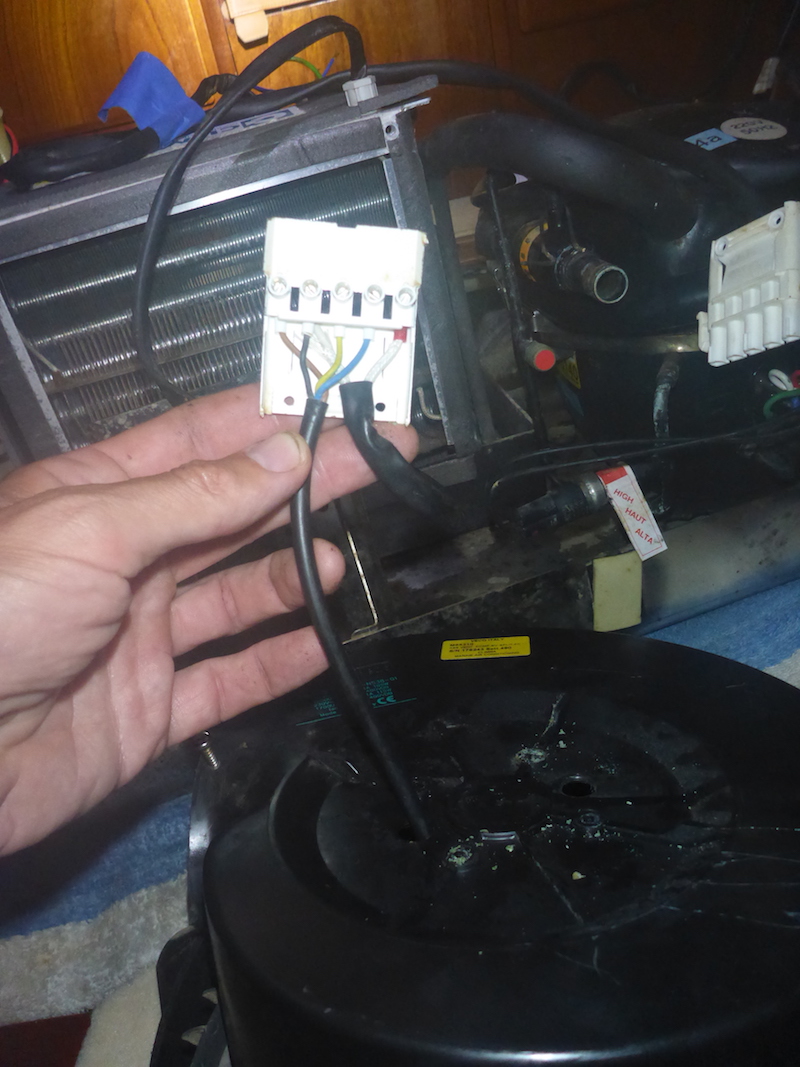
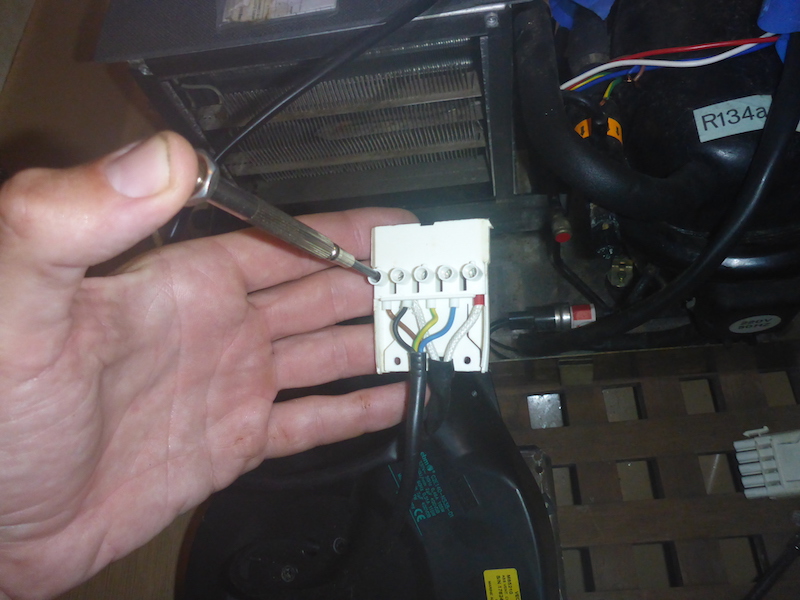
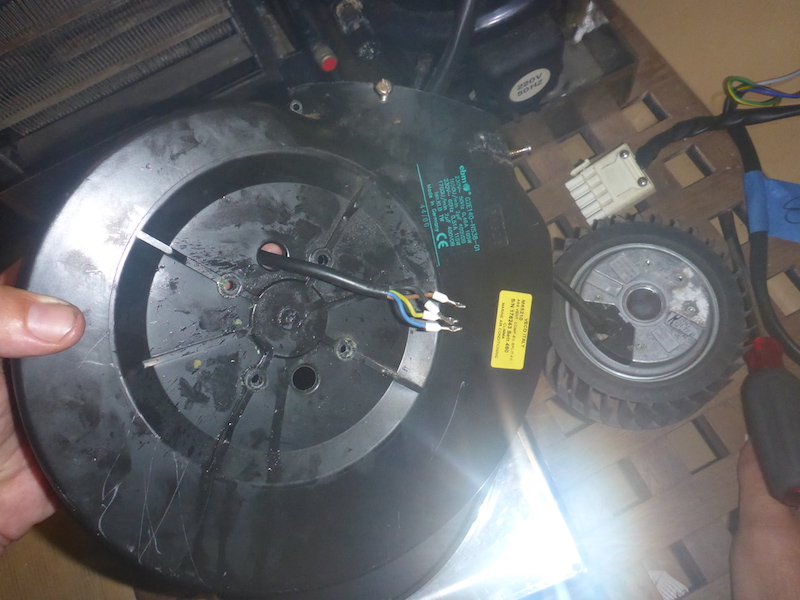
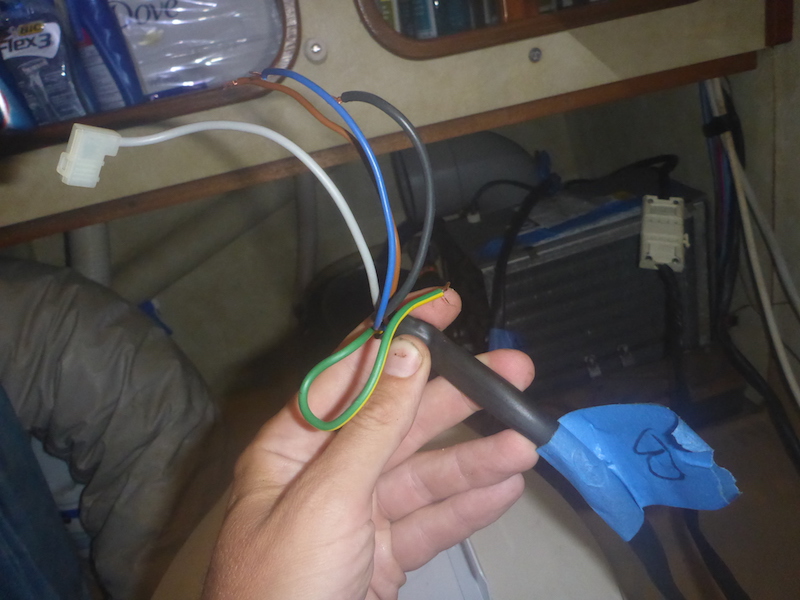
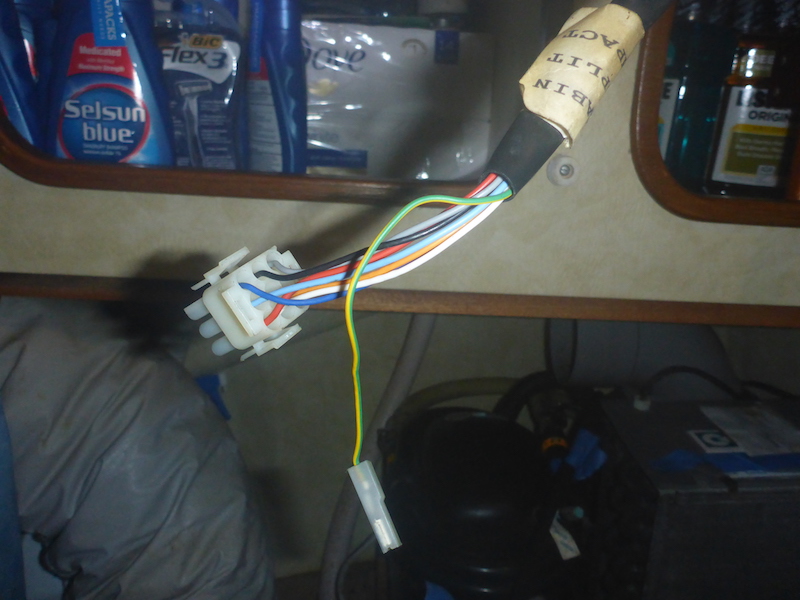
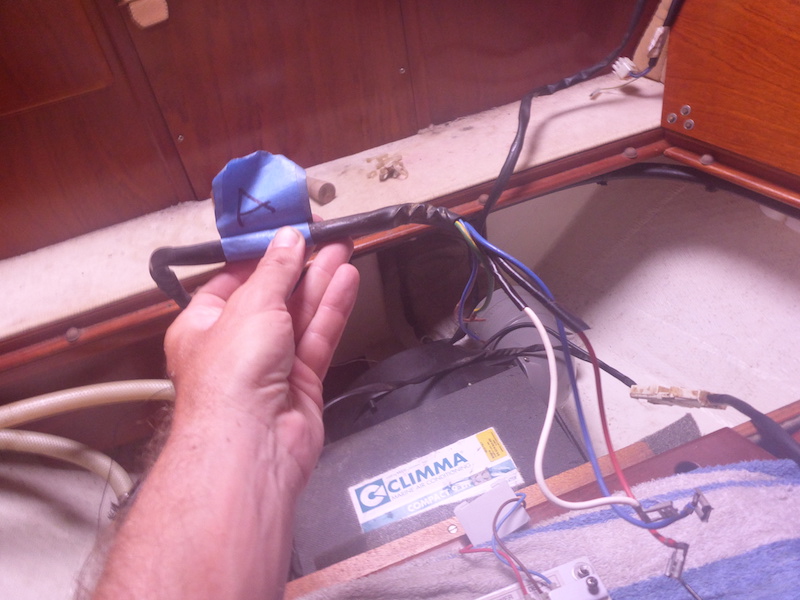
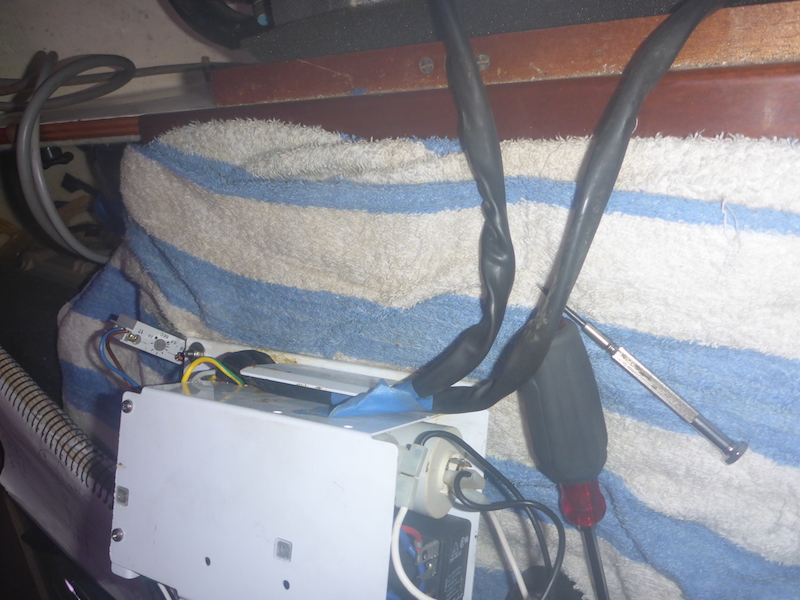
Disconnecting the harnesses of the Aft Climma Marine Compact 9
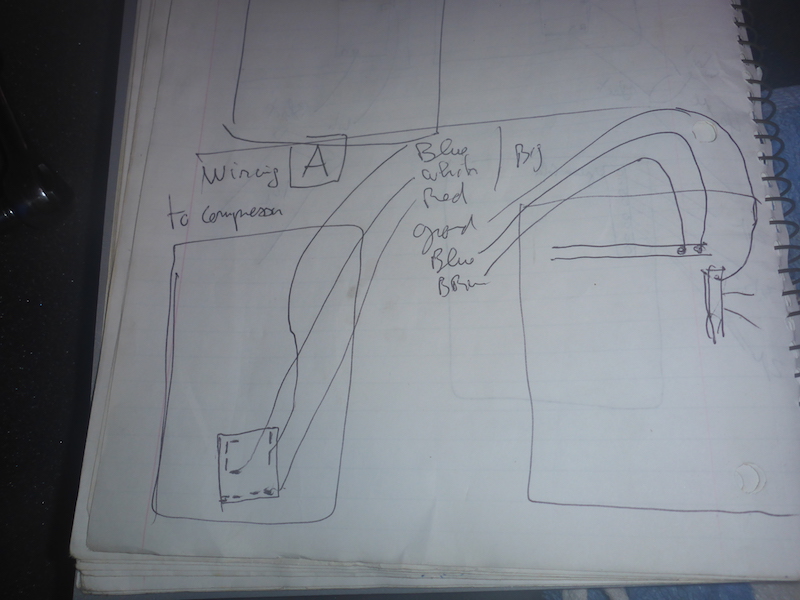
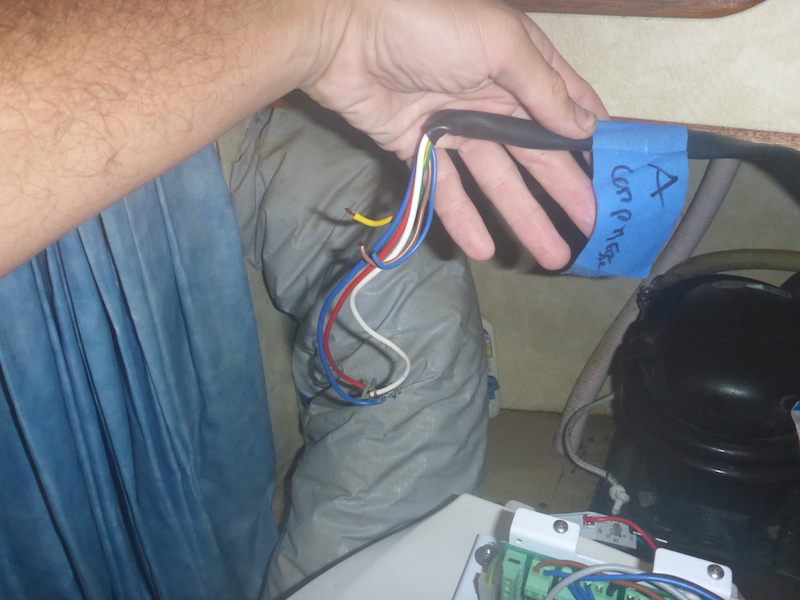
I randomly named the first harness "A" as I will find out later, it is going to the Compressor
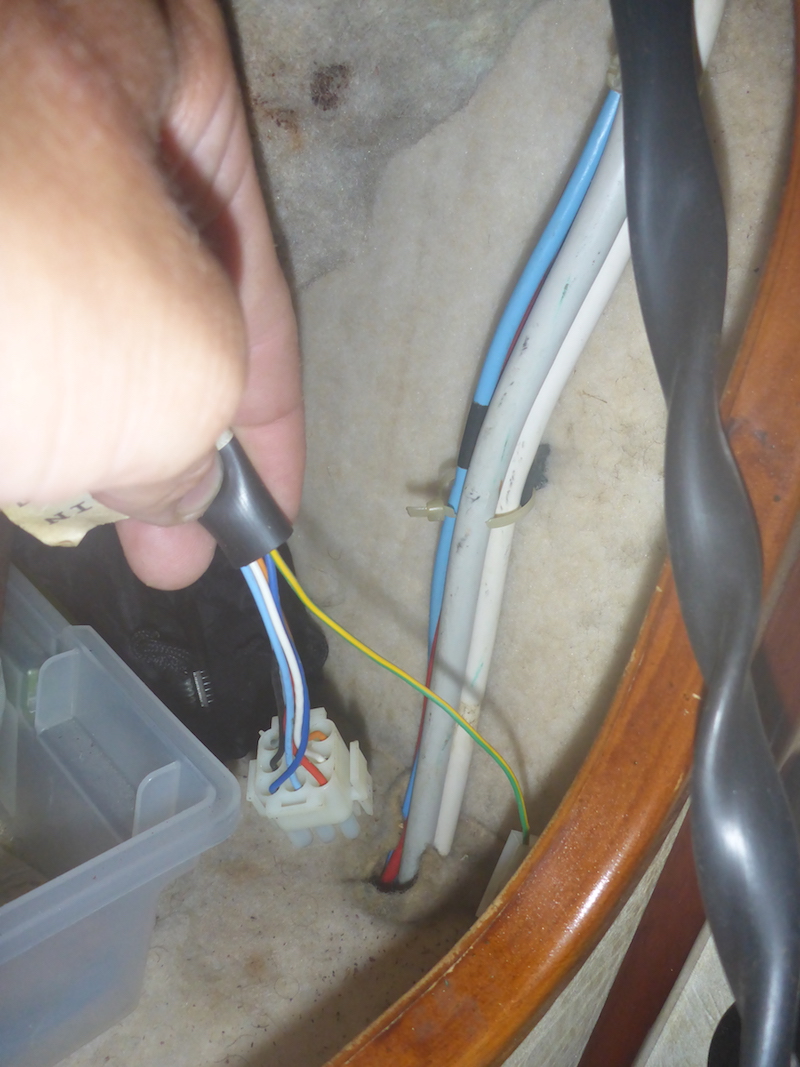
I took note of the wire position and removed the blue, white and red wires
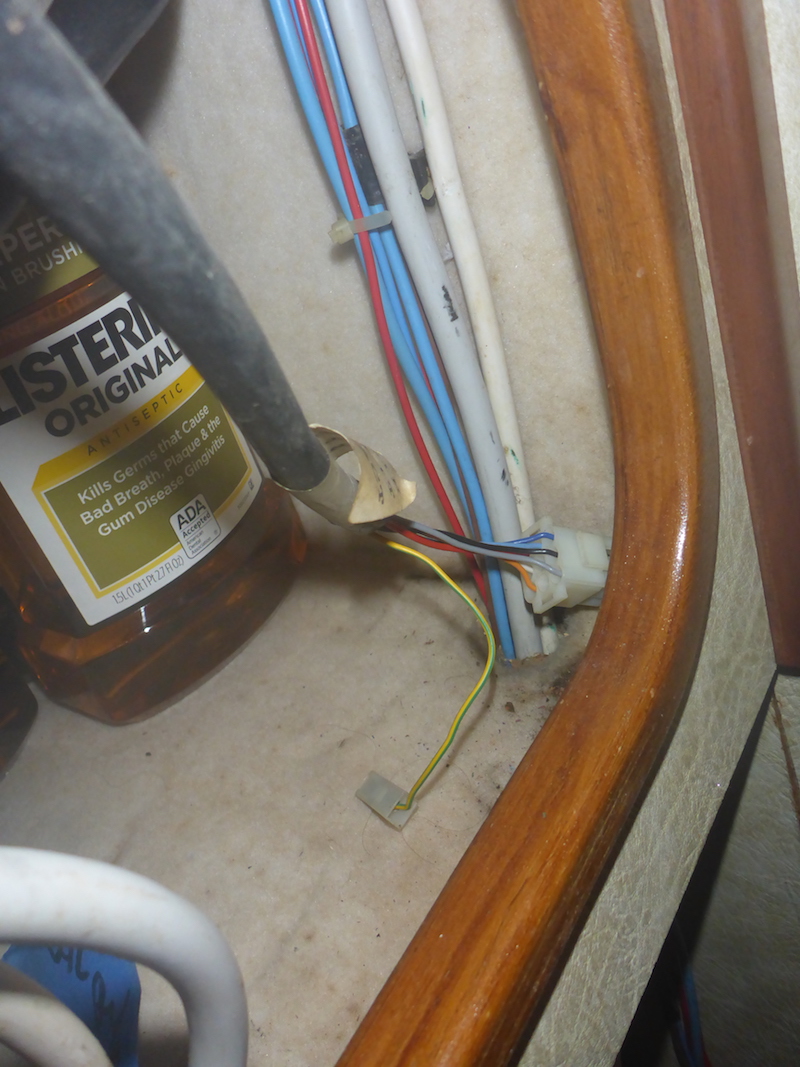
Then the brown, blue and ground (yellow/green) wires

Here is a picture of my notes
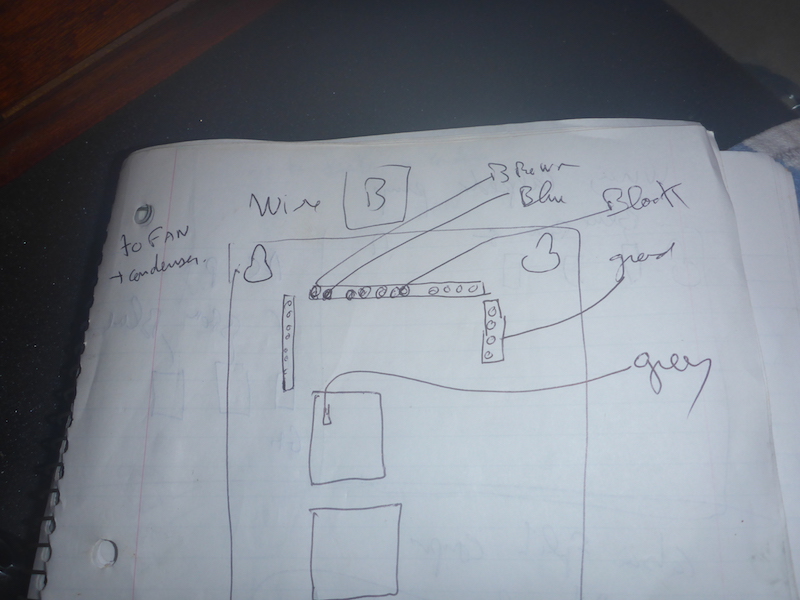
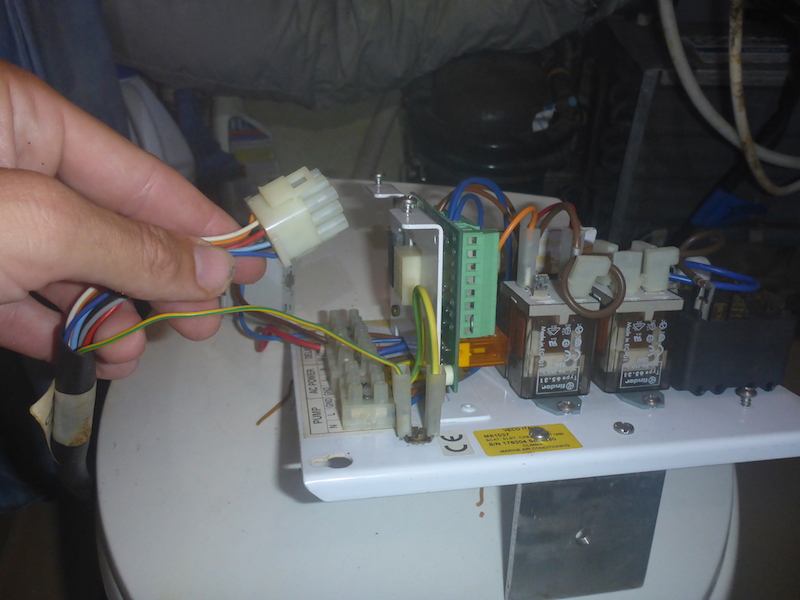
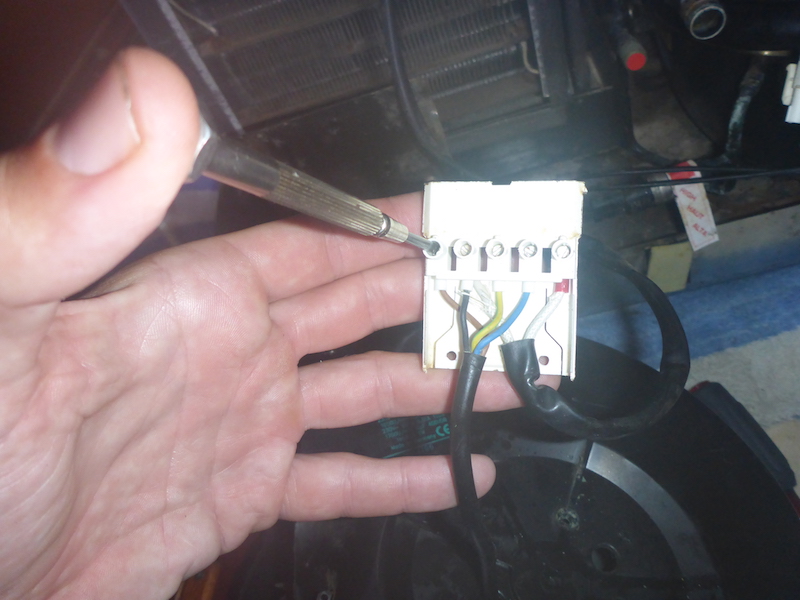
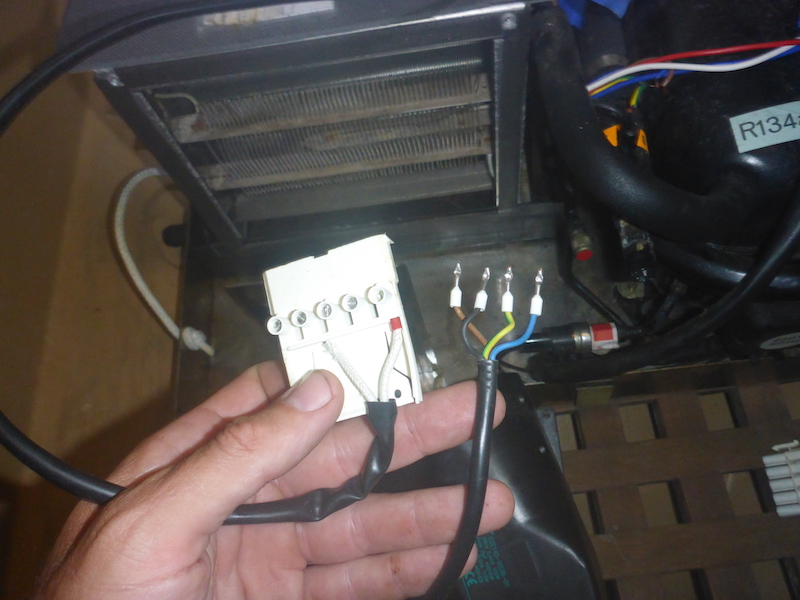
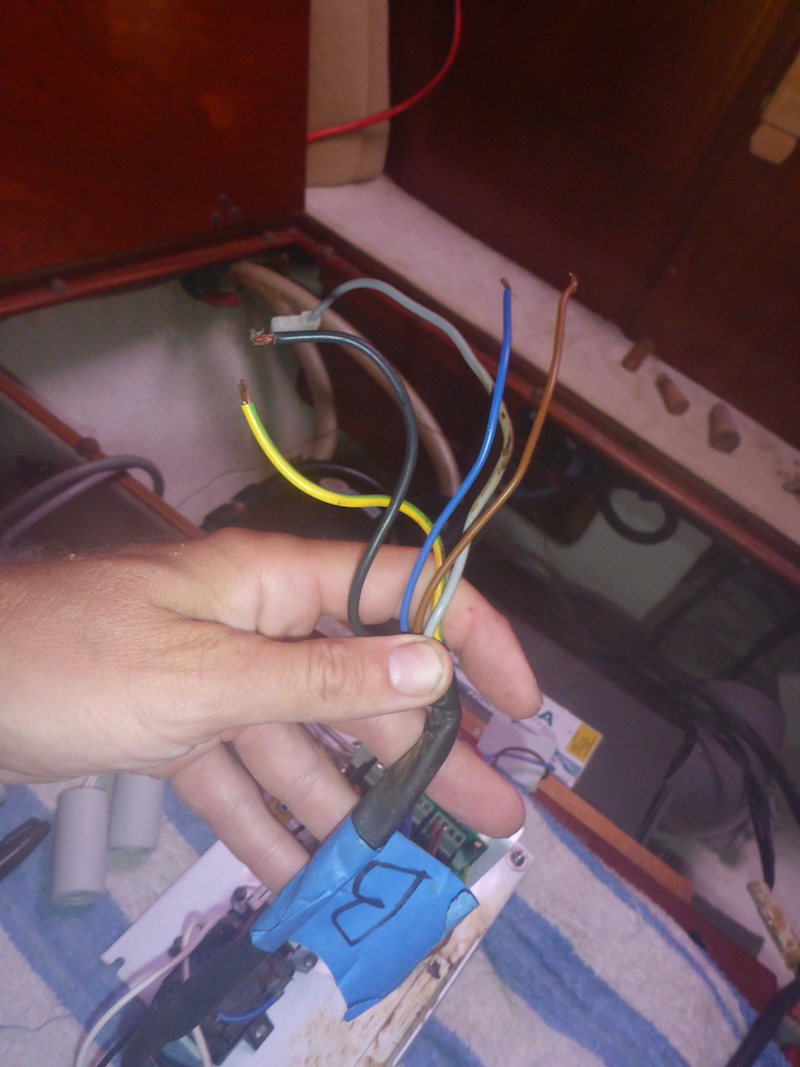
Then I label the second harness "B", as I will find out later it goes to the fan
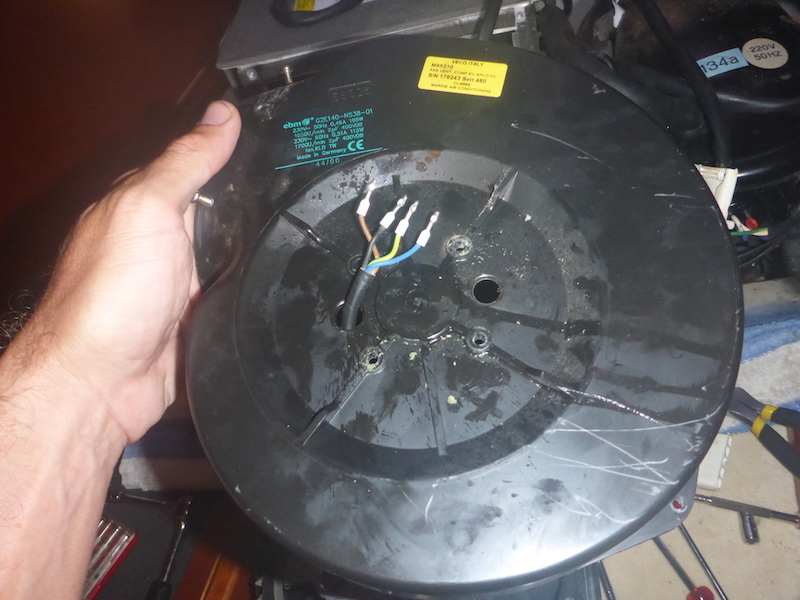
I took note of the wire position and removed the brown, blue, black, ground (yellow/green) and grey wires

Here is a picture of my notes
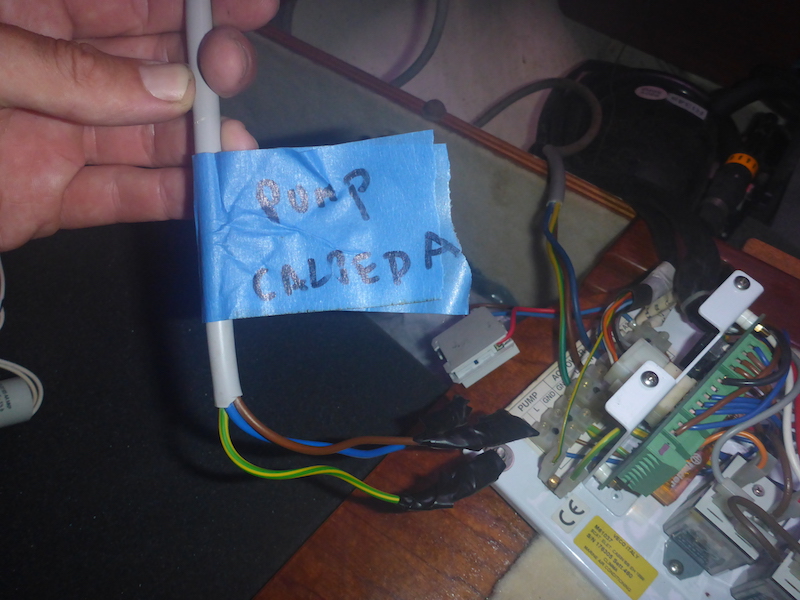
Disconnecting the Calpeda pump and control harness of the Aft Climma Marine Compact 9
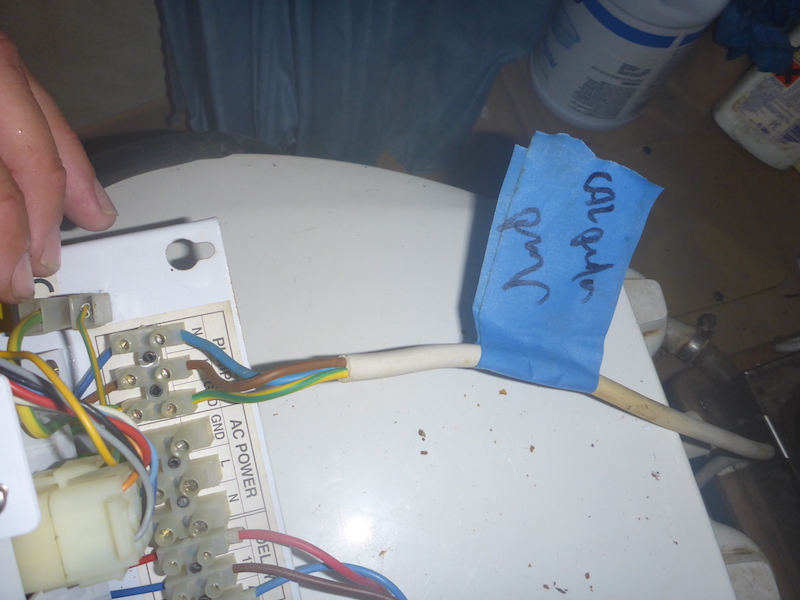
I labeled the wire going to the Calpeda pump then removed them
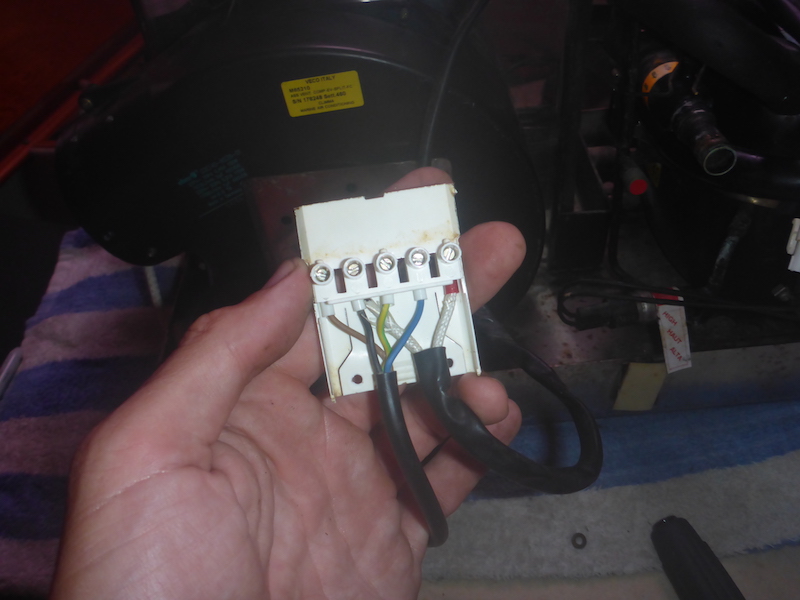
Here is the harness going to the control box
Easy to unplug including the ground
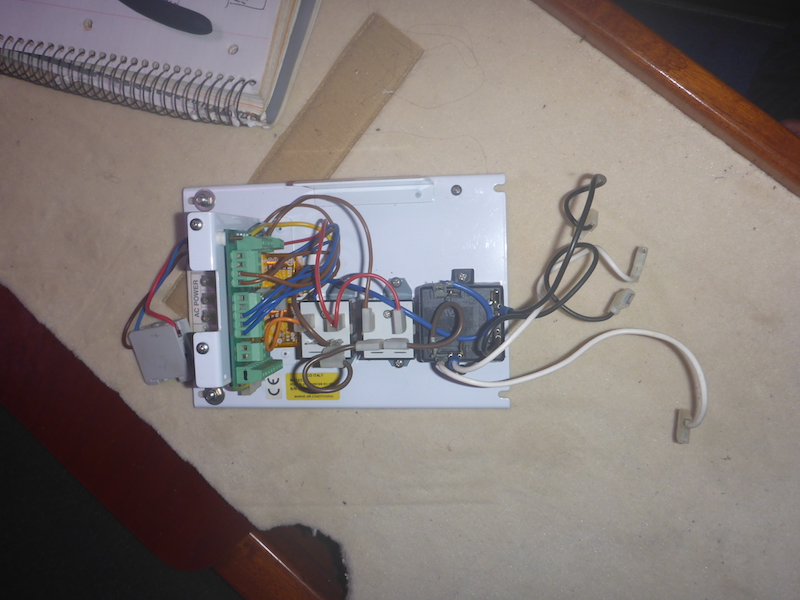
Now the control box is completely disconnected
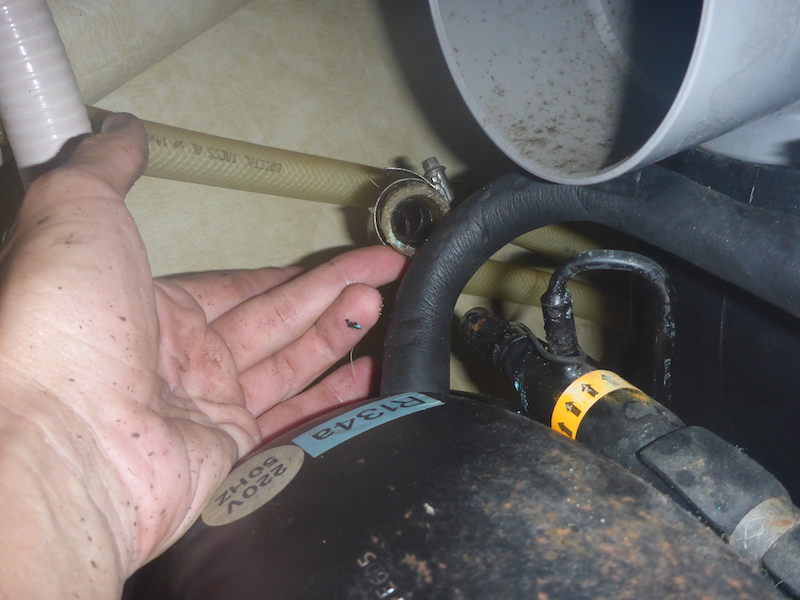
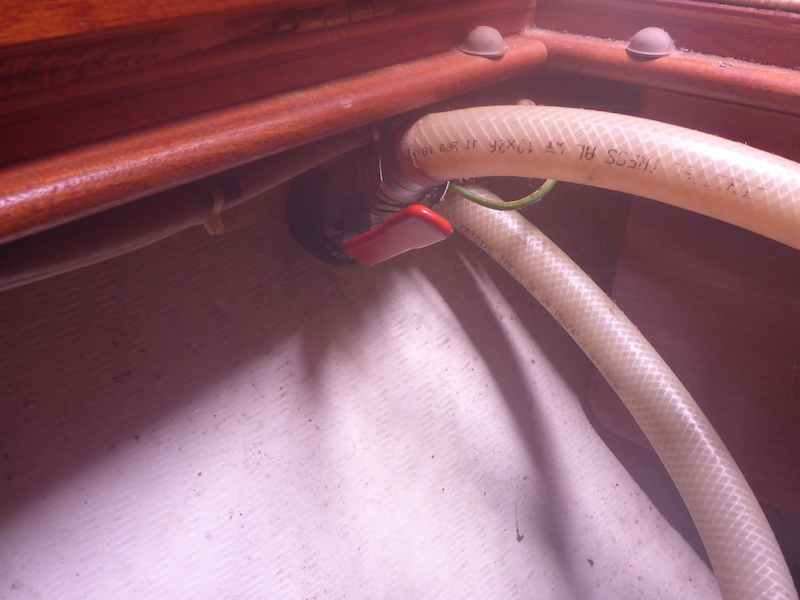
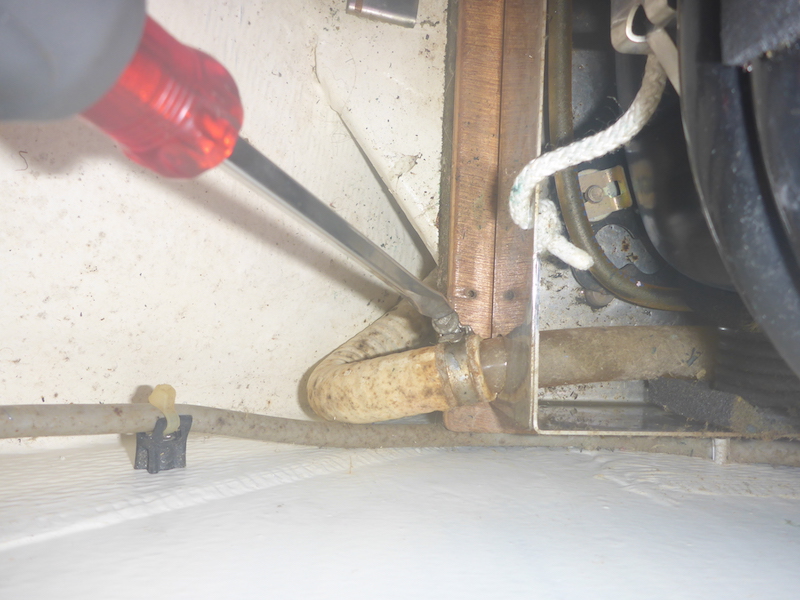
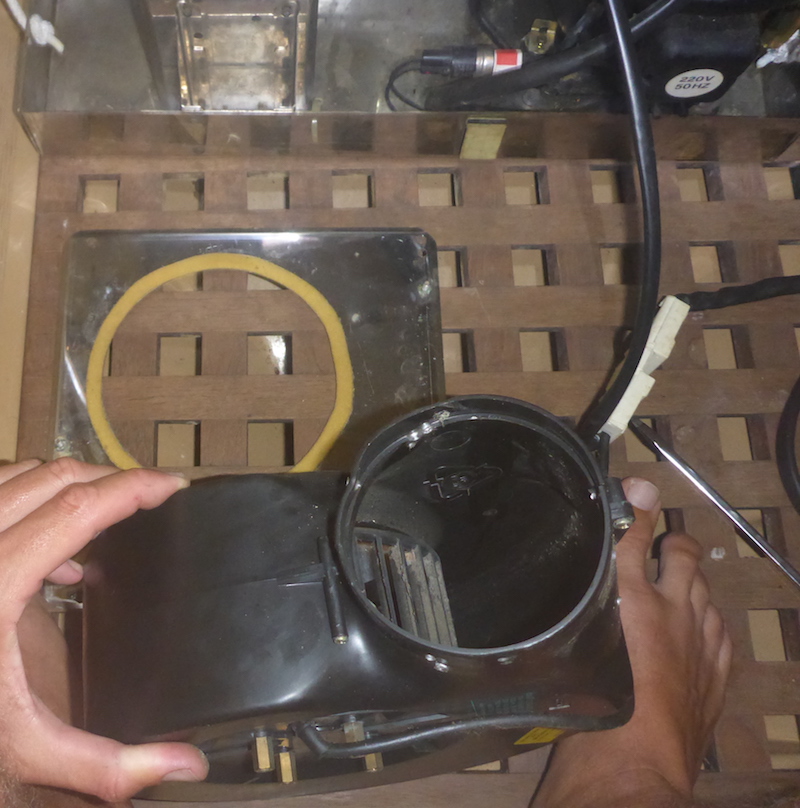
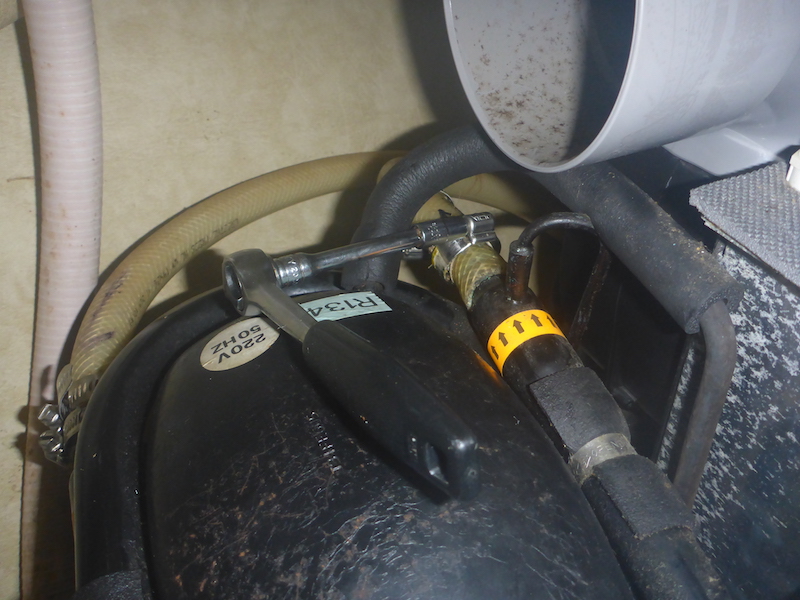
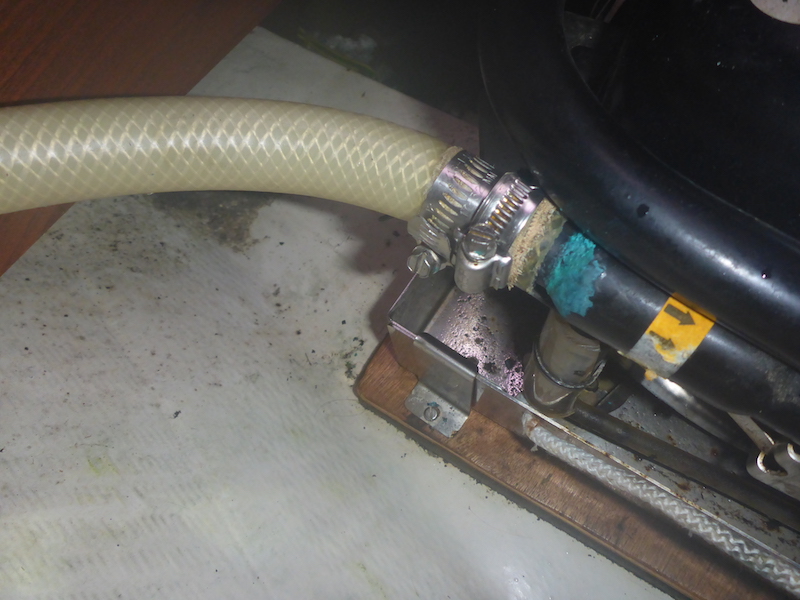
Disconnecting the air duct and cooling hoses of the Aft Climma Marine Compact 9
remove the clamp holding the hose
Removing the hose of the overflow (this was actually quite difficult)
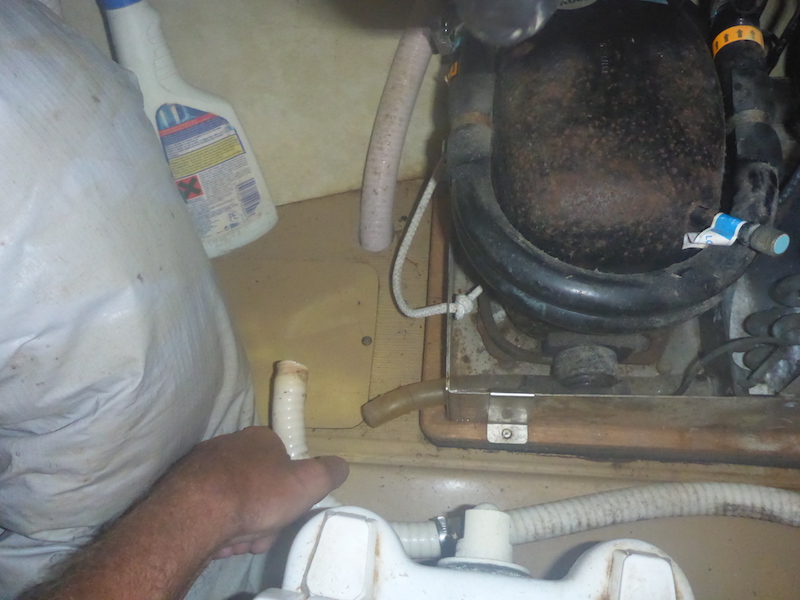
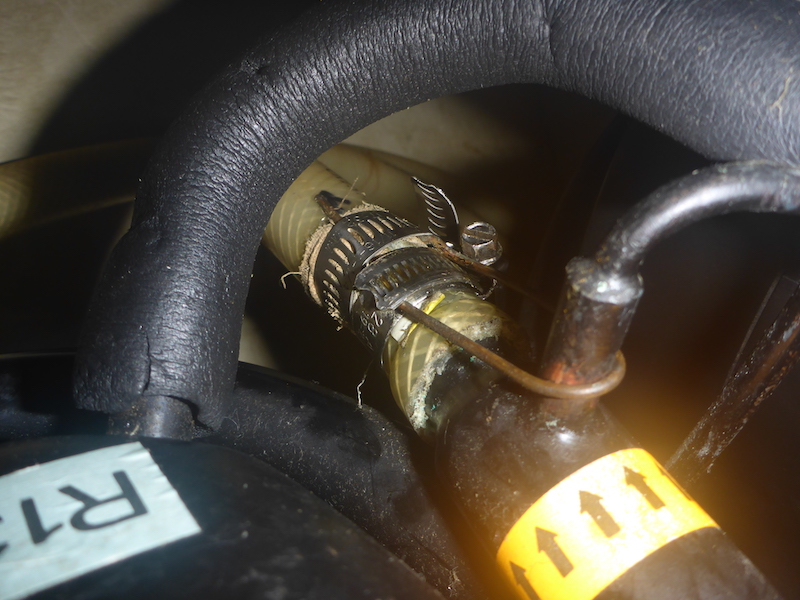
Remove the clip holding the cooling water to the compressor.

I realize how important are these clamp, should there be a failure water would fill up quickly in the boat from the calpeda pump.
They are two clamp and a metallic wire holding the second one
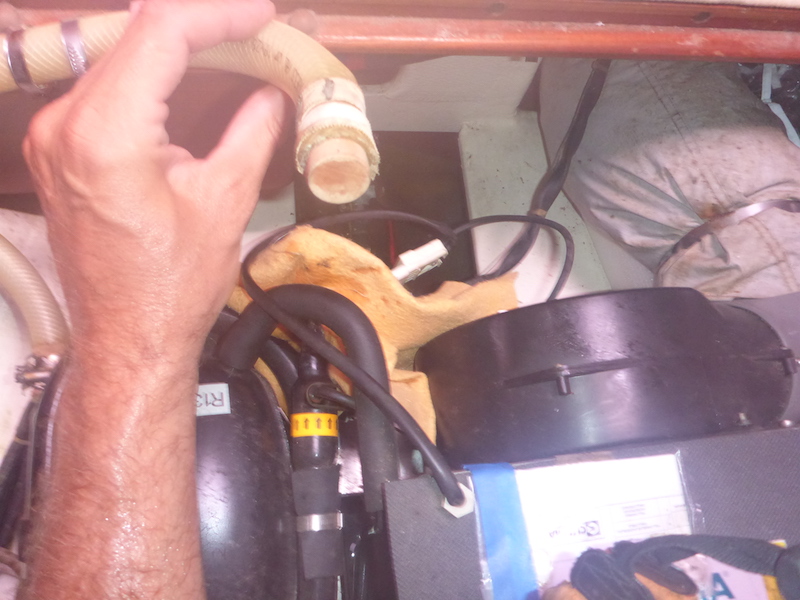
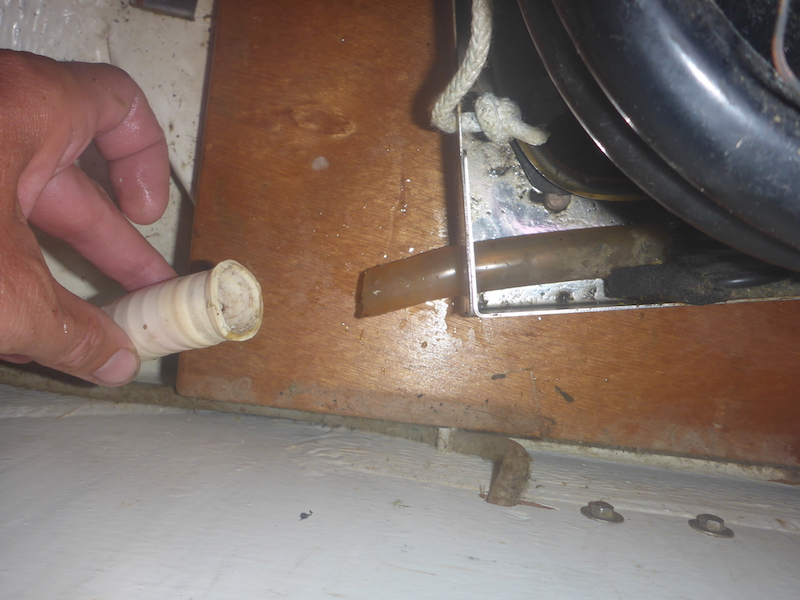
Hose removed
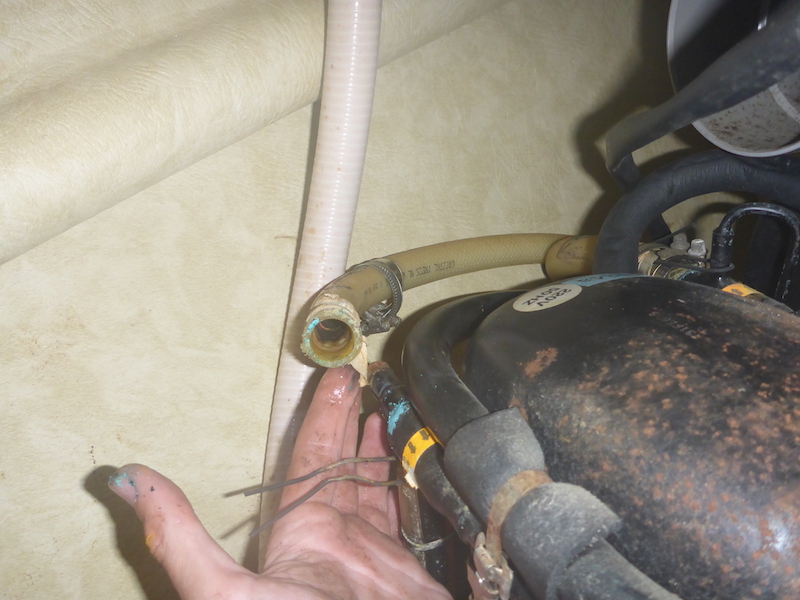
Same on the other side
Hose removed
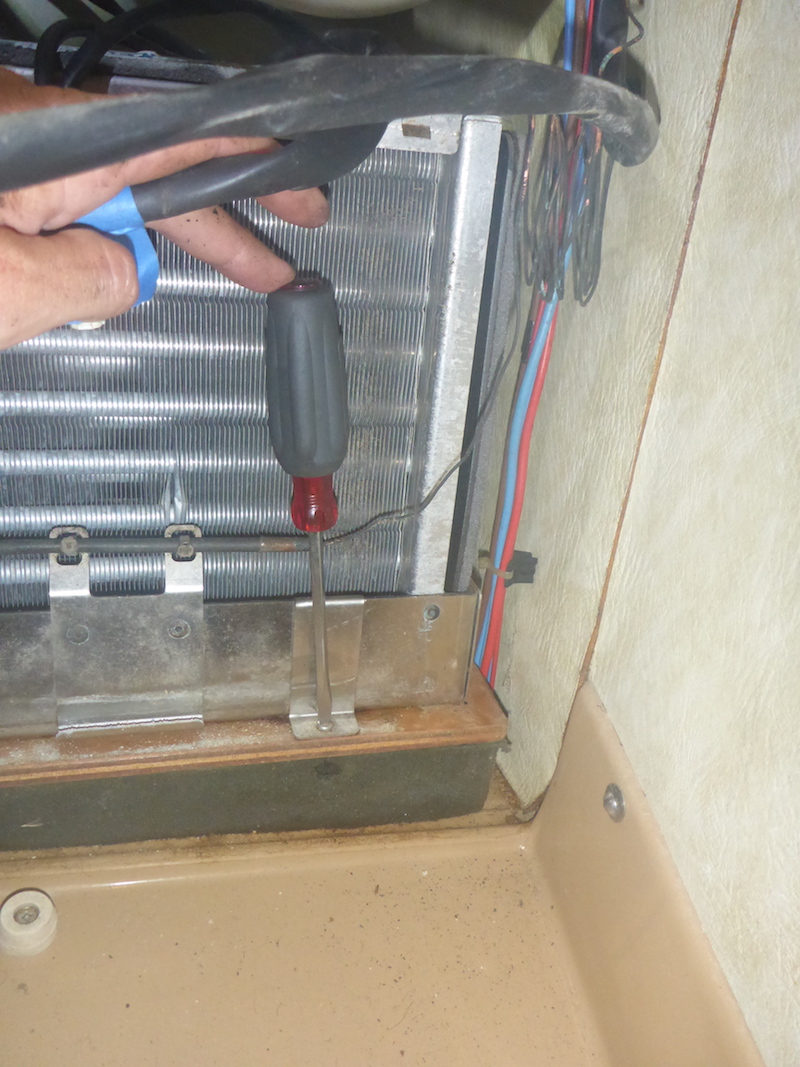
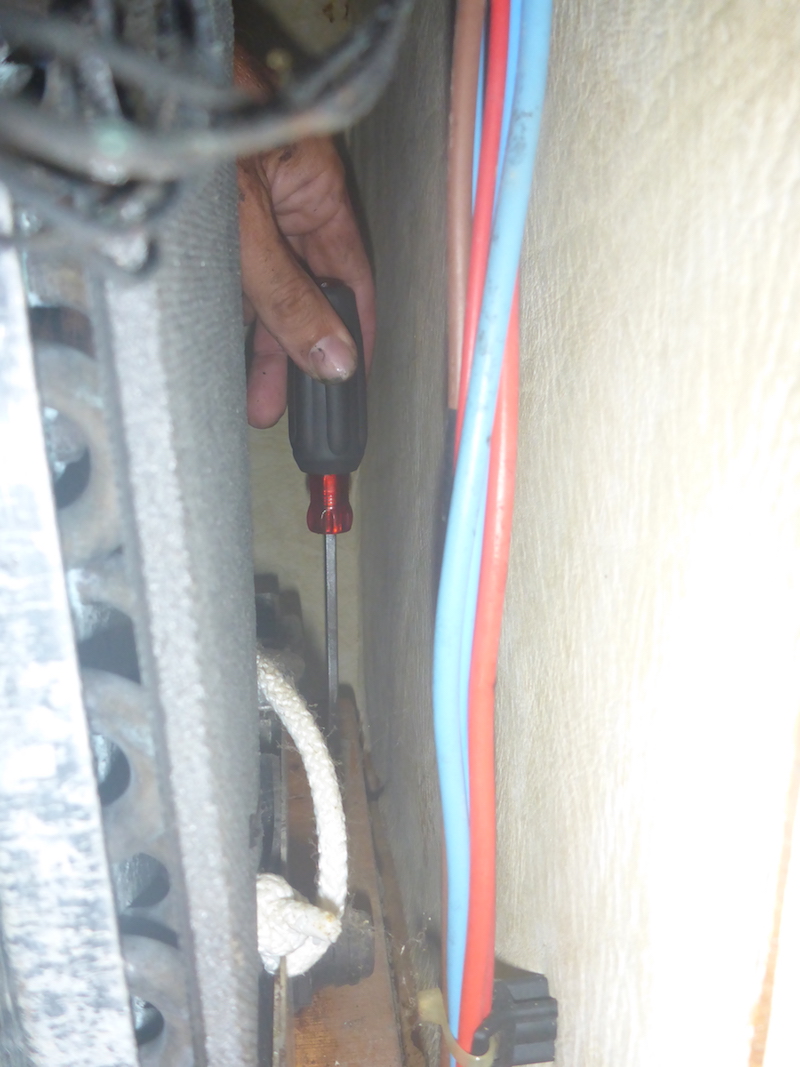
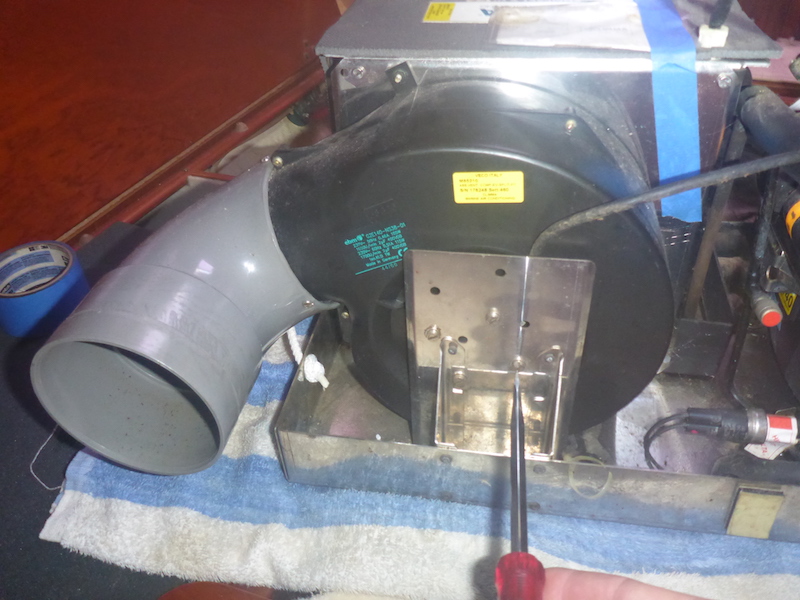
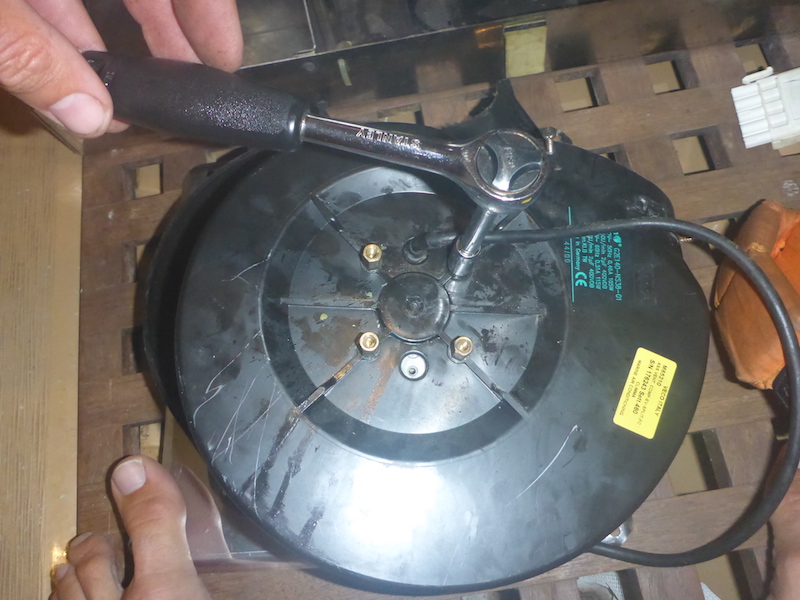
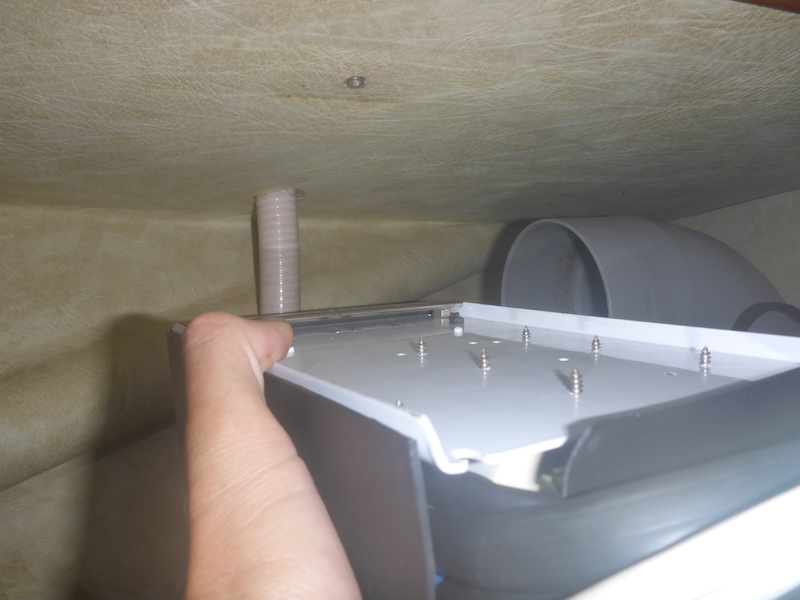
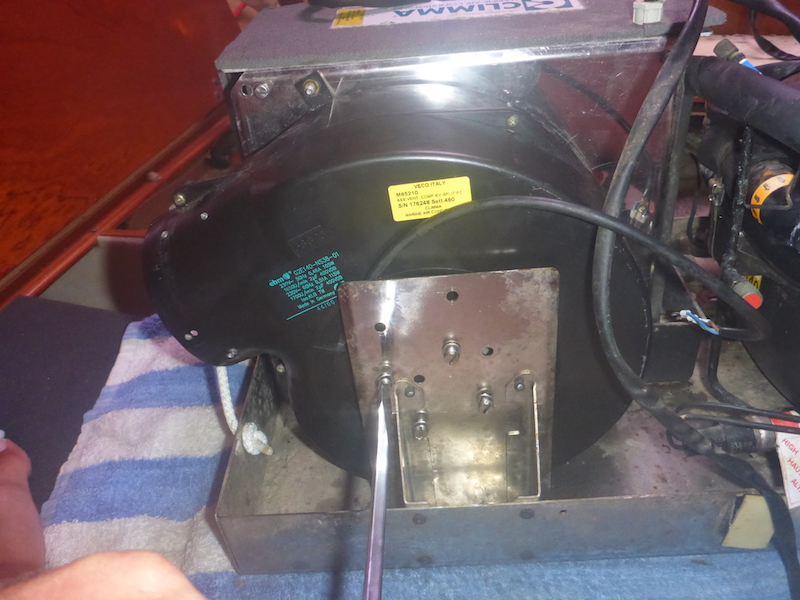
Removing the thermostats and holding brackets of the Aft Climma Marine Compact 9
Now unscrewing the attach
Close up of what is holding in place
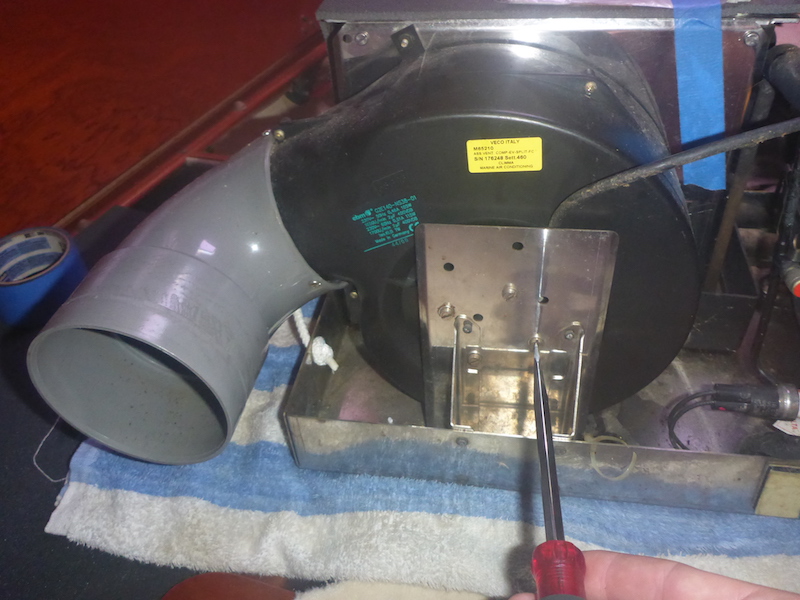
2nd one
3rd one
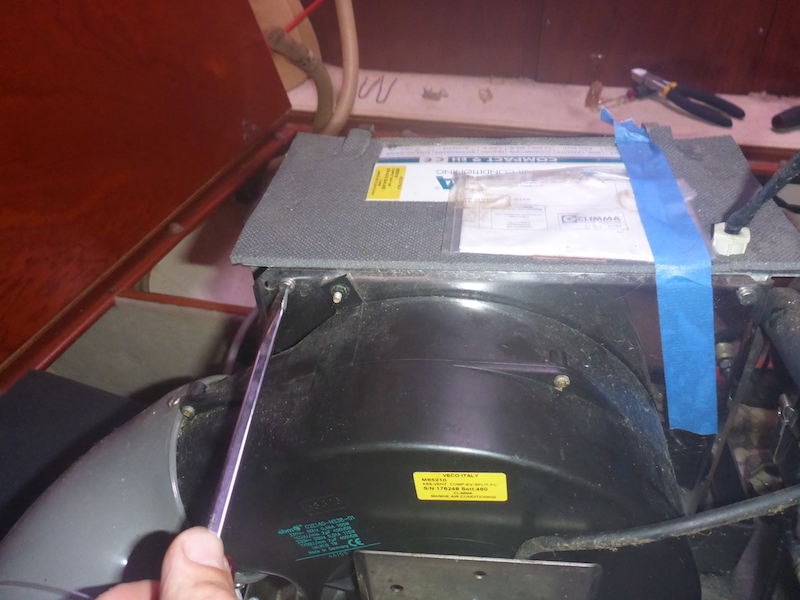
and 4th one on the side
Now can use the handle to slide the unit
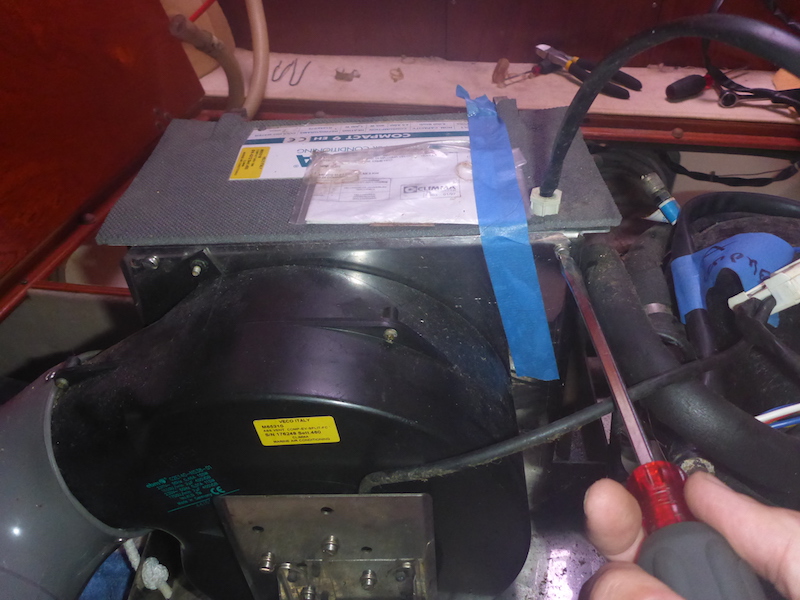
but before, let's not forget to remove the thermostat
sliding the unit
Now out
A look at the other side
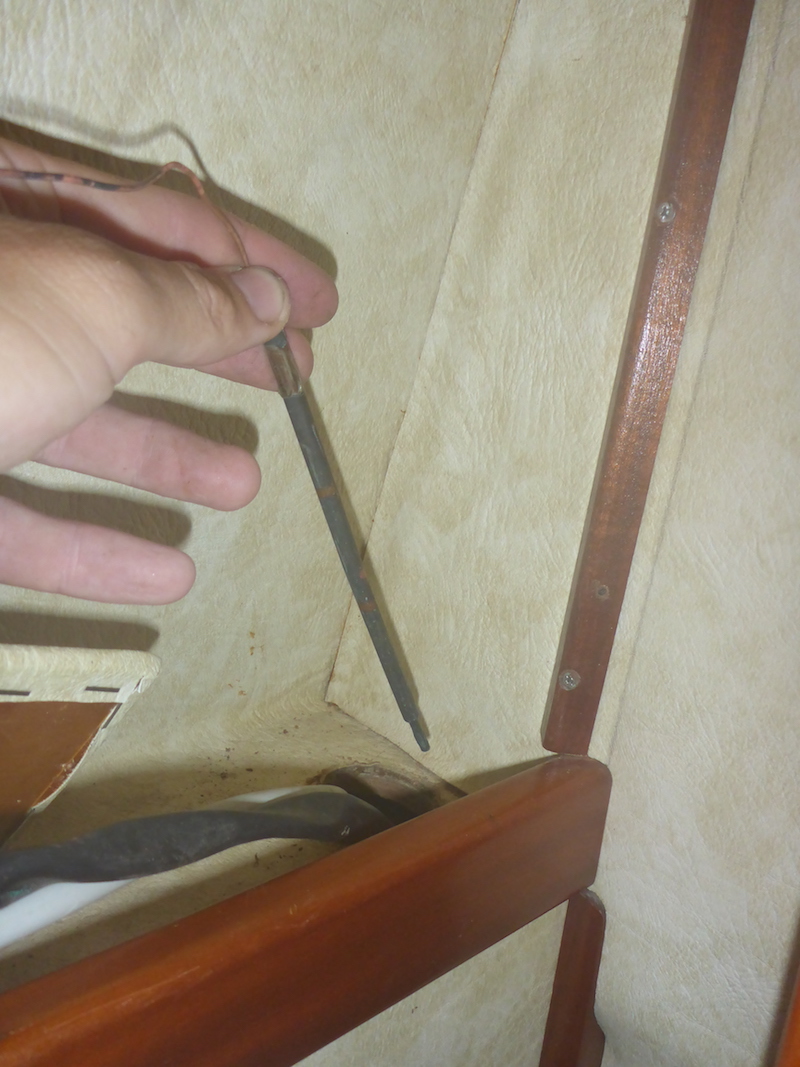
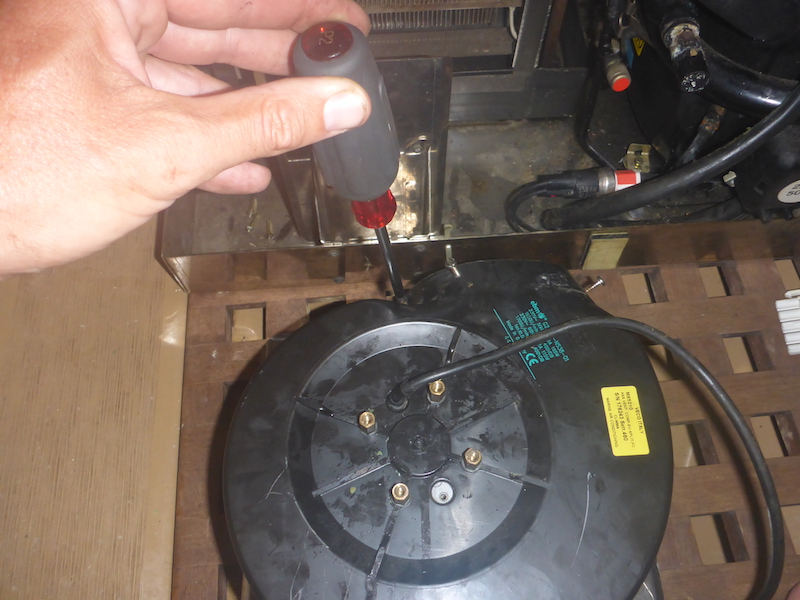
Removing the thermostats control of the Aft Climma Marine Compact 9
Not necessary to swap the units, but necessary in my test, I removed the thermostat adjuster
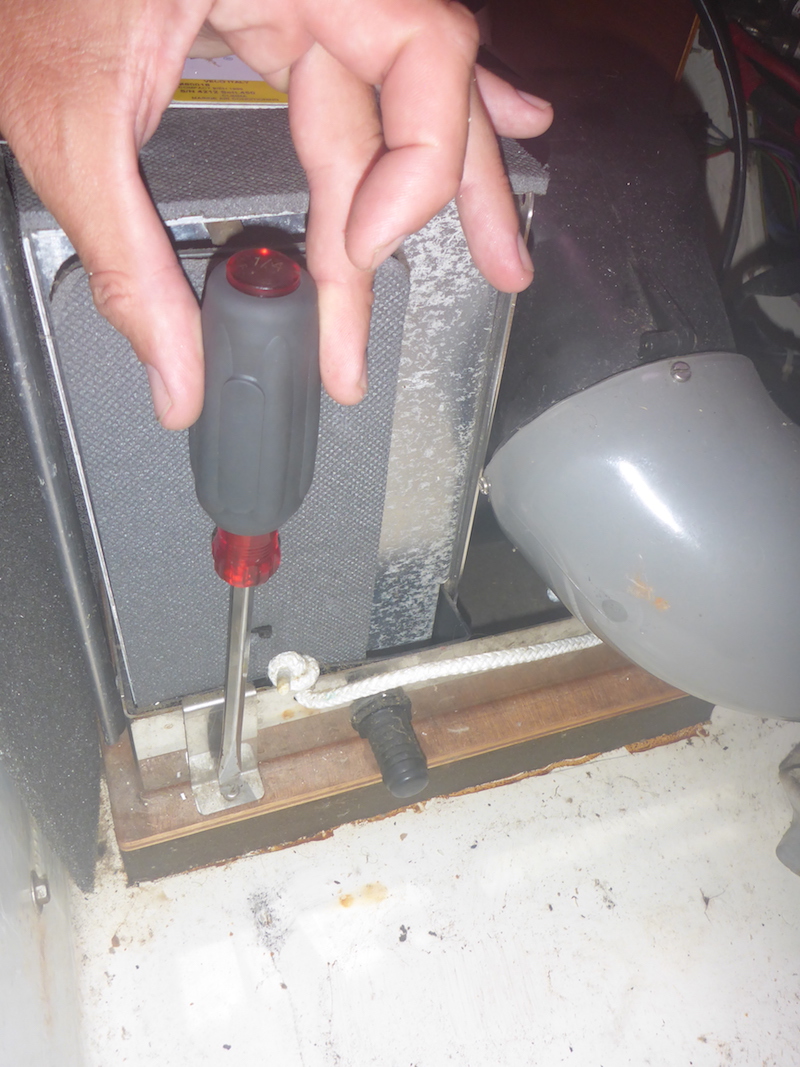
Remove the cover with a screw driver
Pull the cable out
uncrew the cover
Pull out the unit
again careful that the electric outlet above is either off or stay away from it
Removal of the forward cabin Air Conditioning Climma Marine Compact 9
Disconnecting the cooling hoses of the forward cabin Air Conditioning Climma Marine Compact 9
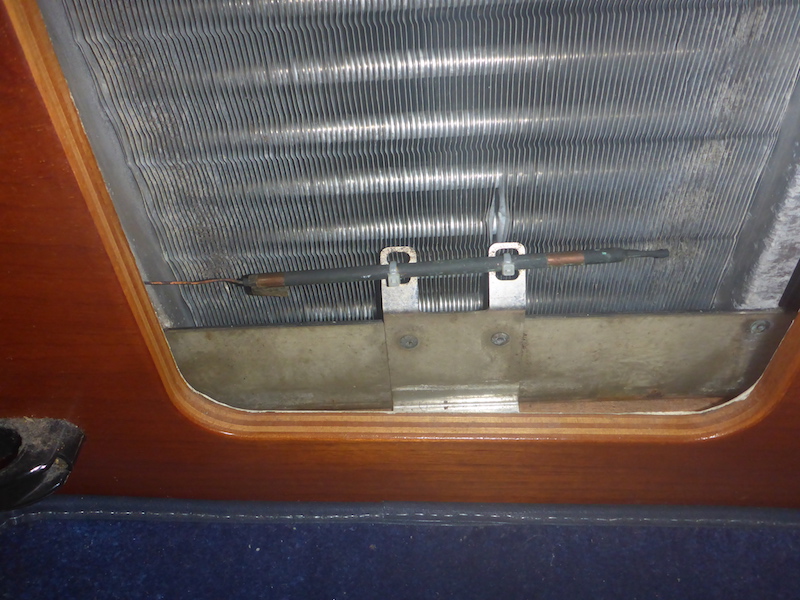
Empty the cabin and open the 3 panels
Close the valve that reject the cooling water
In my case, it appears frozen and I did not want to risk adding another problem, so I did not close it, but prepared with towels and plugs

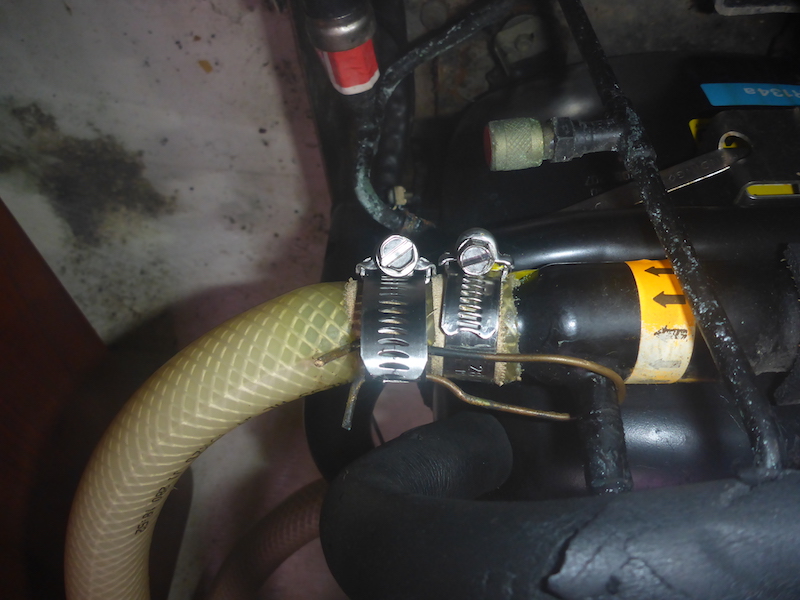
Removed the 2 clamps, same as the aft cabin there is also a metallic wire attached on the 2nd clamp.

Very little water went and I put the plug.
Also removed the 2nd hose, put a plug and position these high above the water line.
You can see the 2 metallic wire holding the 2nd clamp in position
Remove the clamp holding the air hose
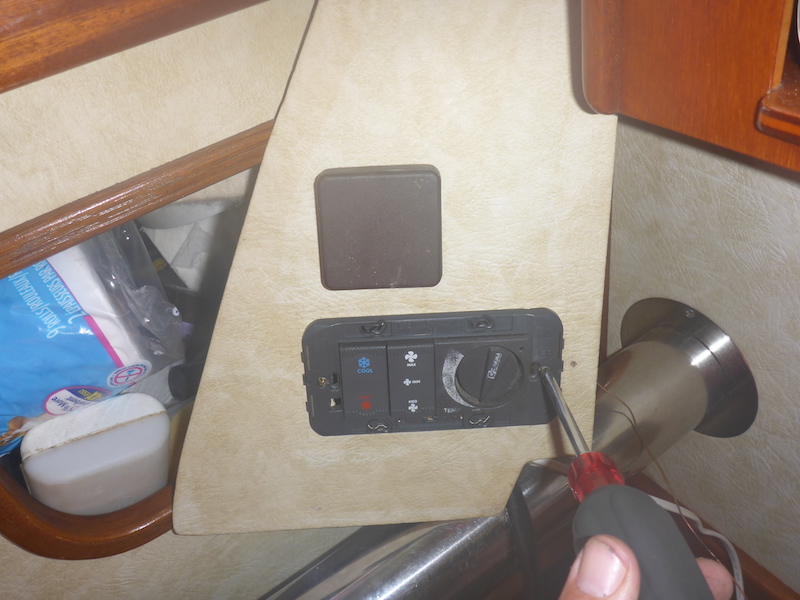
Removal control box of the forward cabin Air Conditioning Climma Marine Compact 9
unbolt the wheel holding the control box
Take the control box out and remove the cover
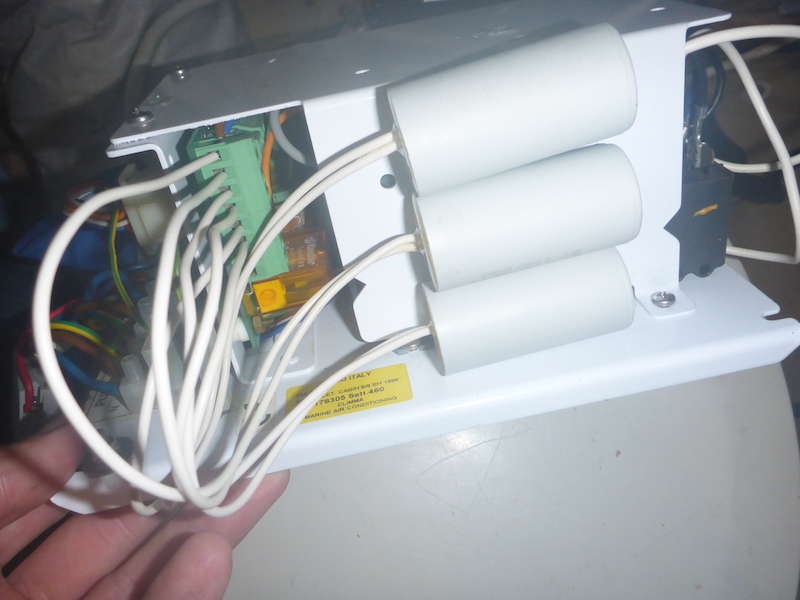
Cover out, now you see the 3 capacitors for the fan speed.
Unbolt the box cover
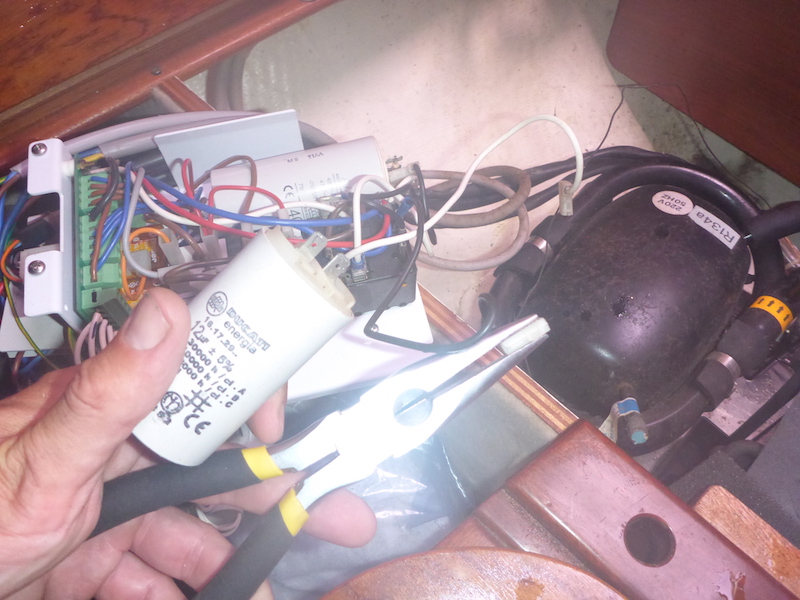
Capacitor testing of the forward cabin Air Conditioning Climma Marine Compact 9
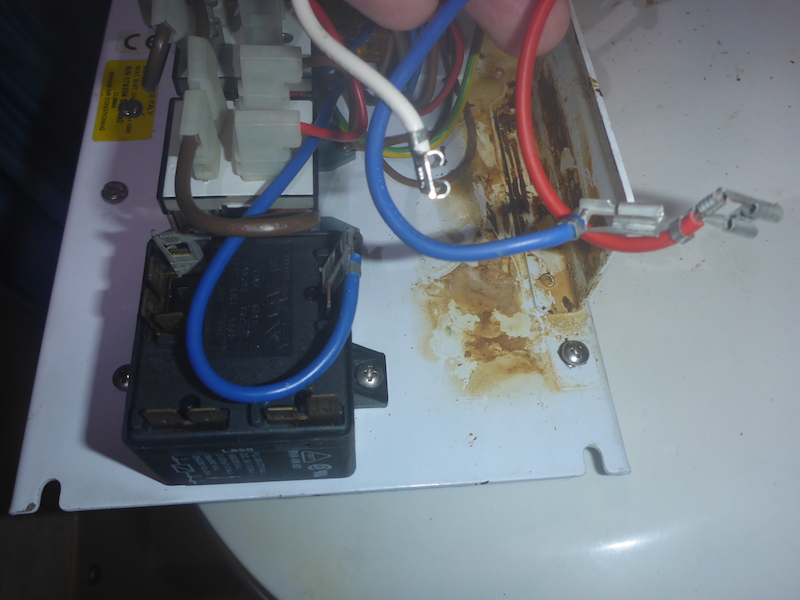
Now you can see the 2 capacitors for the compressor
note: you don't have to remove the cover to access these capacitors, you can just pull them out.
Note: careful as the capacitors are "charged" and need to be "discharged".
I won't write much about discharging them as I am not sure.
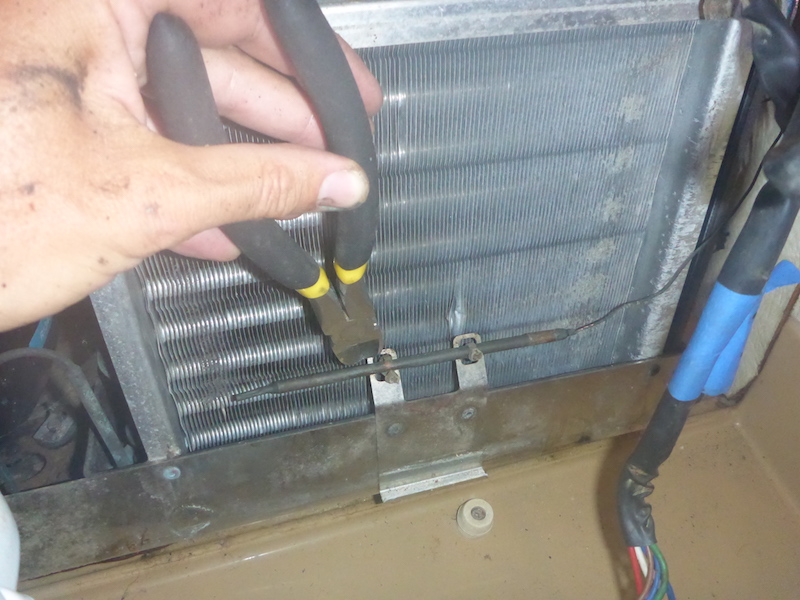
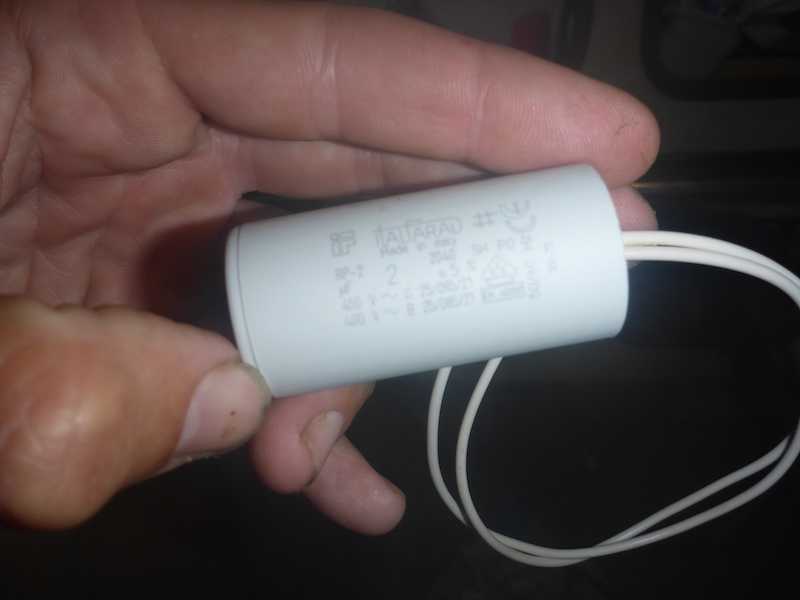
I used plier to remove the connector of the 10 MicroFarrah capacitor
Take note of which wires goes where.
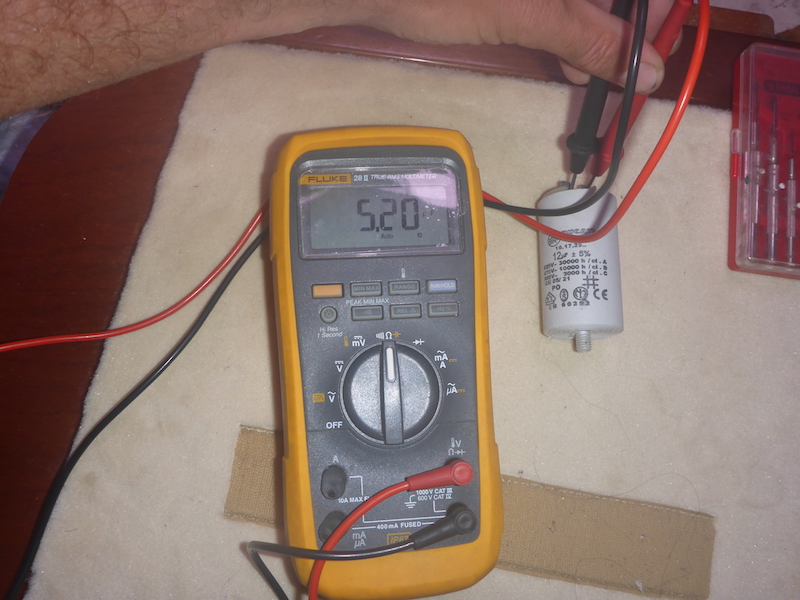
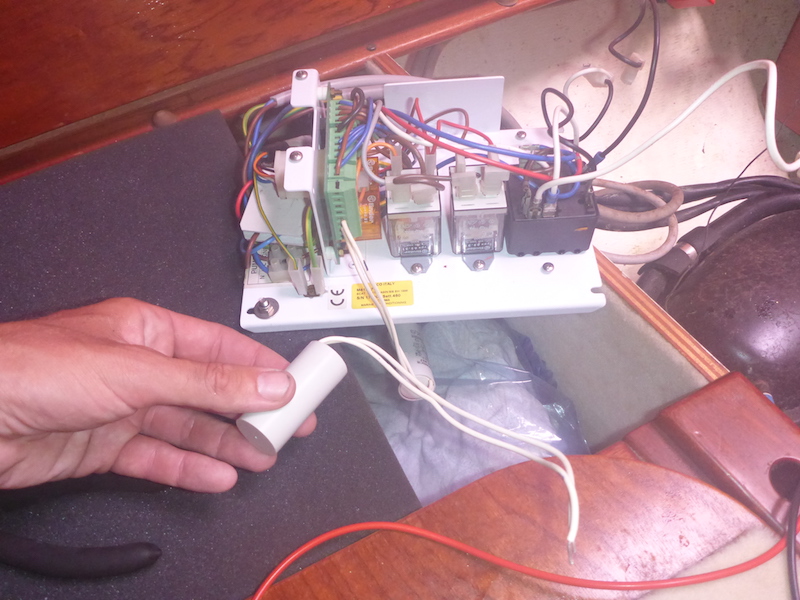
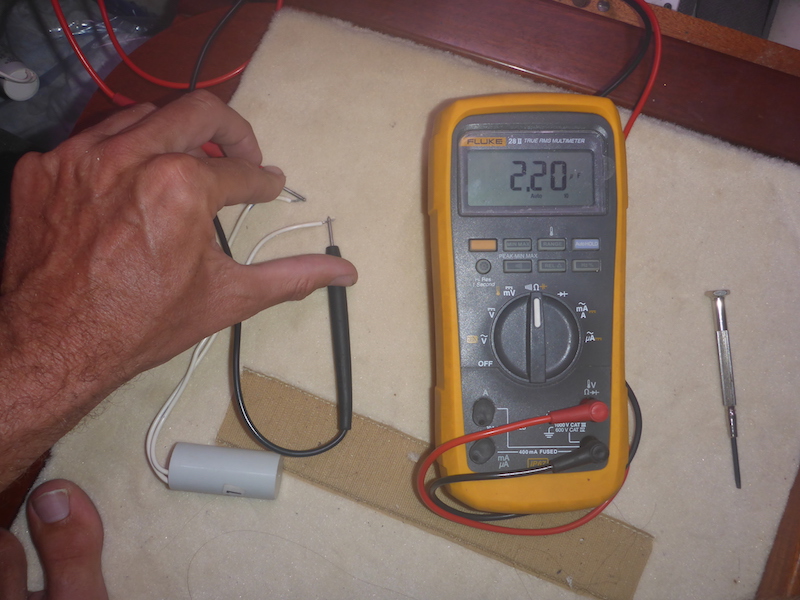
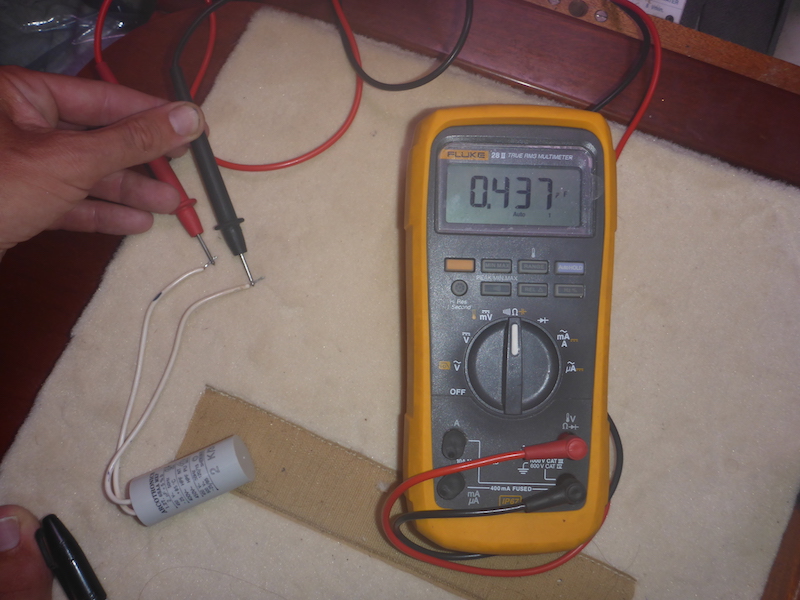
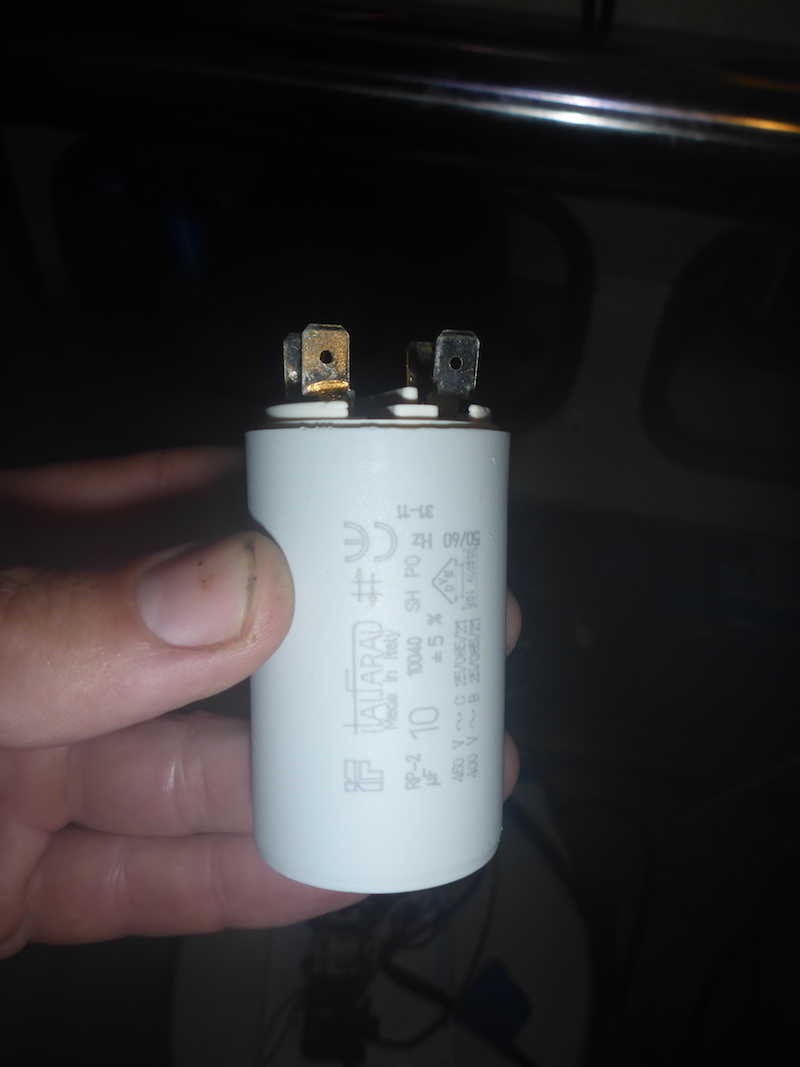
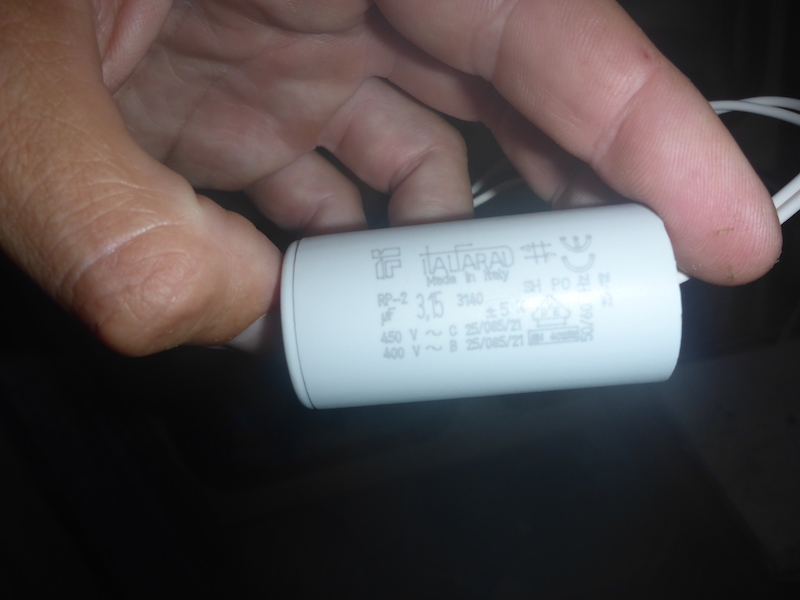
I measured the micro Farrah of the 10 MicroFarrah capacitor and it shoed 5.2 so will be changed
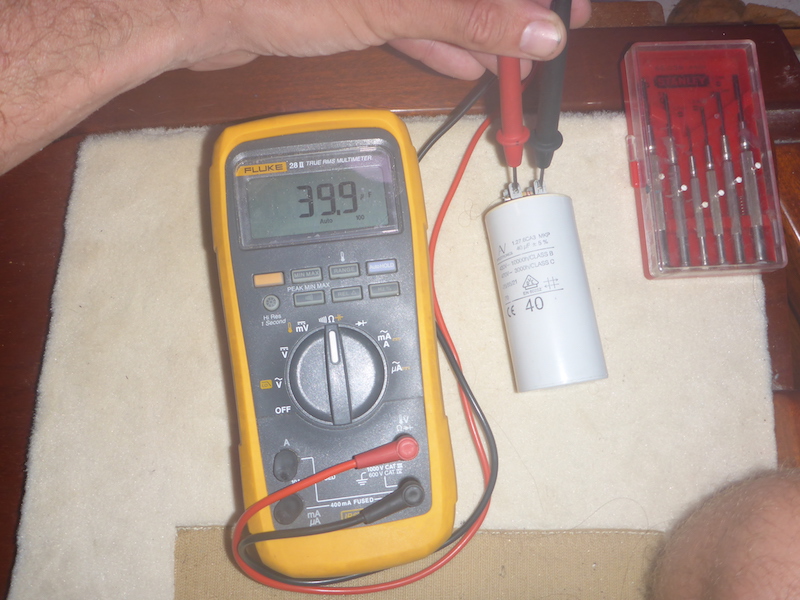
Now the 40 MicroFarrah capacitor
Take note of where the wire go
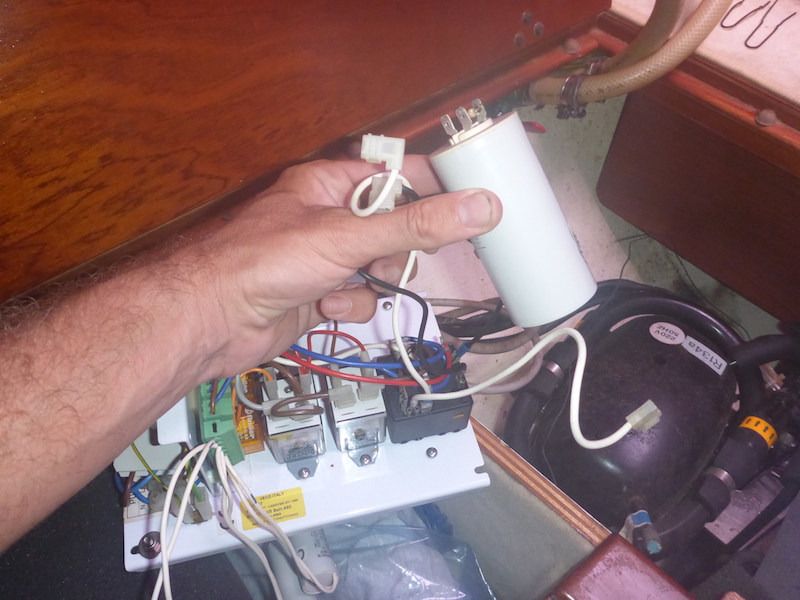
The 40 MicroFarrah capacitor show 39.9 so well within the +/-10% allowance
With a small screw driver, I removed the top the 2 MicroFarrah capacitor
Now removed
The 2 MicroFarrah capacitor shows 0.5 and will be changed
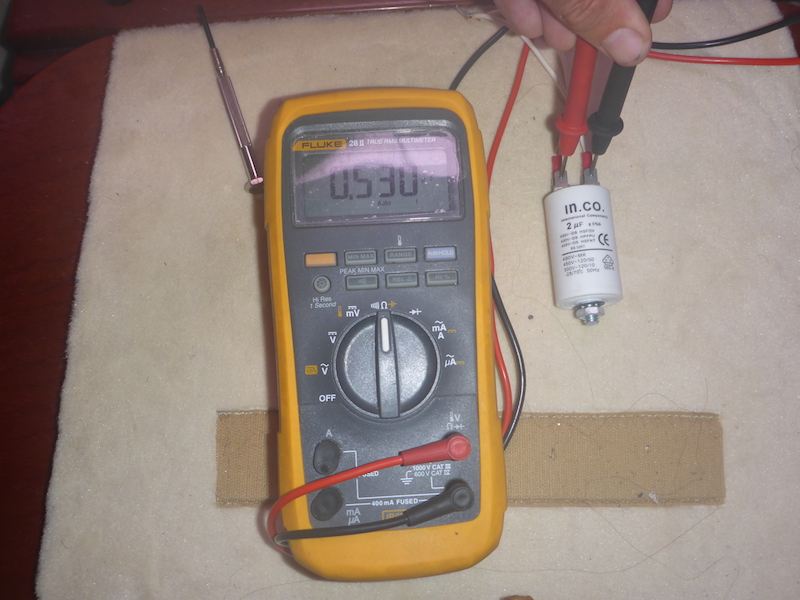
next below is the 3.5 (or 3.15 can't remember) capacitor
Removed
Also showing less than the 3.15 o 3.5 so will be changed
Last is other 2 MicroFarrah capacitor
removed
Also need to be replaced.
Disconnecting the Calpeda pump, AC (Alternative Current) wire and control box of forward cabin Air Conditioning Climma Marine Compact 9
Removing the wires going to the Calpeda pump
removed

Since the forward air conditioning will not be replaced for some time, I protected the connector to avoid any short.
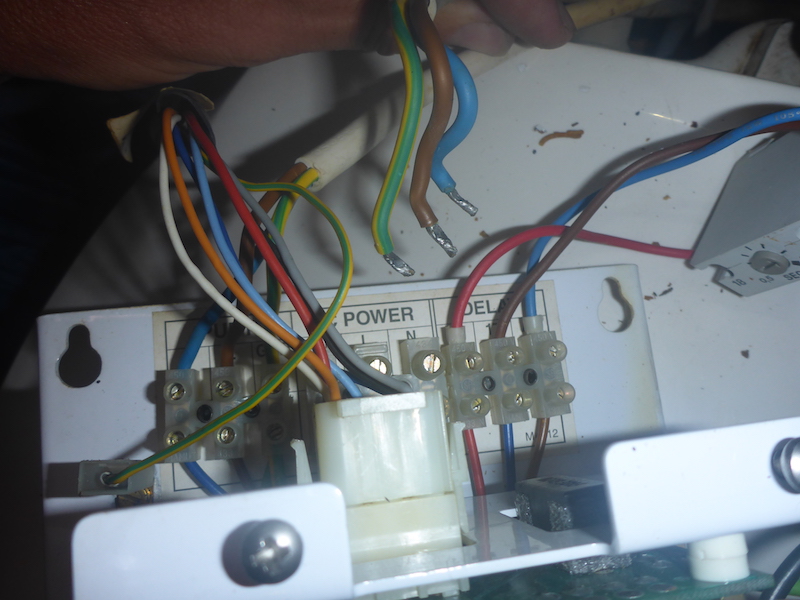
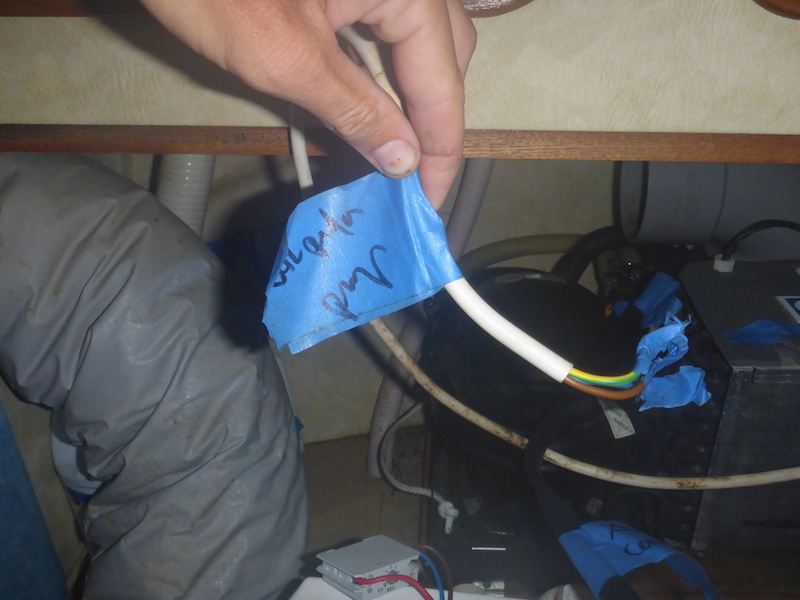
Next is the AC (Alternative Current) Power connection
All 3 wires removed
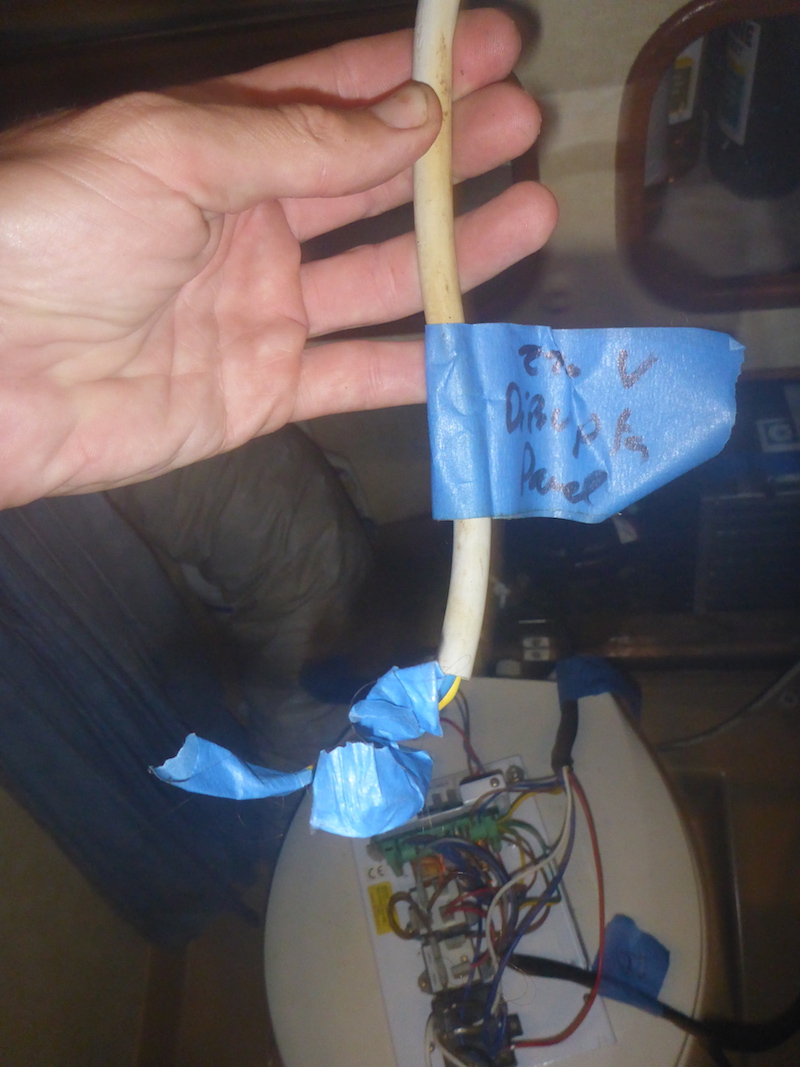
And labeled. I also protected them in the accidental switch of the Diruptor going to this unit.
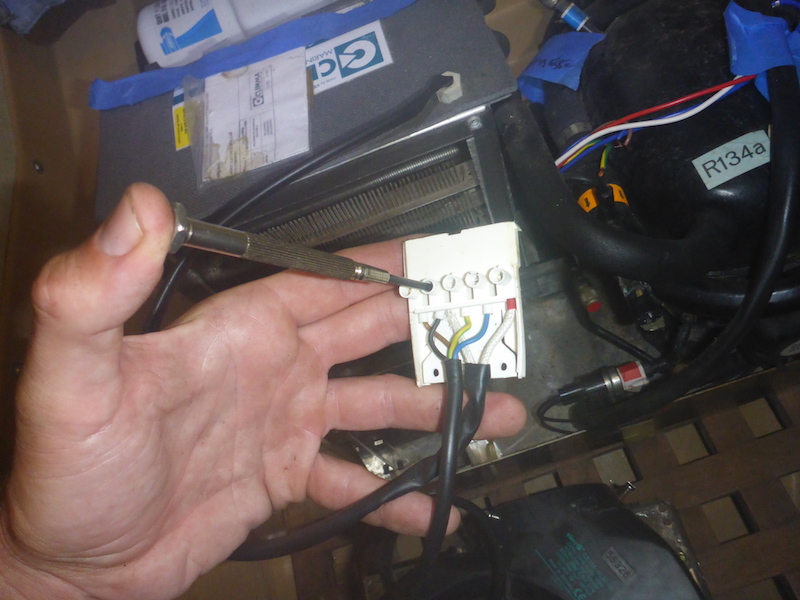
Removing the connection of the control box, removing the ground
Then removing the plug
Disconnecting the Compressor and Fan harnesses of the forward cabin Air Conditioning Climma Marine Compact 9
Removing what I called Harness "A" and "B" - make sure to take notes where the wires go
Here is a picture of my notes for harness "A" going to Compressor
Here is a picture of my notes for Harness "B" going to fan
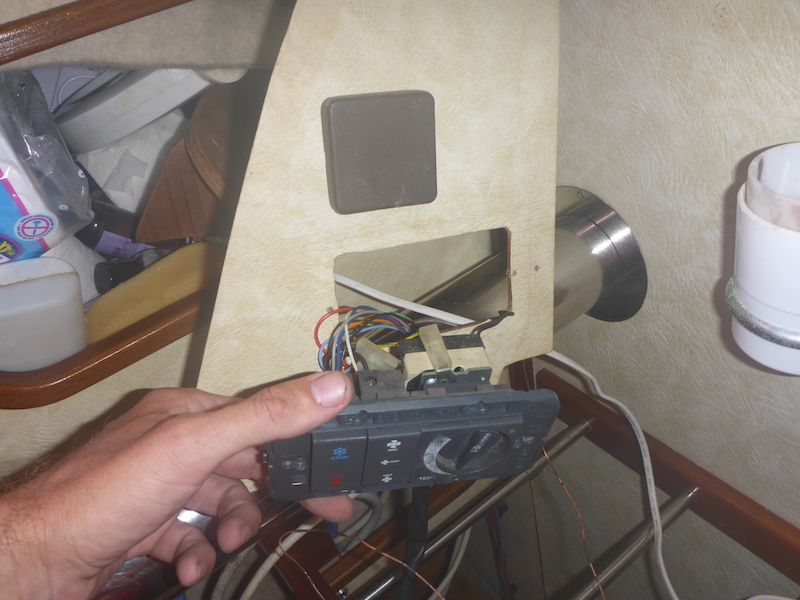
The control box is off
Removing the thermostats and brackets holding the forward cabin Air Conditioning Climma Marine Compact 9
Removing the 4 attach point that hold the unit in place
Clip out
2nd one
3rd one
4th and last one
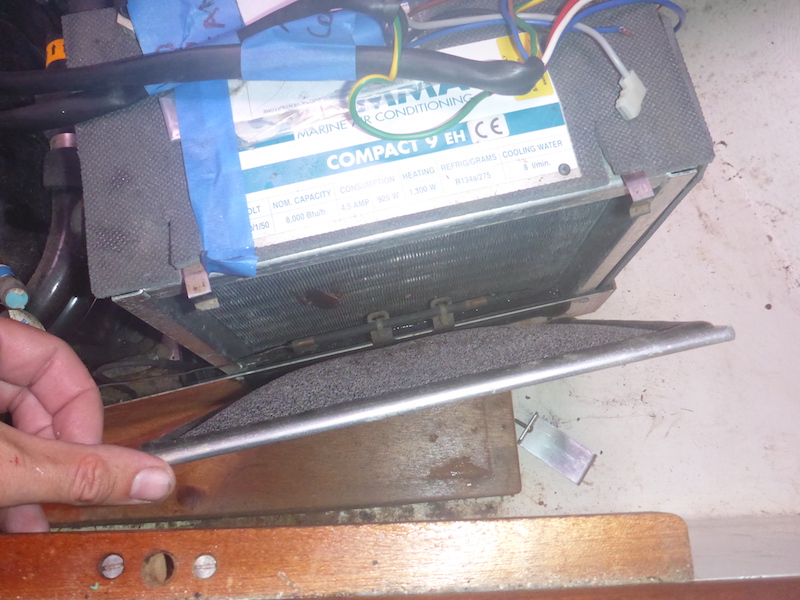
Then removing the hose for the condensation - more difficult than it sounds
Hose is off
Now using the handle you can more the unit
let's not forget the thermotat
Cutting the little zip tide that hold the thermostat
The unit can now be lifted
Installation of the Aft cabin Air Conditioning Climma Marine Compact 9
Putting back the thermostat and control box of the Aft cabin Air Conditioning Climma Marine Compact 9
Install the harness for the control
Through the hole
Bolt it in
Put the cover plate

Put the harness through the hole
Next level down
Lower level
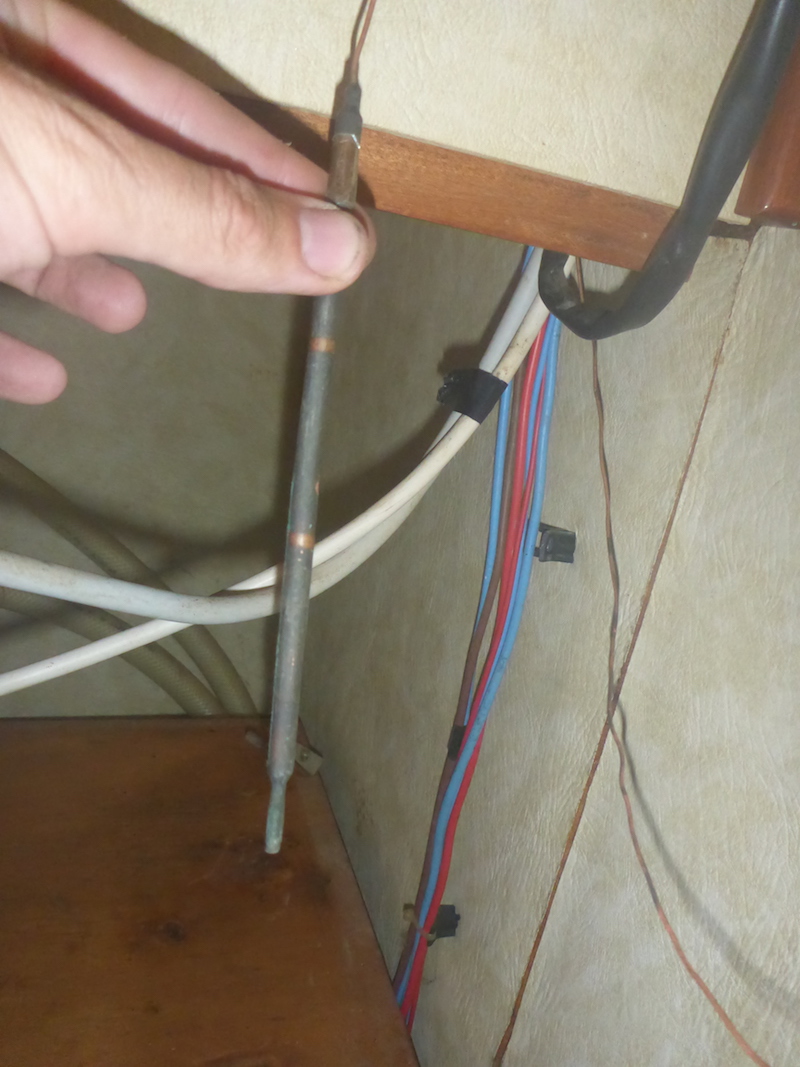
Then put the thermostat
Through all levels
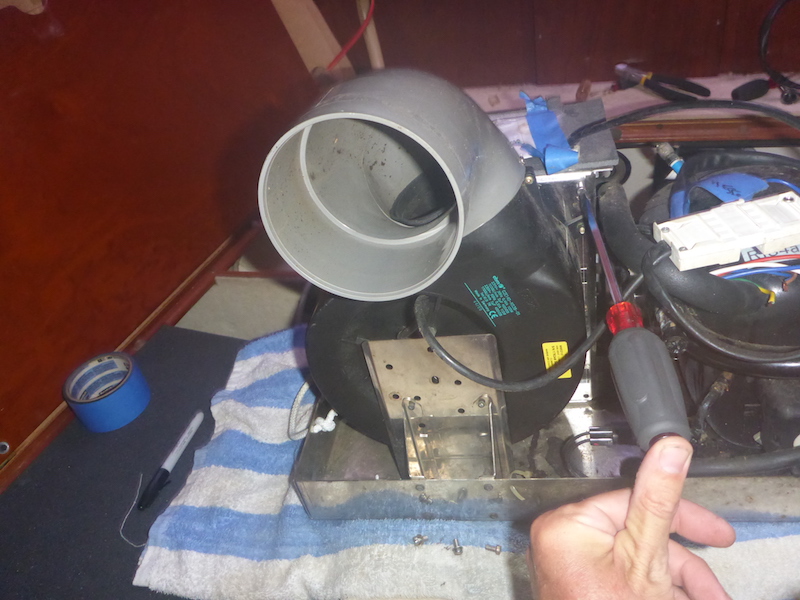
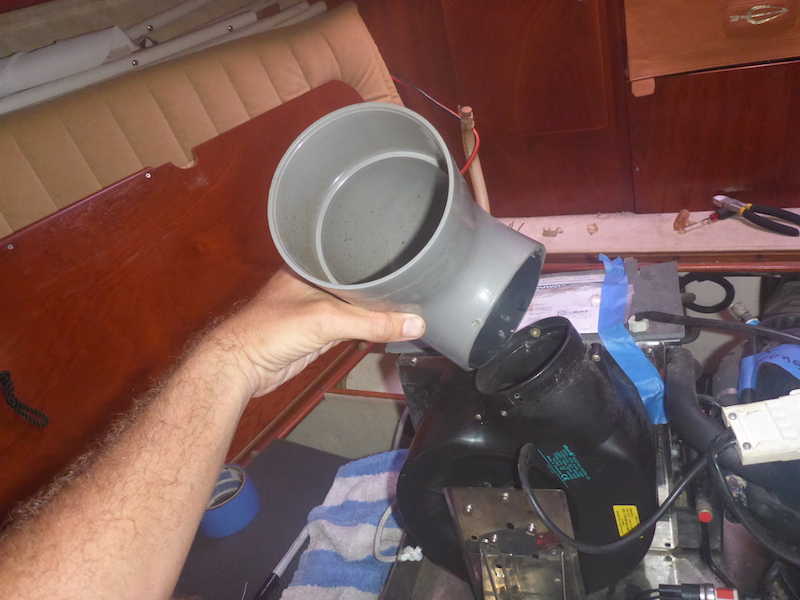
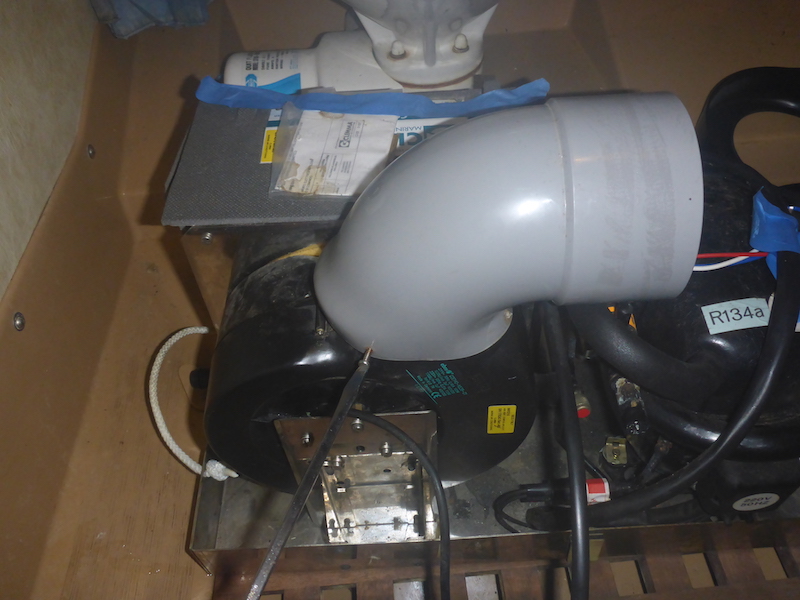
Changing the hose direction of the Aft cabin Air Conditioning Climma Marine Compact 9 to later realize it will not fit
Original unit in the aft cabin has the hose pointed in one direction
Original unit in the forward cabin has the hose pointed in a different direction
So naturally I thought of changing the directions - unfortunately this was wasted time
look at the pictures before you do the work
unscrew in the middle
4 bolt total
unscrew the plate that hold the fan
2nd bolt
the plate goes out
Put it back the plate turning it 90 degrees
put bolt on
and the 4 in the middle
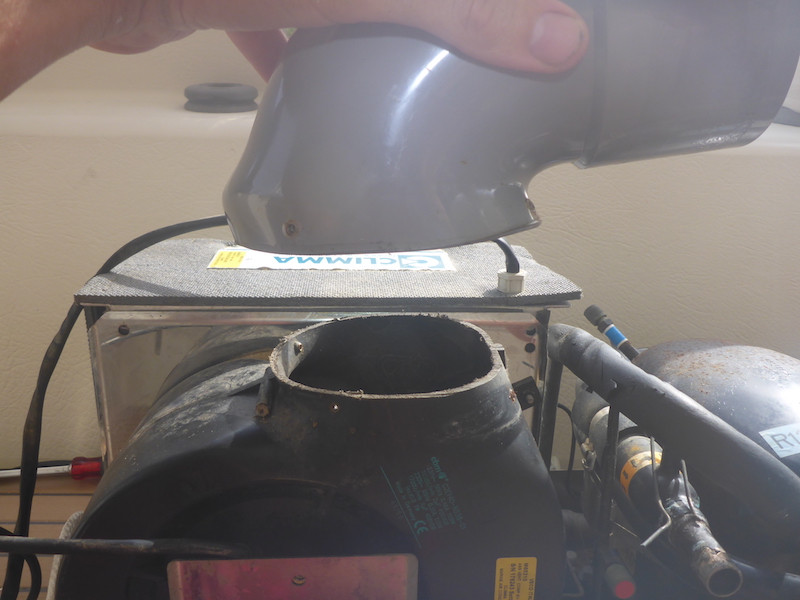
unbolt the 90 elbow

has 3 screw
turn is 90 degree and screw it back
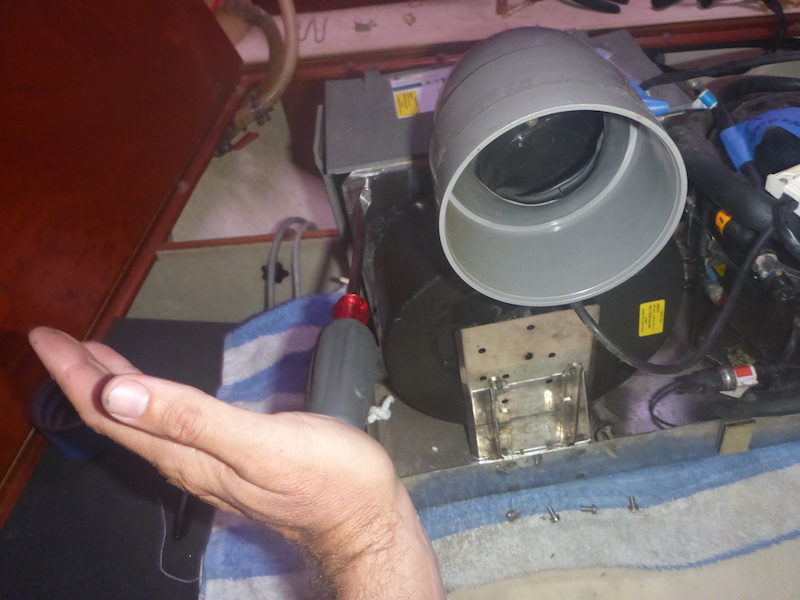
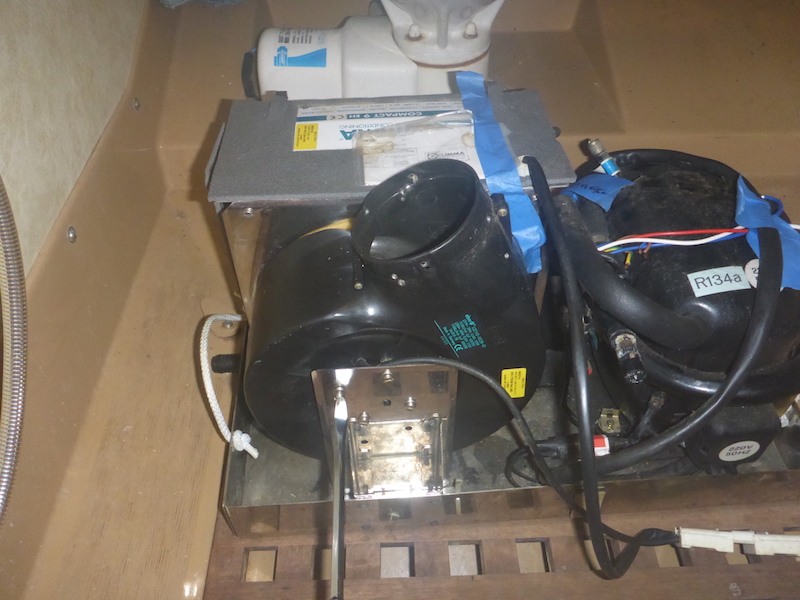
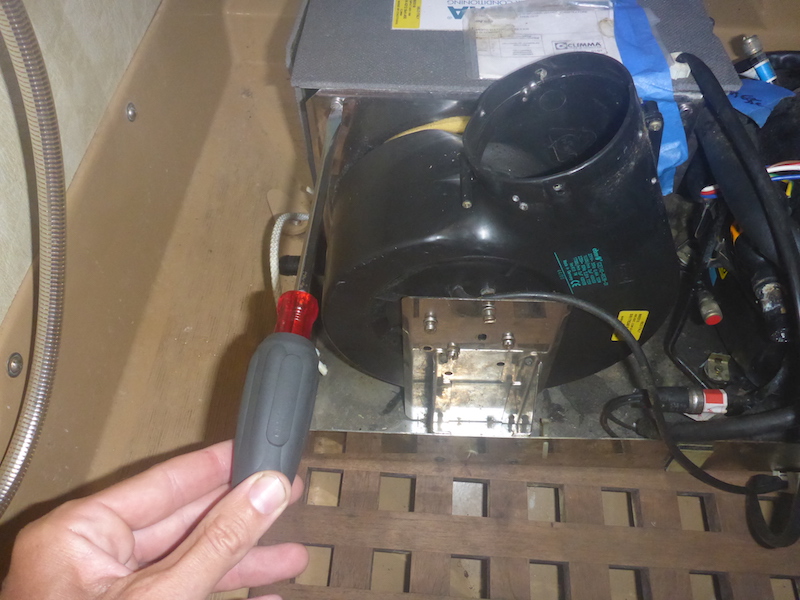
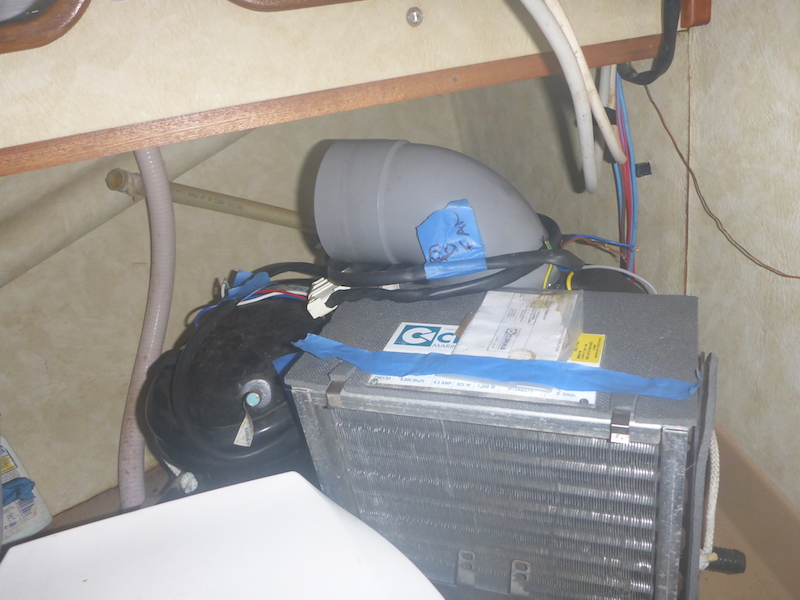
Bring the unit to the aft cabin
And it does not fit...
Comparing the Aft and Forward cabin Air Conditioning Climma Marine Compact 9
unscrew the elbow

remove its
unscrew the elbow that was on the original aft cabin air conditionning
Now we see the difference
Look at the forward cabin one again
If we put it on the new unit, it might fit
but I don't like the obstruction

I could saw it, but this is now the way I want to do it
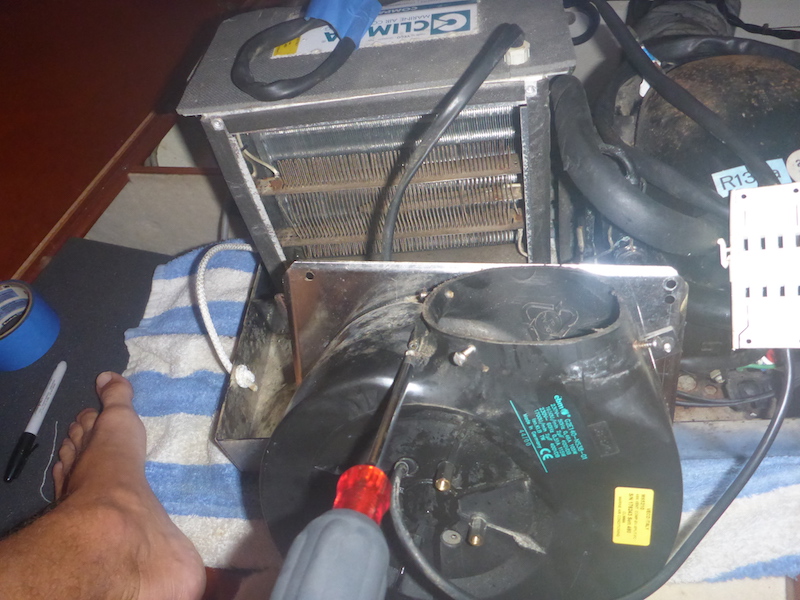
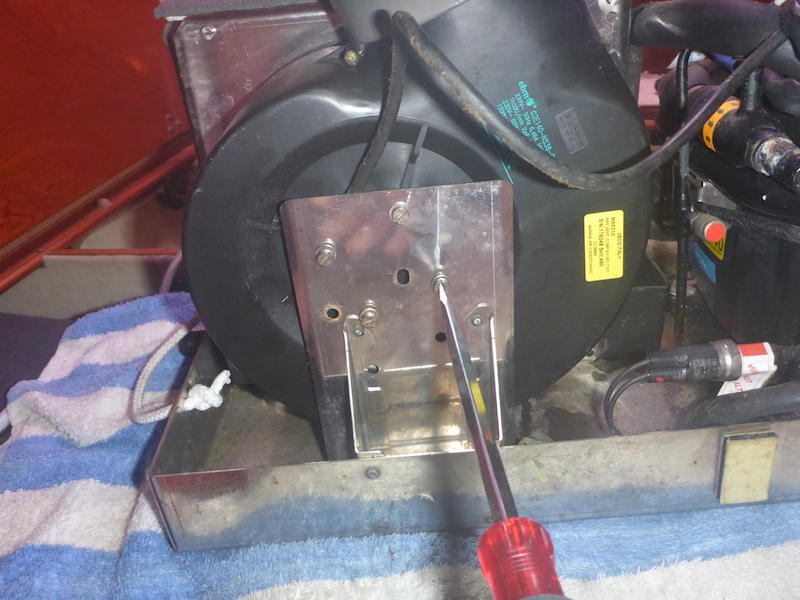
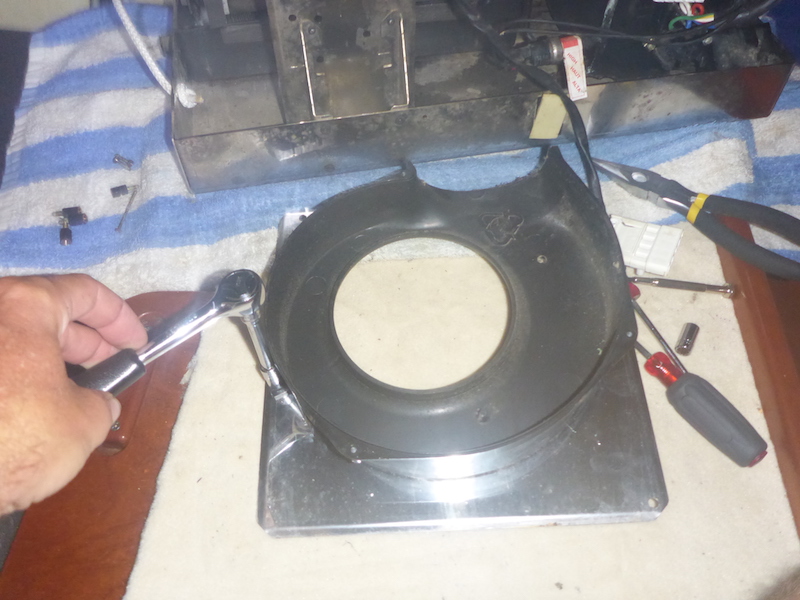
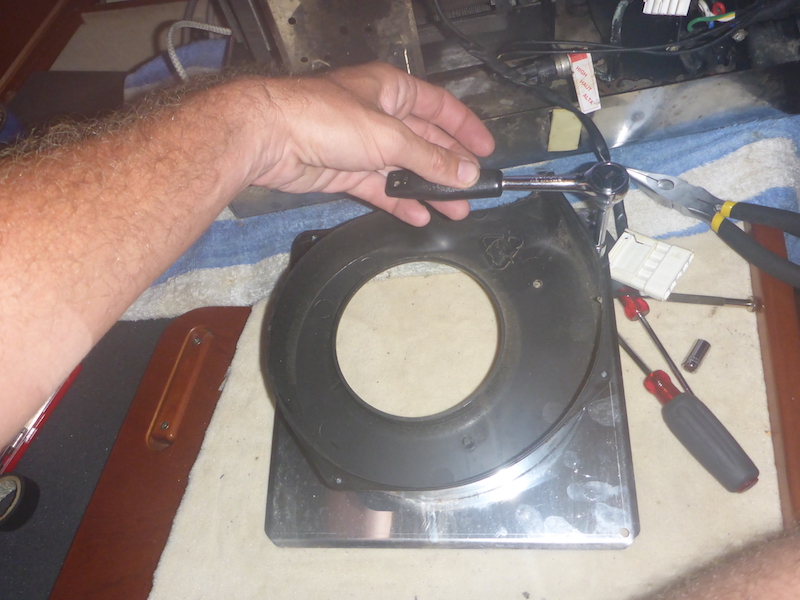
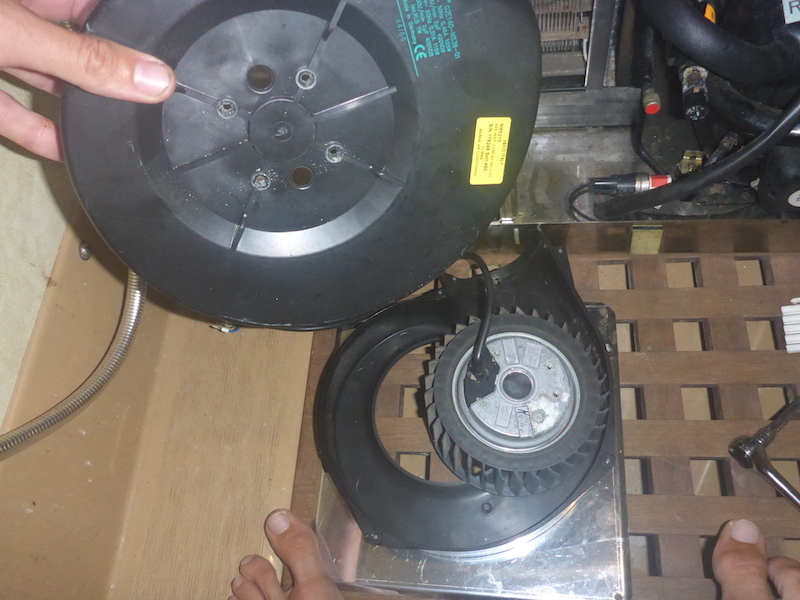
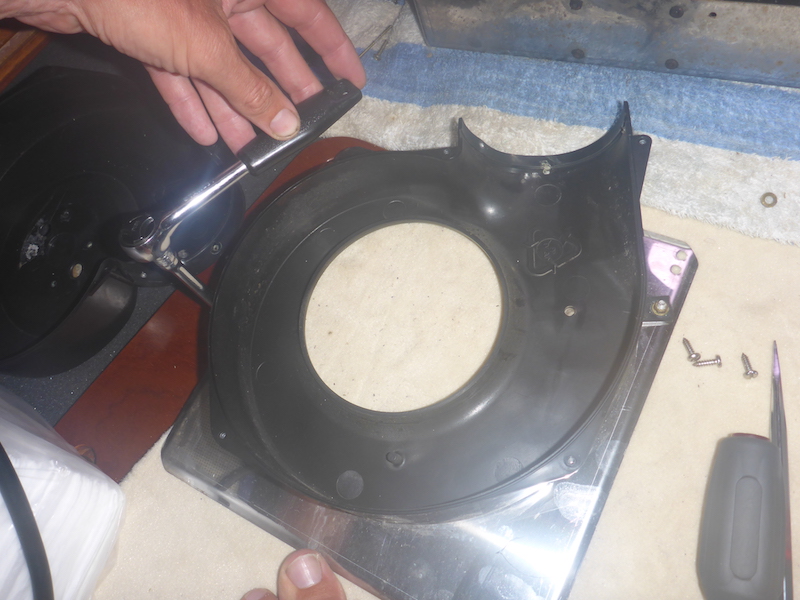
swapping the fan cover of the Climma Marine Compact 9
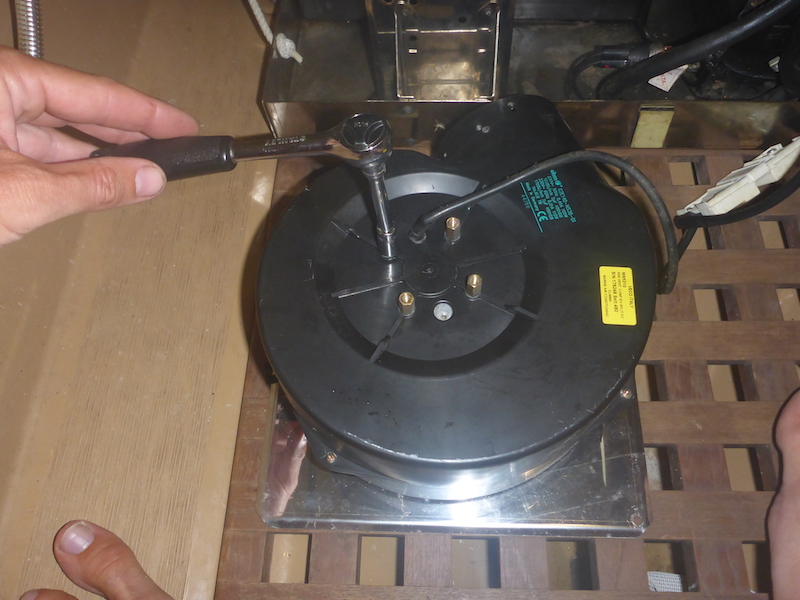
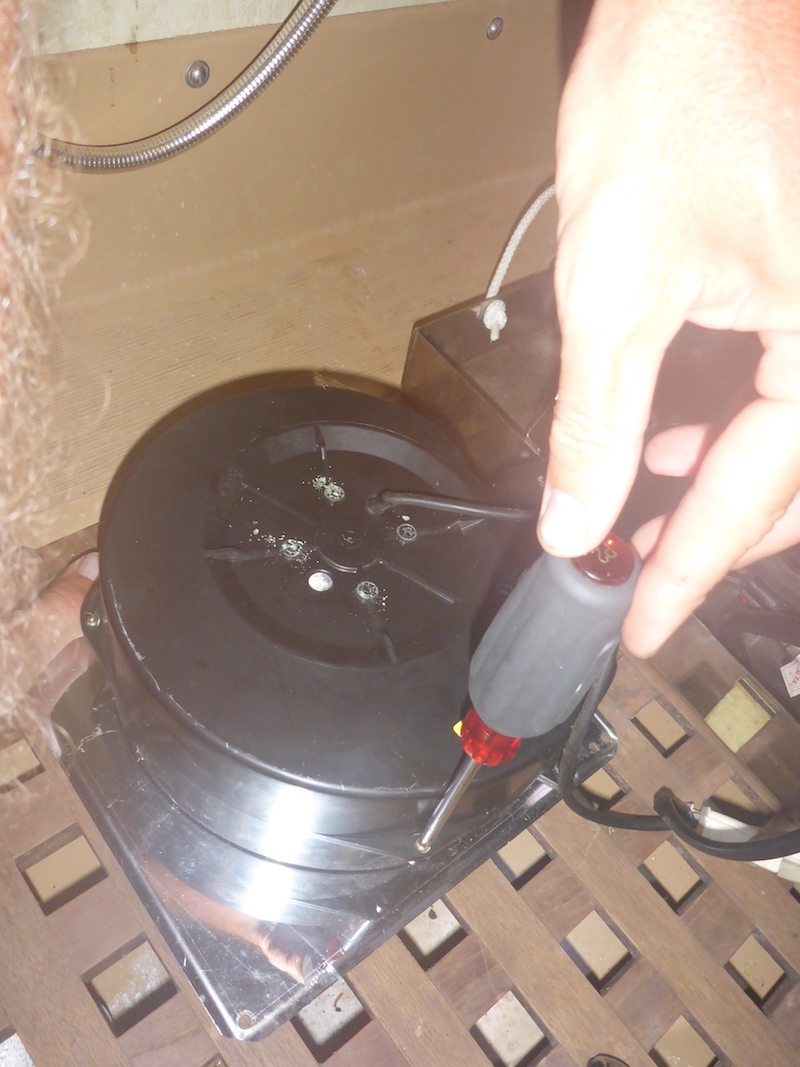
Starting with removing the fan of the Aft Climma Marine Compact 9
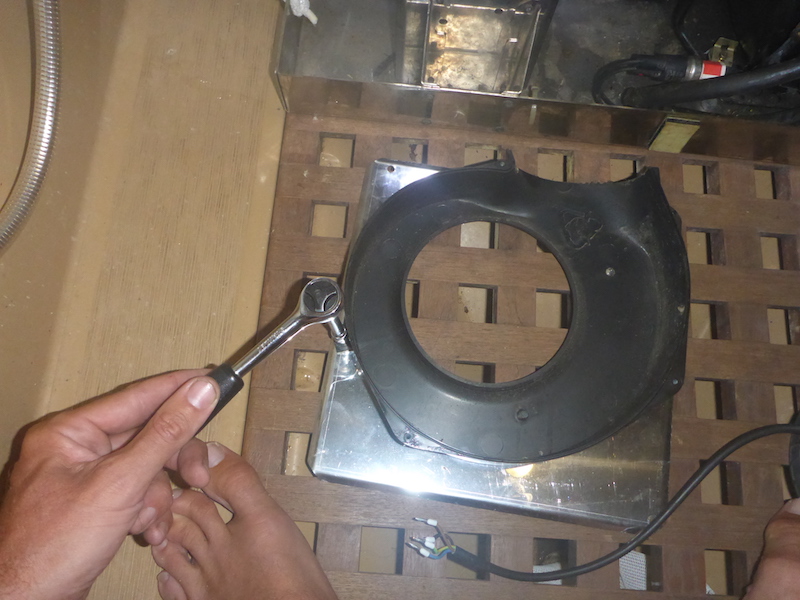
remove the 4 bolt that hold the fan

remove the 2 bolt that hold the place
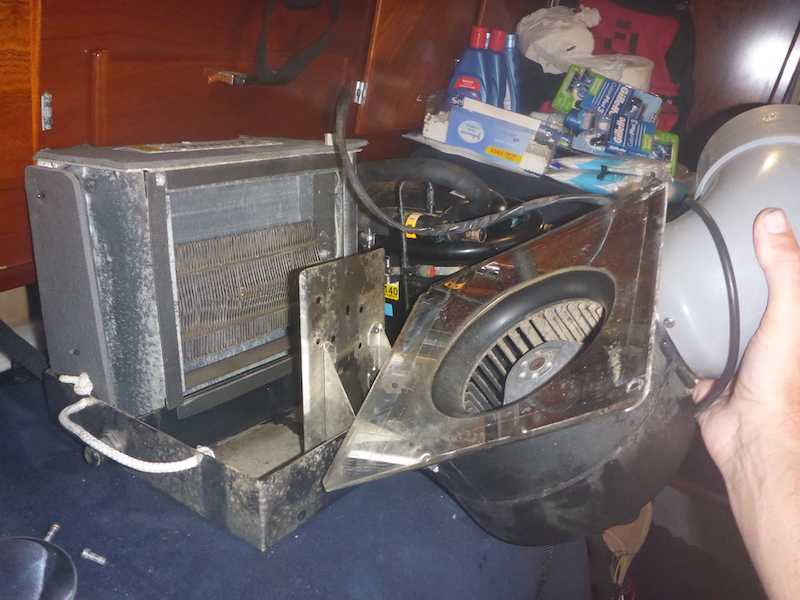
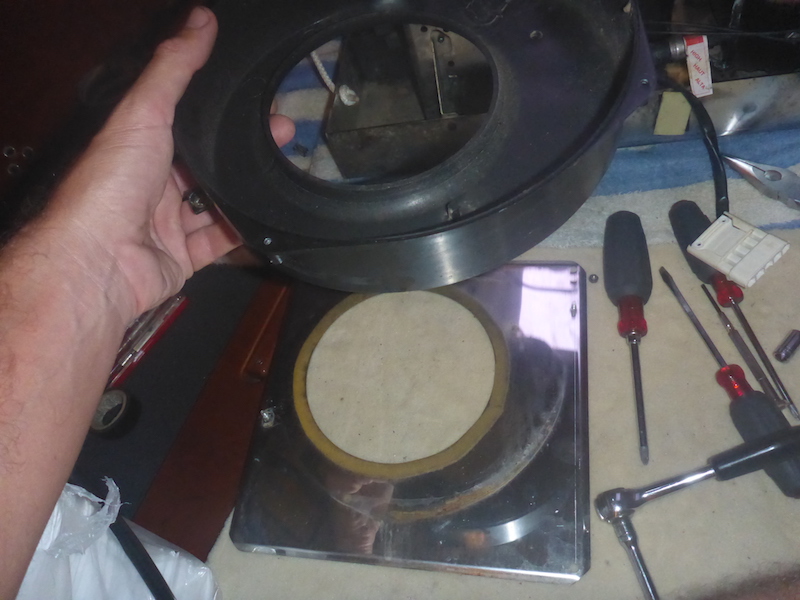
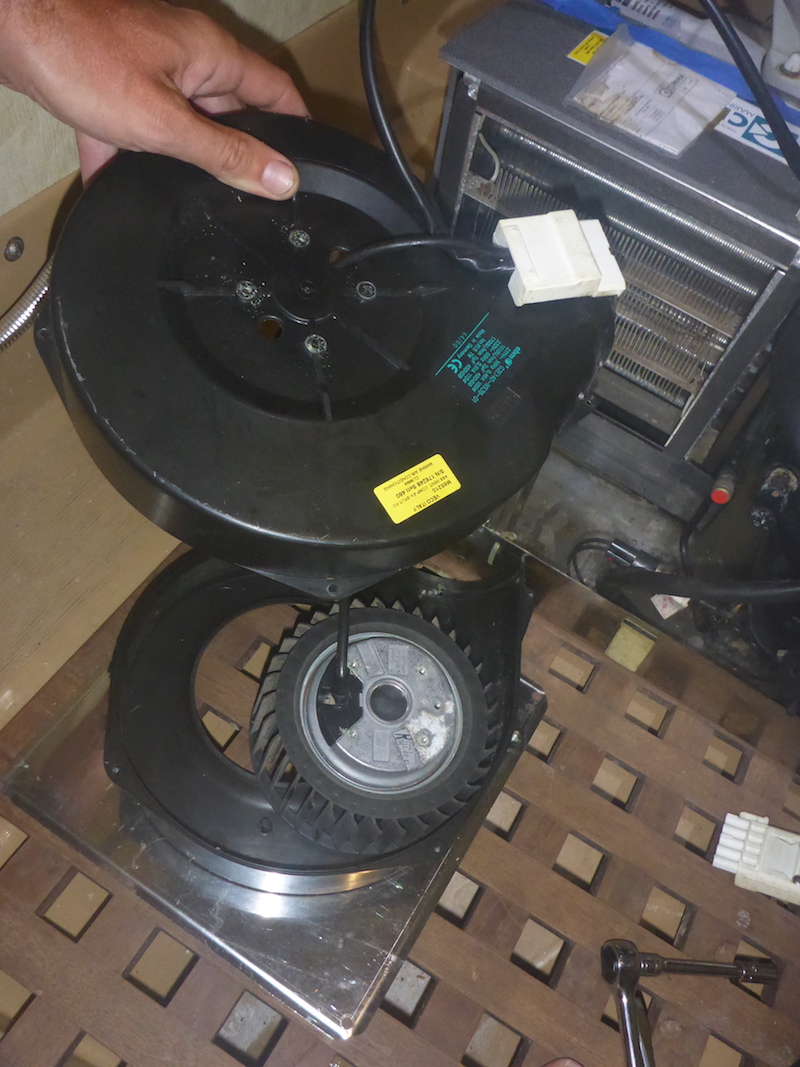
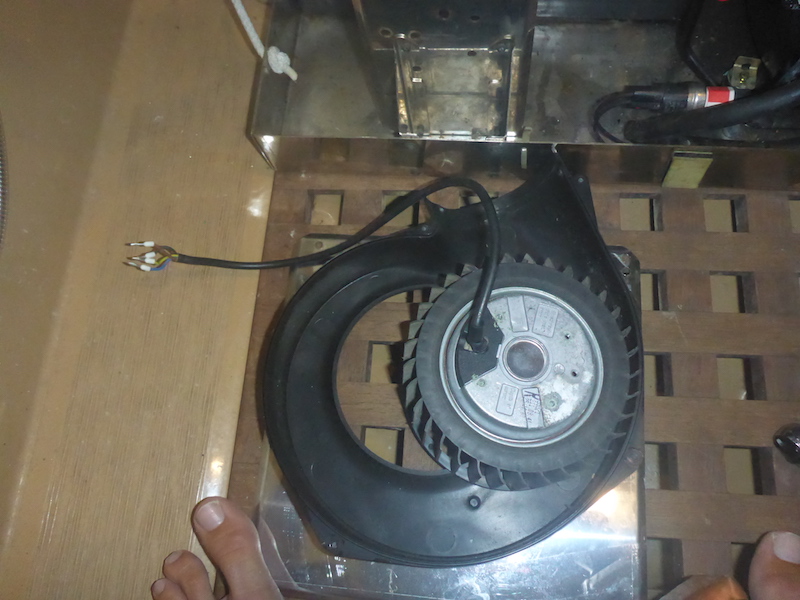
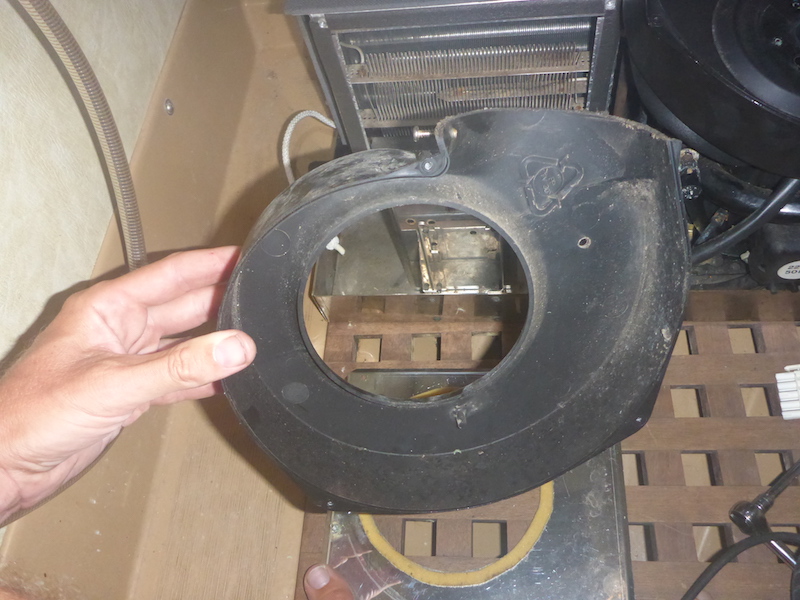
remove the assembly
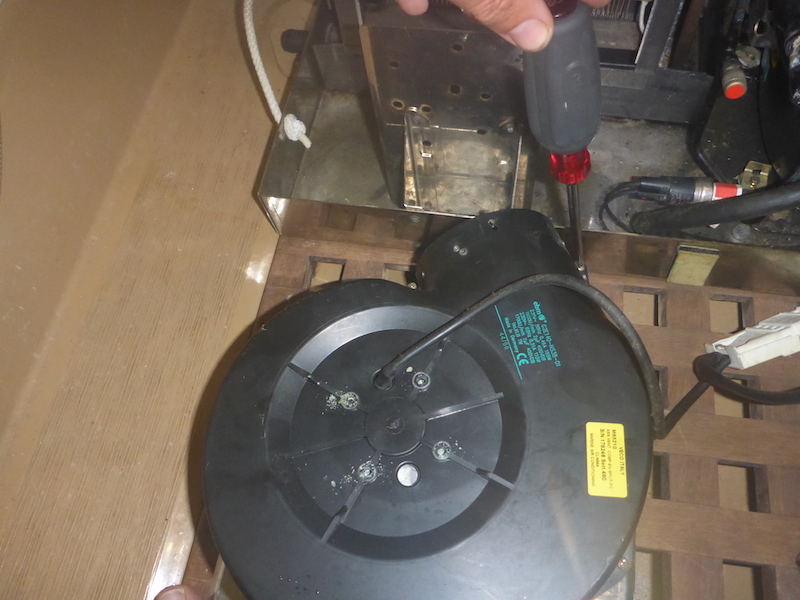
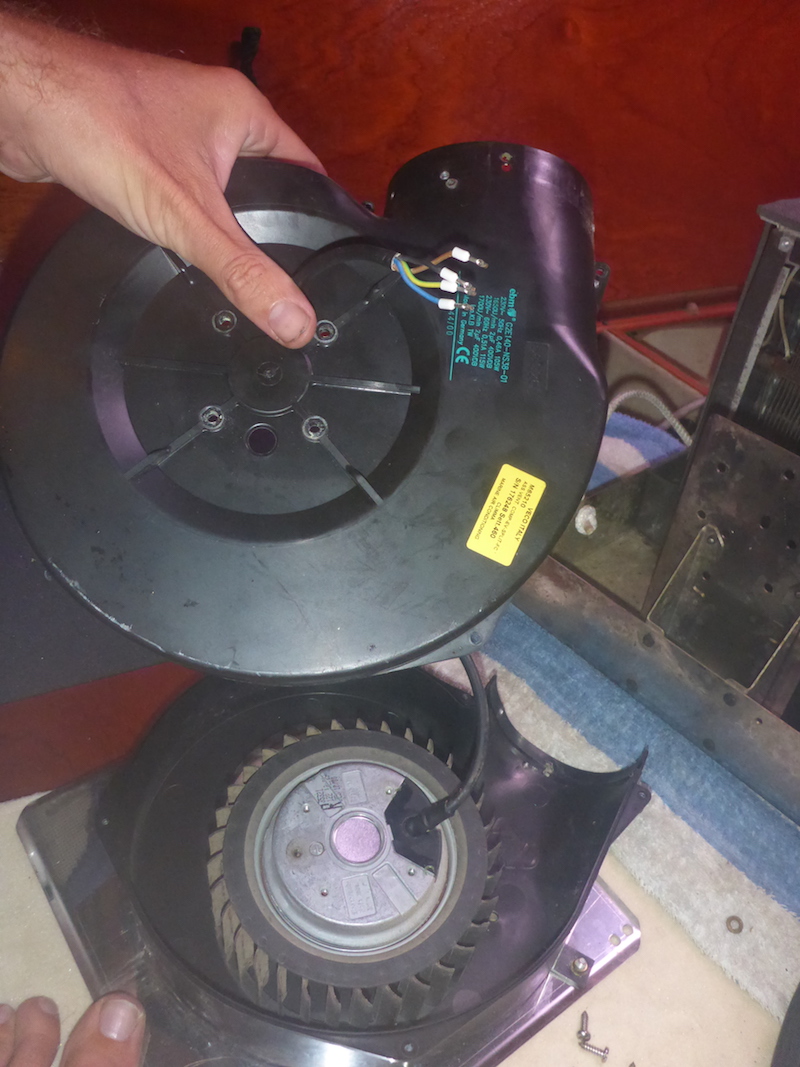
remove the bolts that hold the 2 halves of the fan together

another one
lift up one half
using a socket wrench remove the 4 bolt
remove the other half
Take note of the wiring
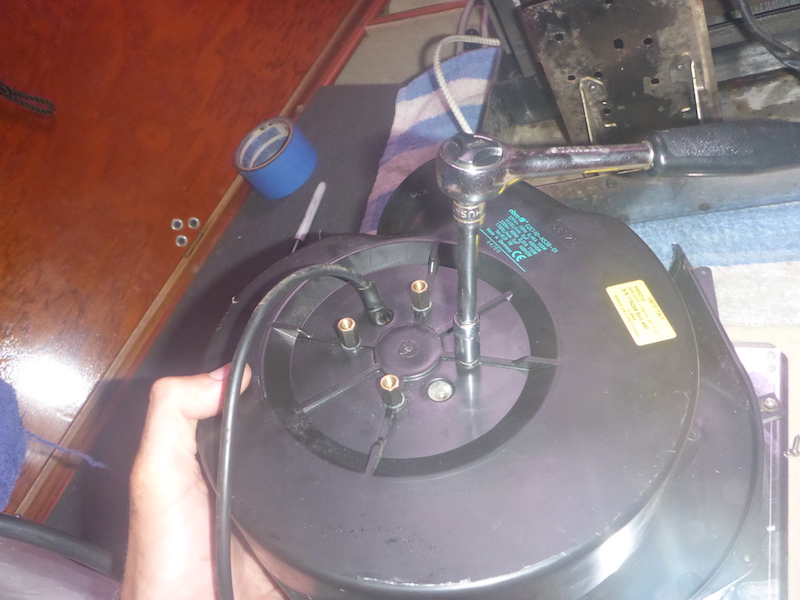
unscrew the bolt that hold the wires
Pass the wires through the hole
unbolt the 2nd half from the plate
one more bolt
remove the 2nd half
Removing the fan of the forward Climma Marine Compact 9
Go to the other unit and pretty much do the same.
I did it in a difference sequence for variety
unbolt the bolt holding the plate
remove the plate and remove the bolt that hold the fan assembly
Another one

The fan is now removed from the plate
Remove the 4 bolt holding the electric motor to the fan assembly
Remove the bolts that hold the 2 half of the fan assembly/casing together
another one
separate the 2 halves
Take note of the wiring
removed the wires
pass through the hole
now by itself
Putting back the fan on the new Aft Climma Marine Compact 9
take the former aft cabin fan assembly
bolt it on the plate
pass the wires through
bolt back in place the electric motor with the 4 bolt
bolt the 2 halves of the fan assembly together
reconnect the wiring as it was
bolt the plate and fan back on
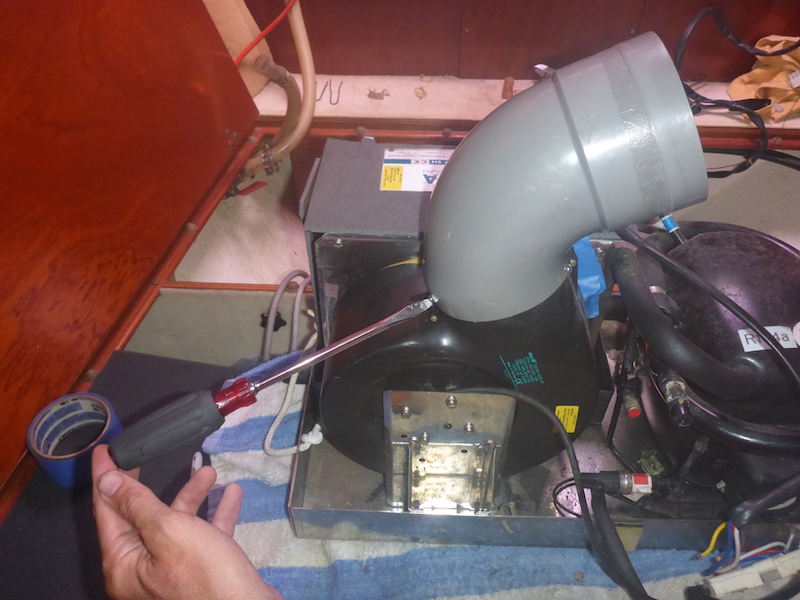
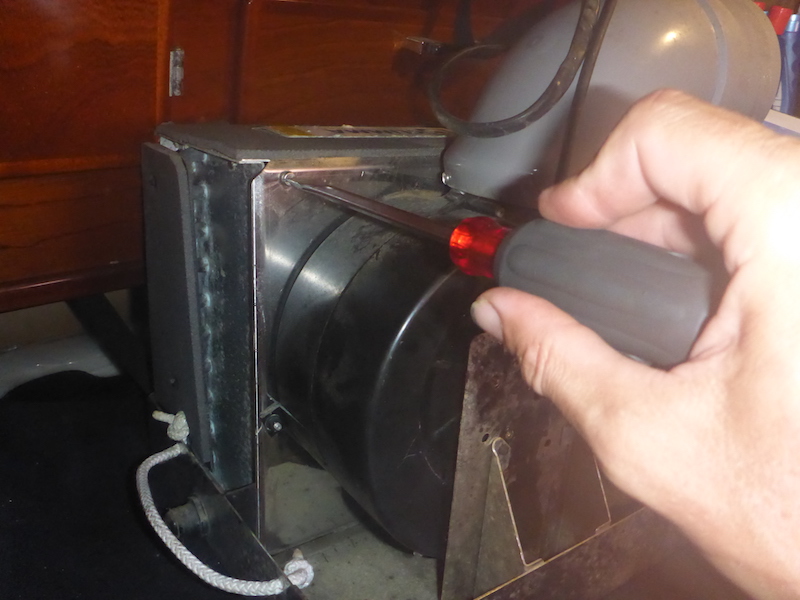
Bolt back the 90 degree elbow
This time it will fit
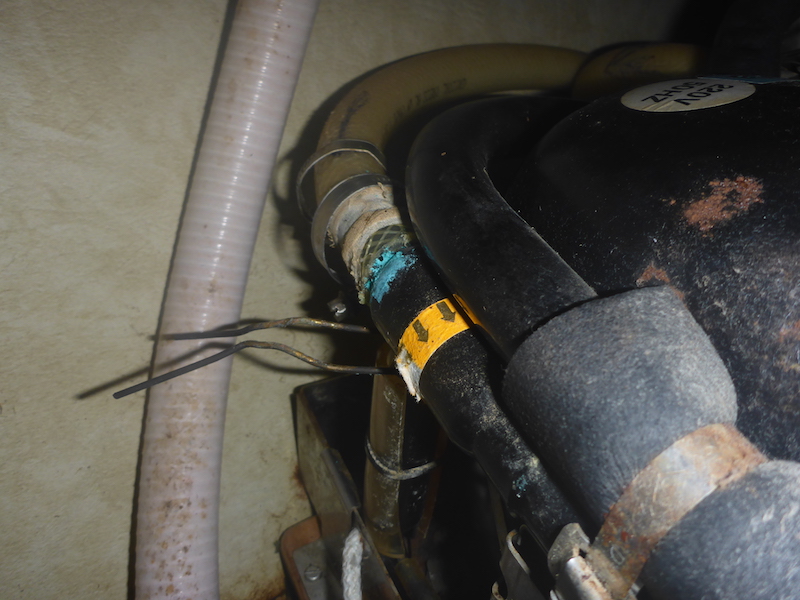
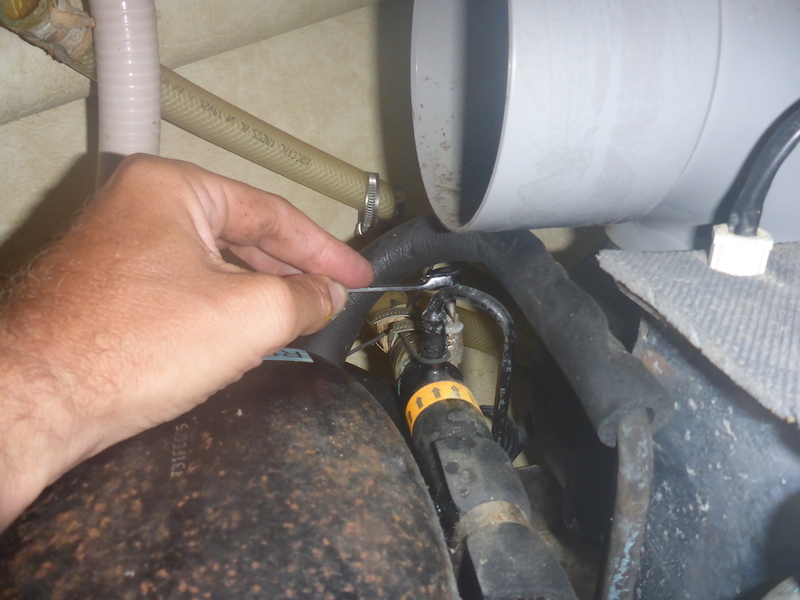
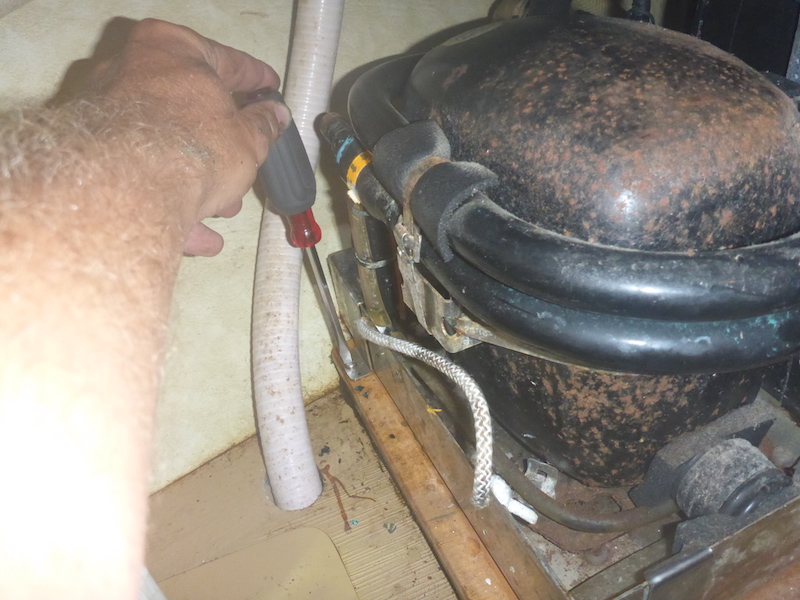
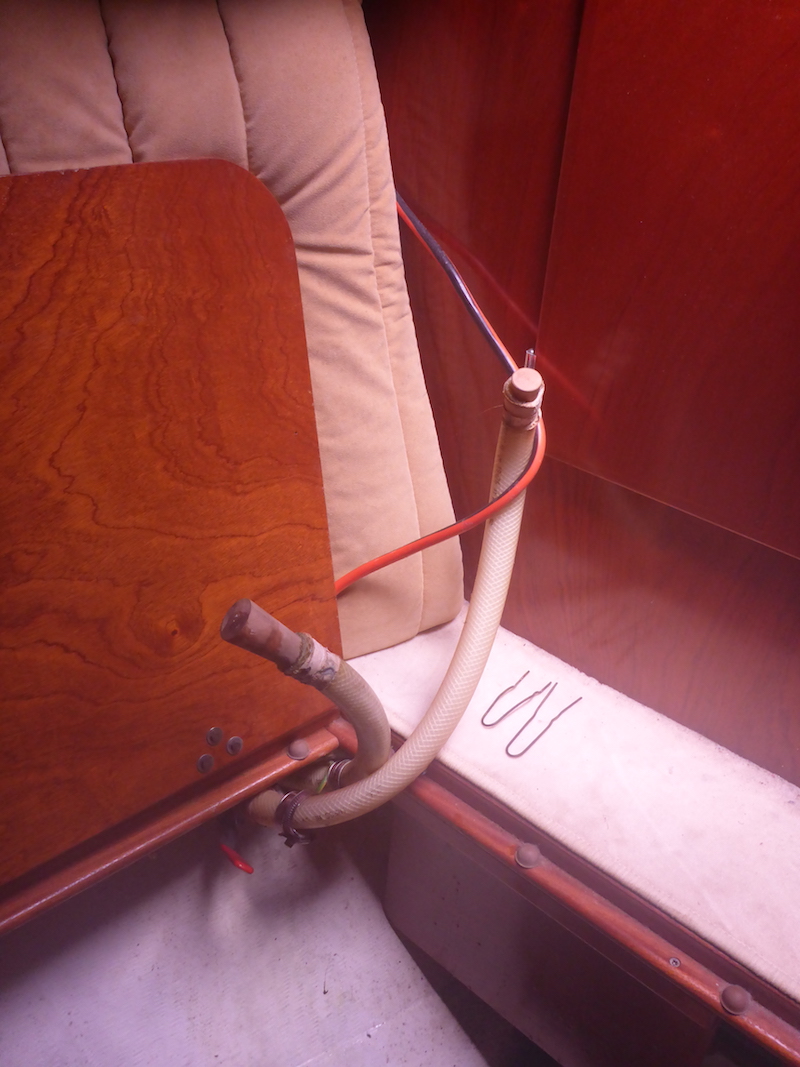
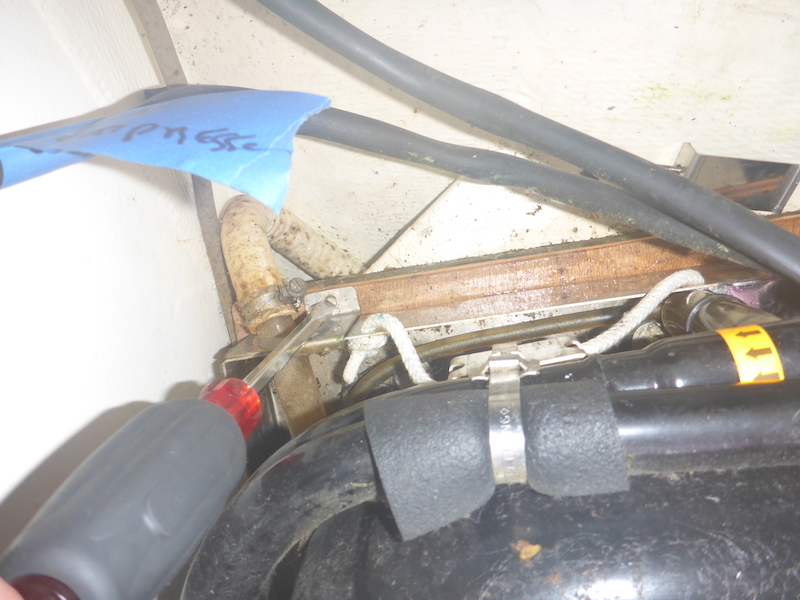
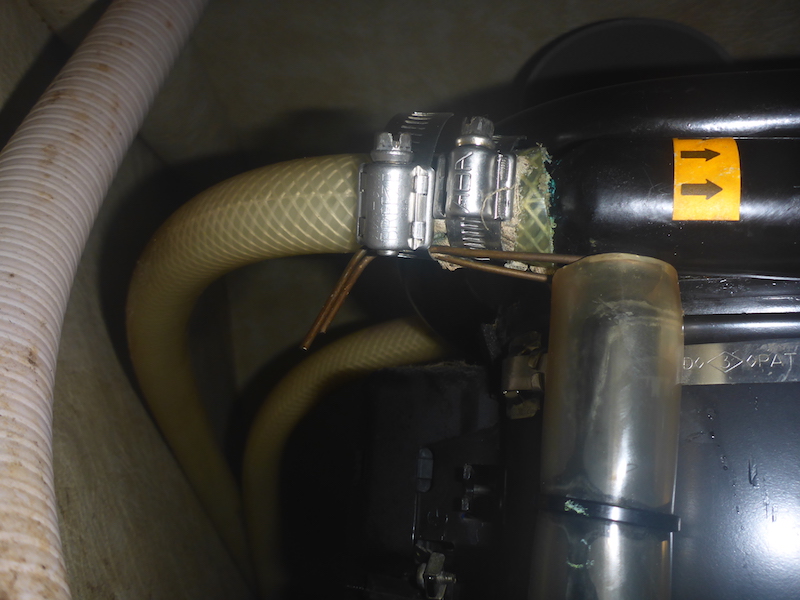
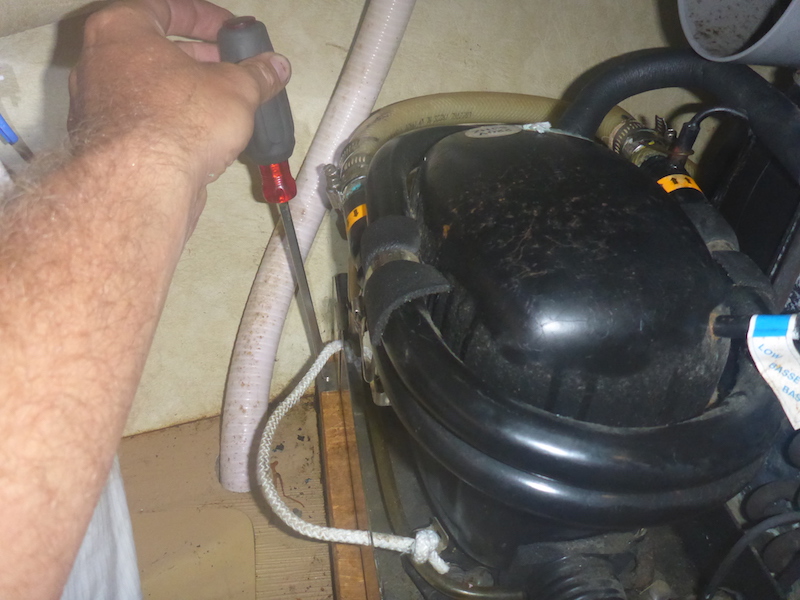
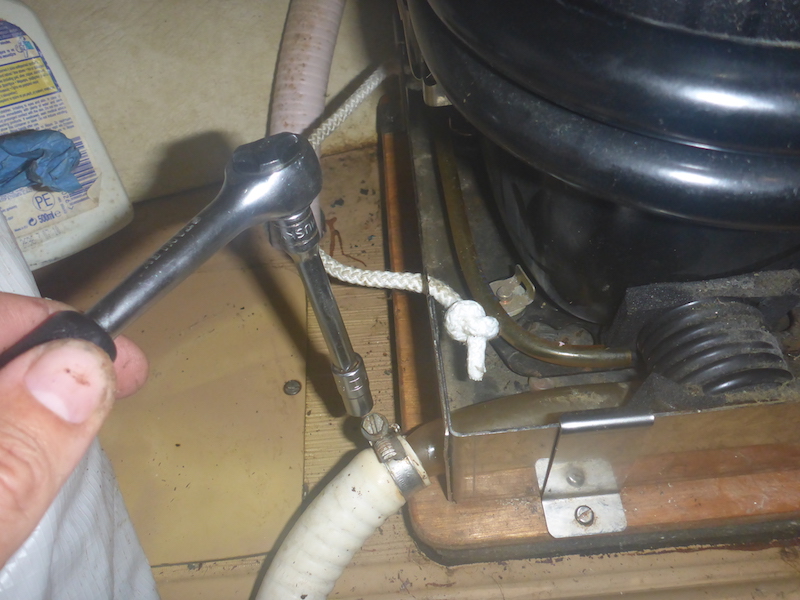
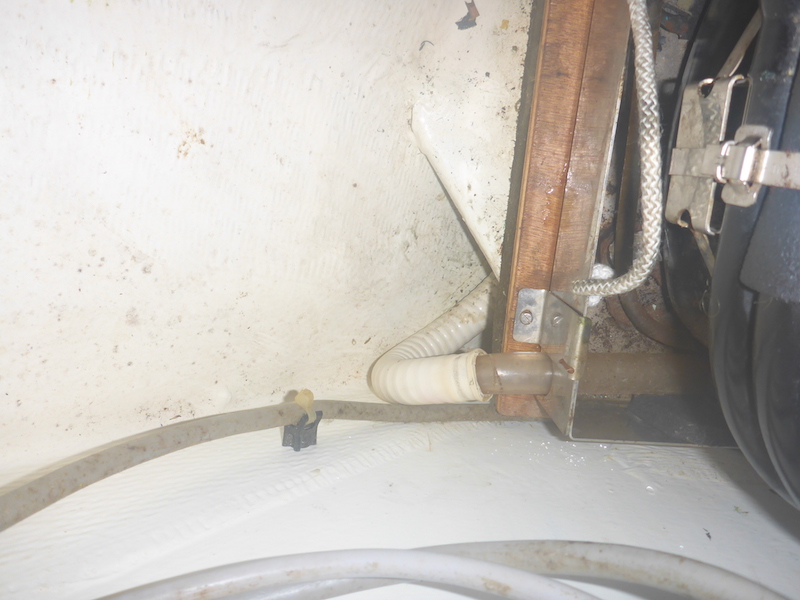
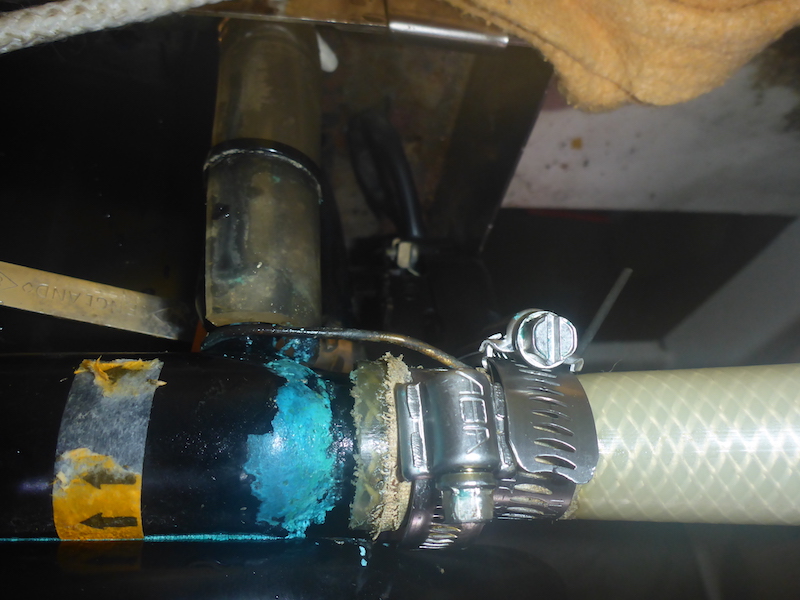
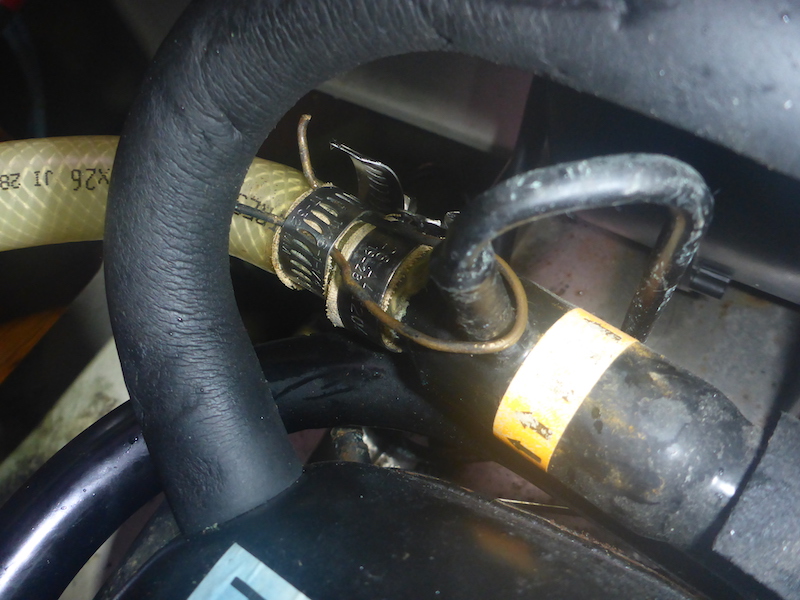
Reconnecting the cooling hoses of the Aft Climma Marine Compact 9
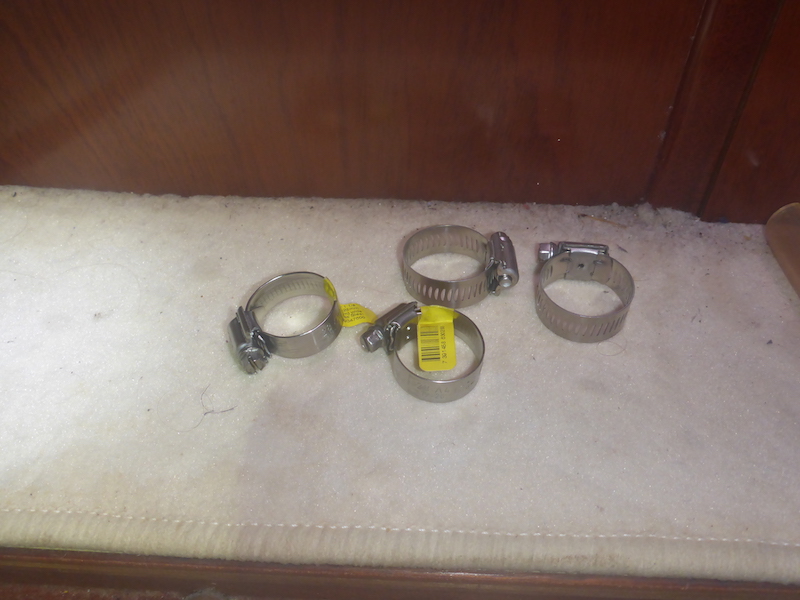
Replace the original clamp with new ones

Remember that there is a critical piece of wire that will be placed under the 2nd clamp as an additional way to hold the hose in place
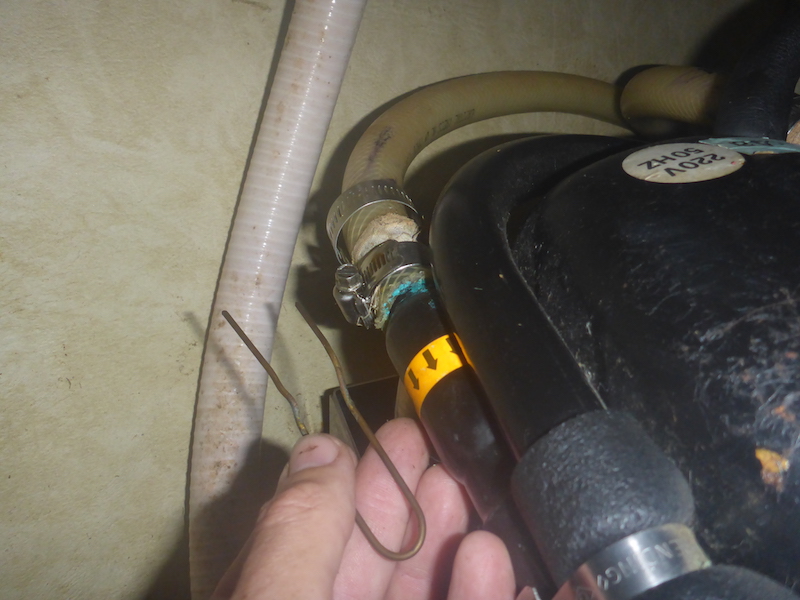
The 2 ends of the metal wires will be bent
Same on the other hose
close up of the work
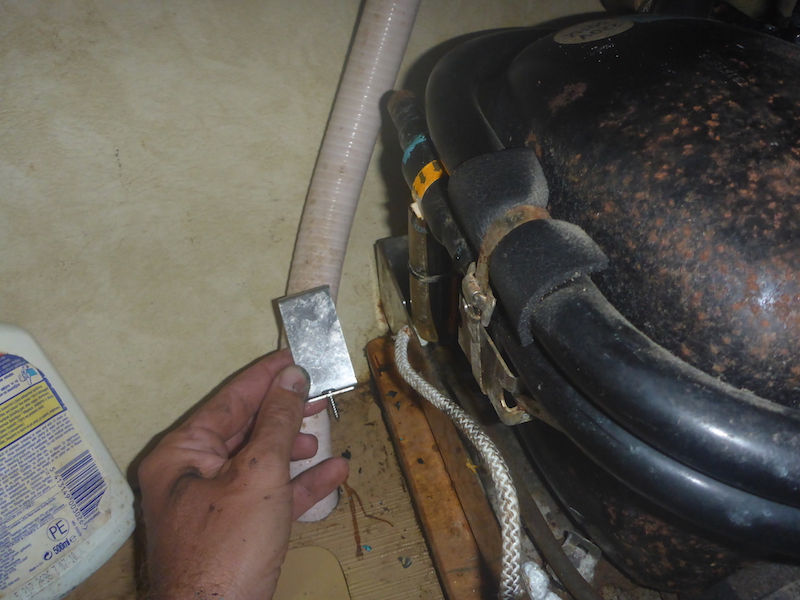
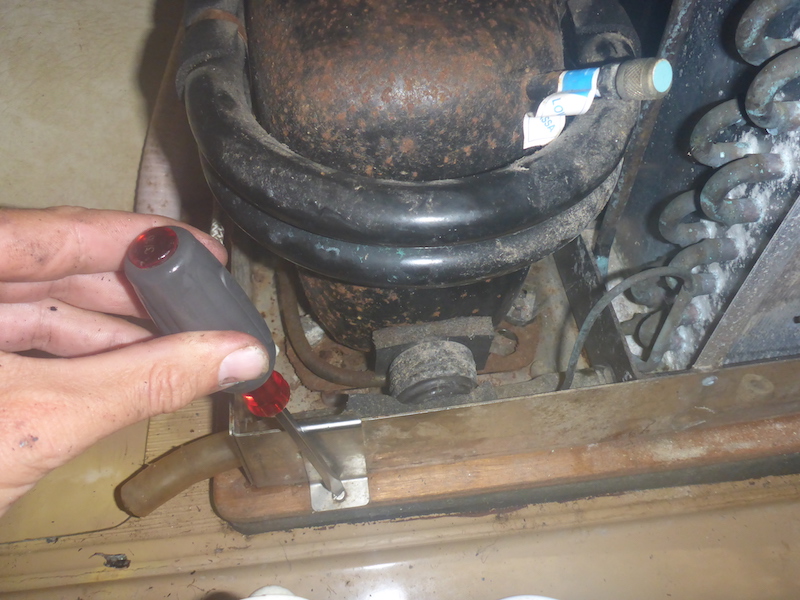
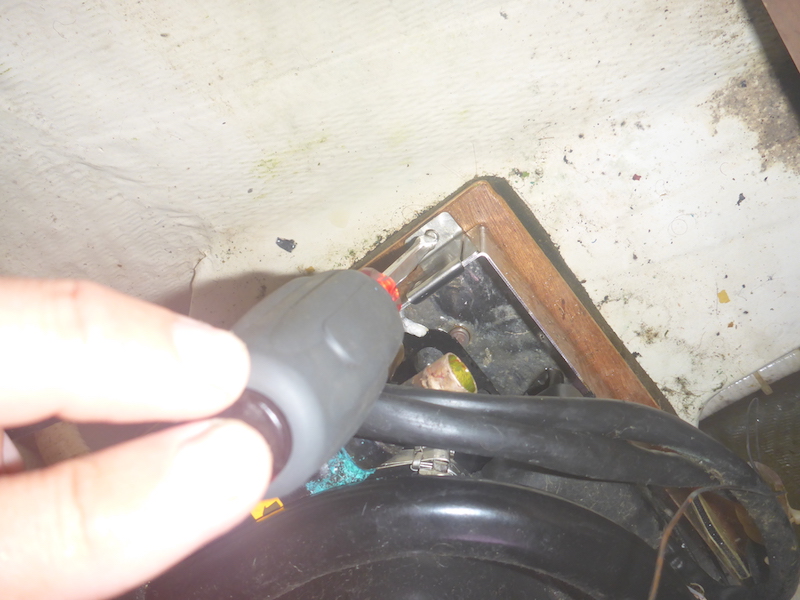
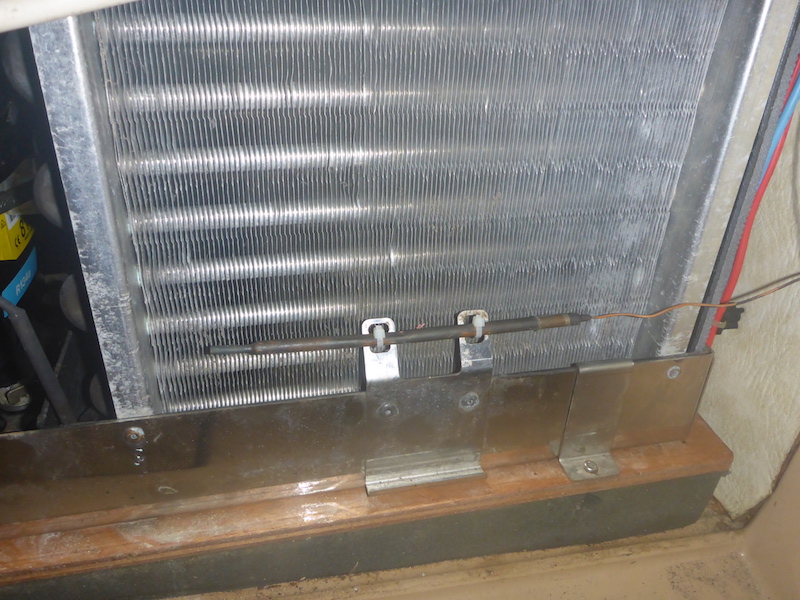
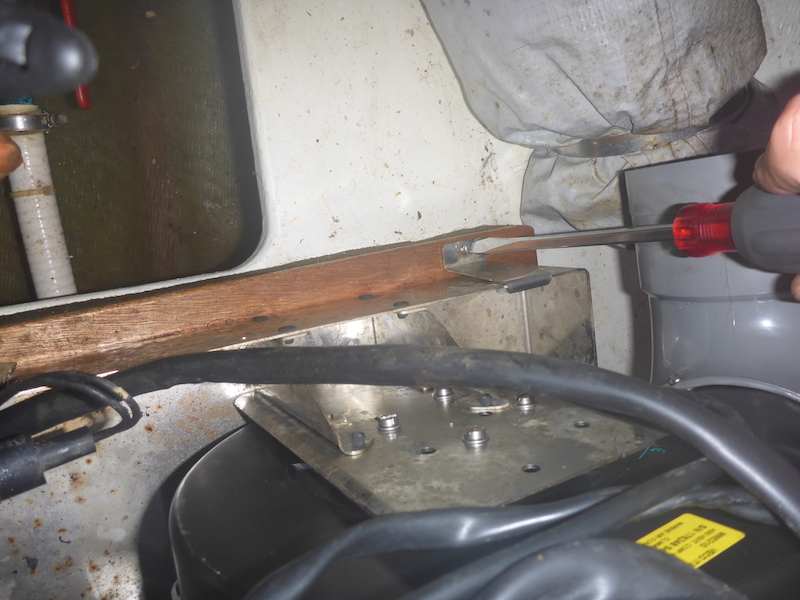
Putting back holding brackets, overflow and thermostat on the Aft Climma Marine Compact 9
screw back the brackets holding in place the unit
2nd one
3rd one
4th and last one
clamp back the hose
tie back the thermostat
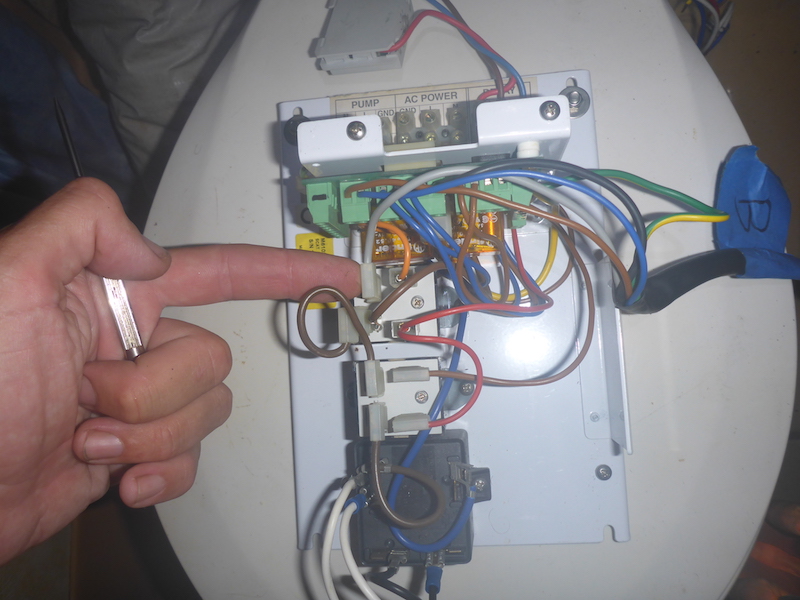
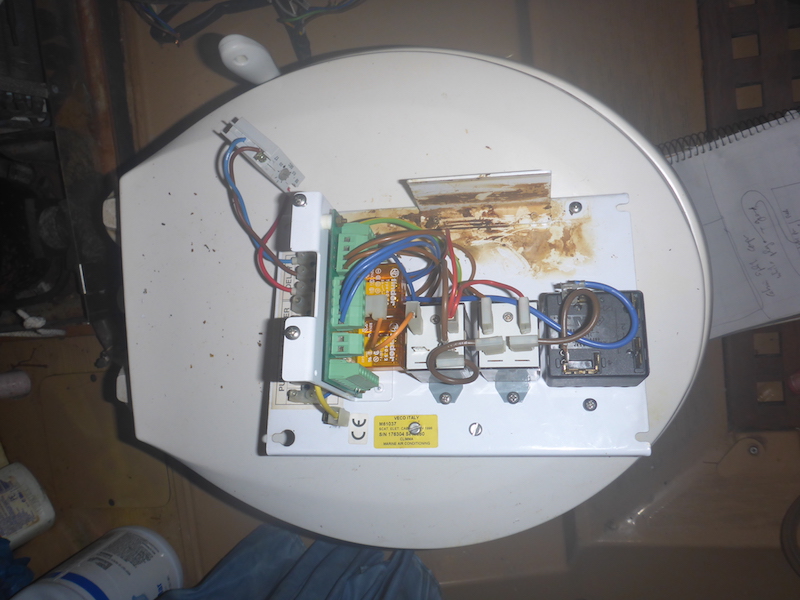
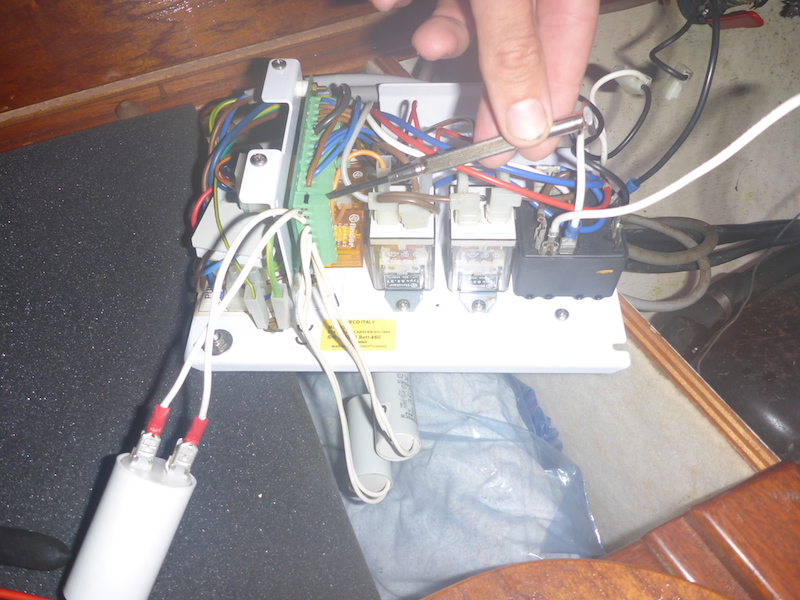
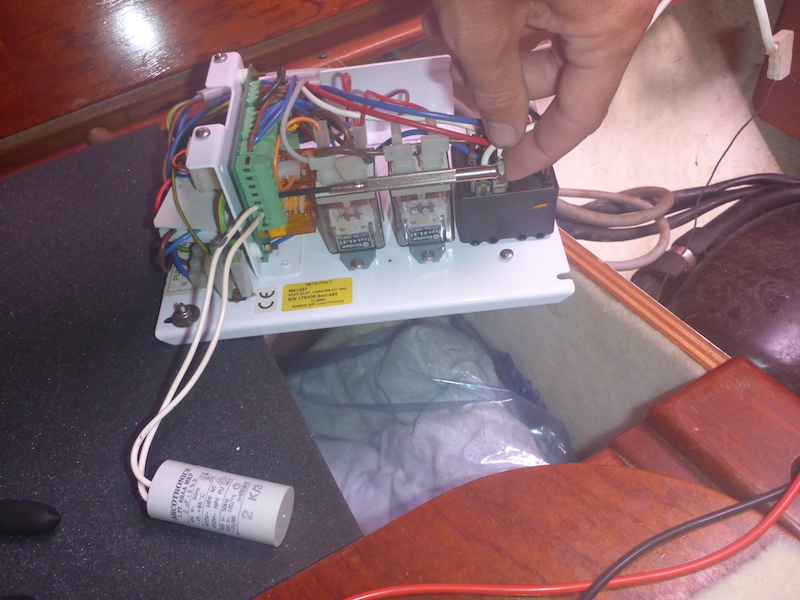
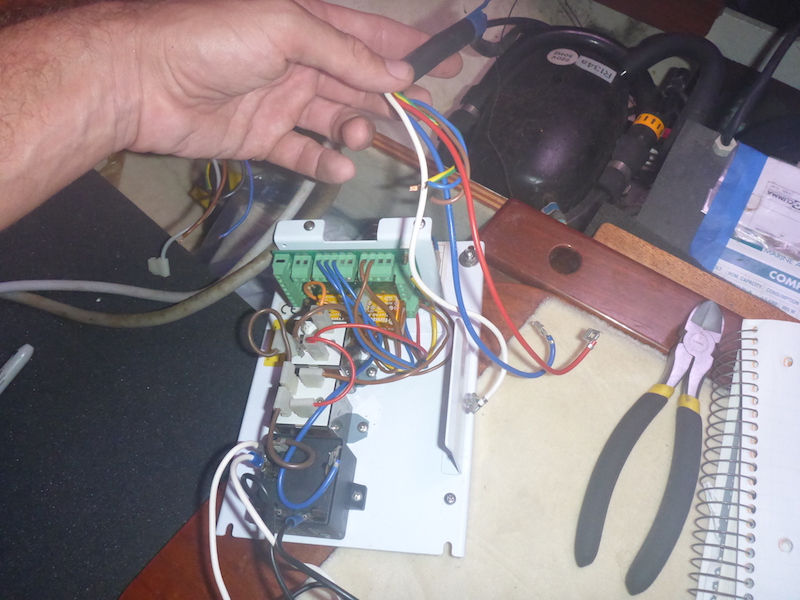
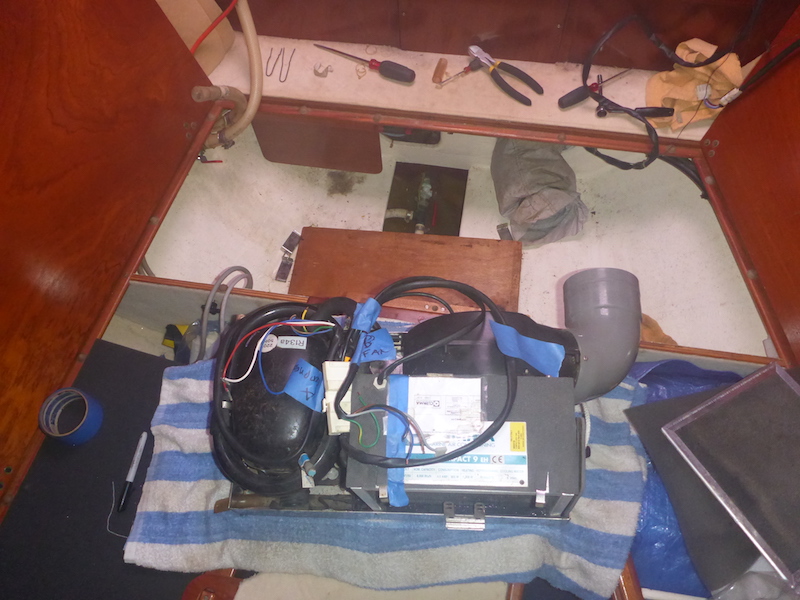
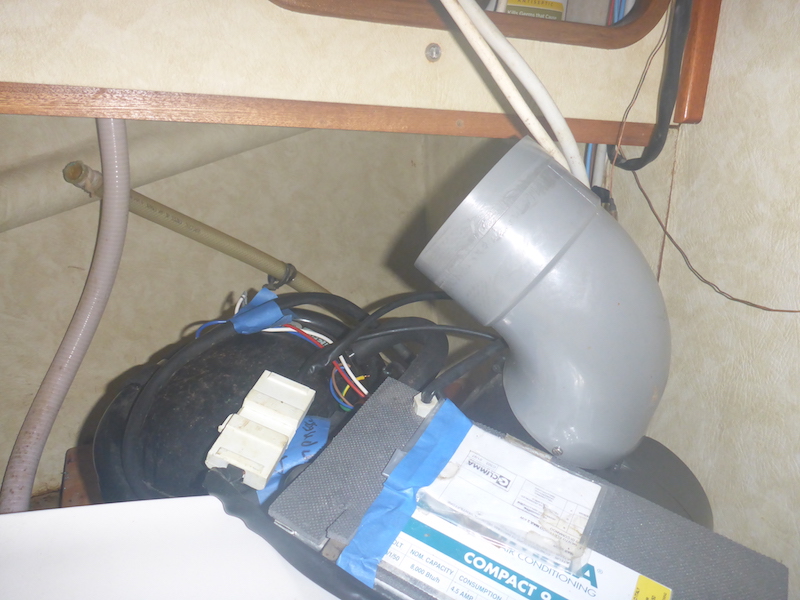
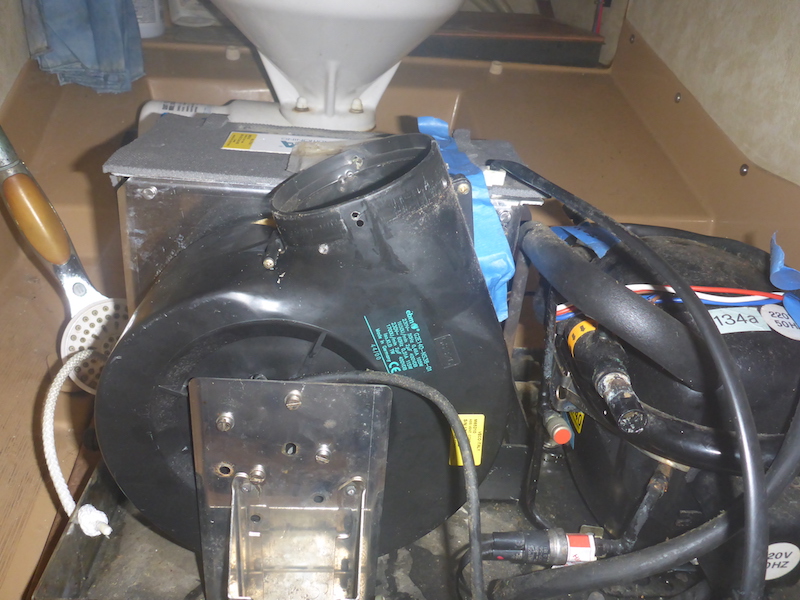
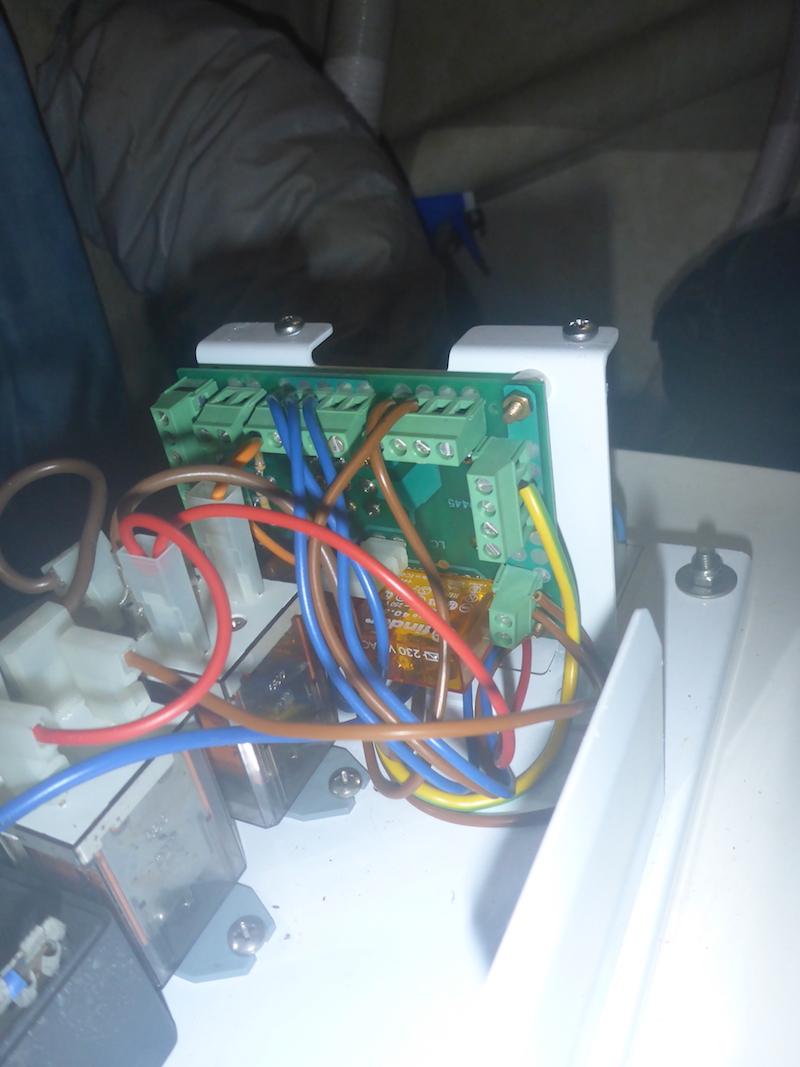
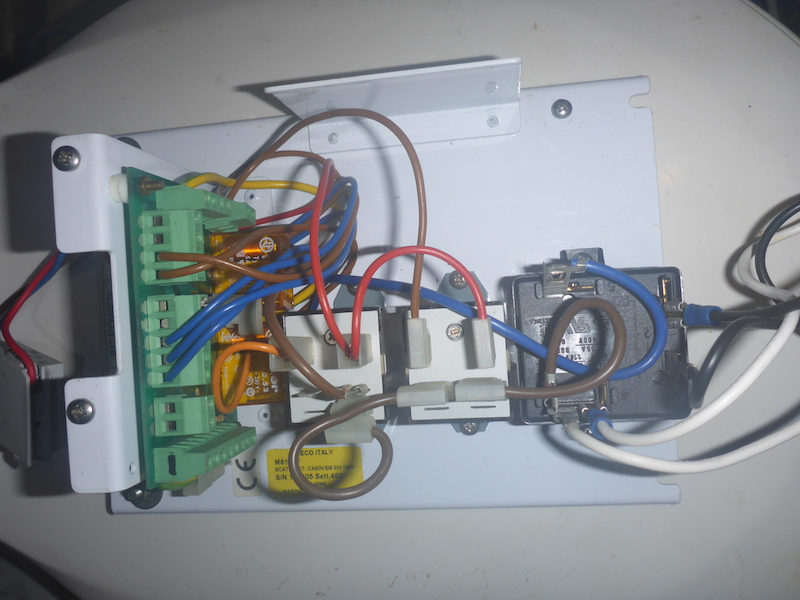
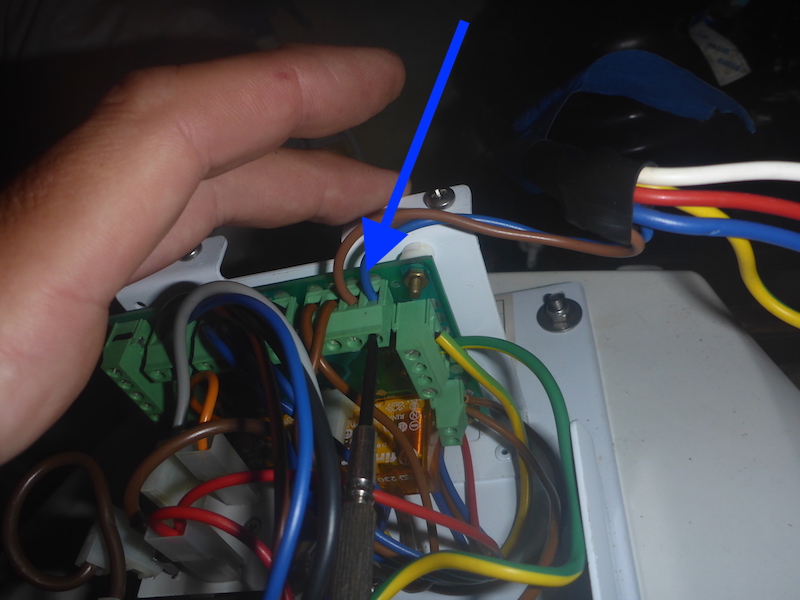
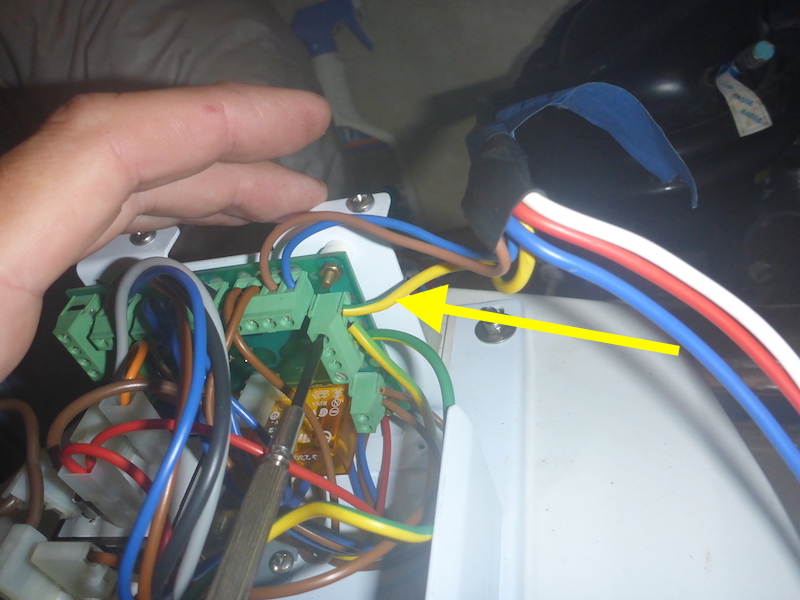
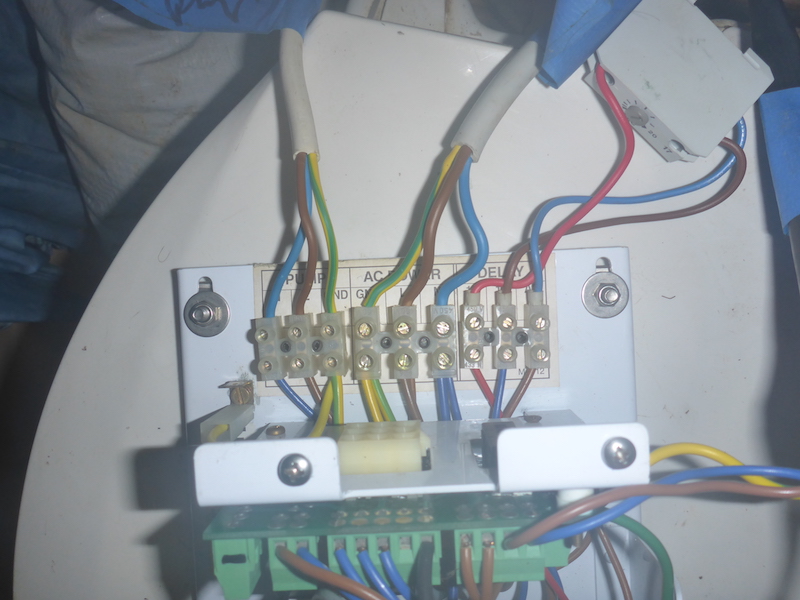
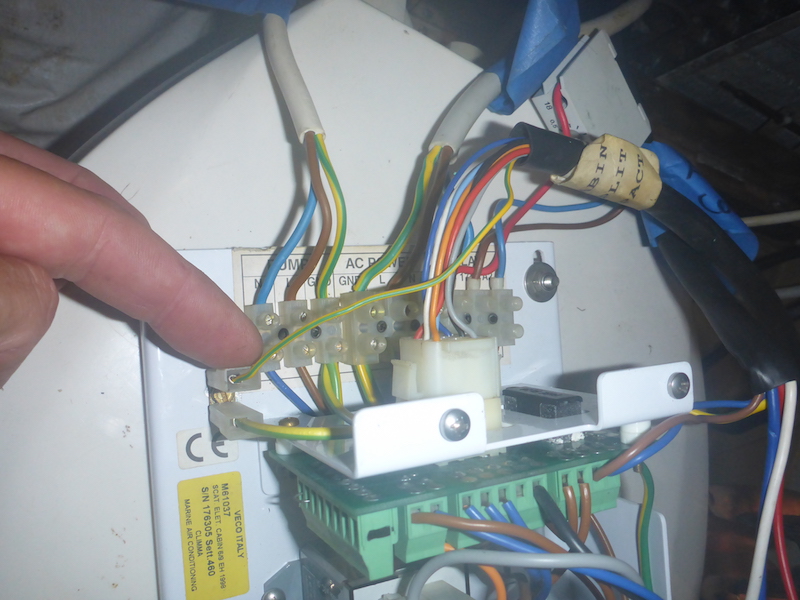
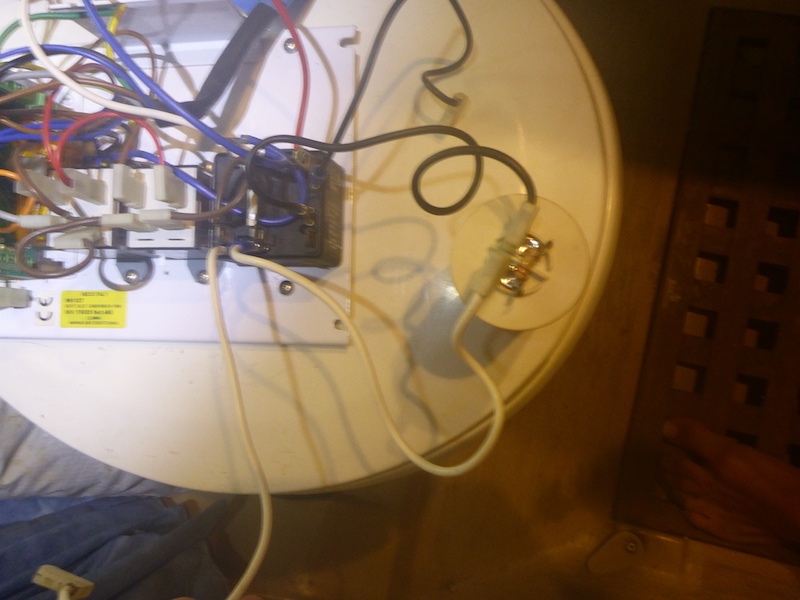
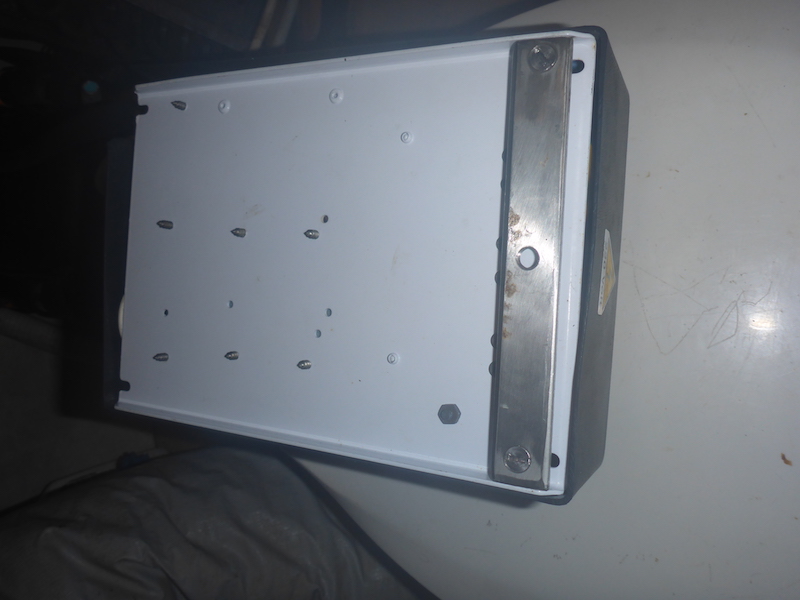
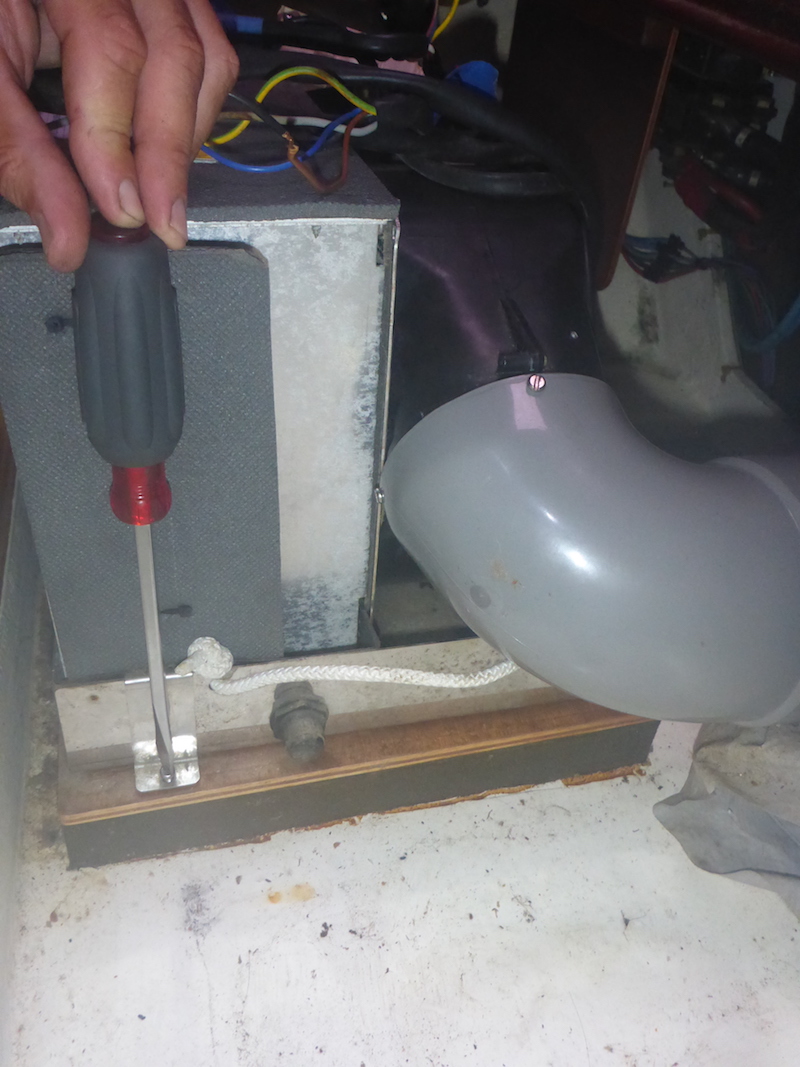
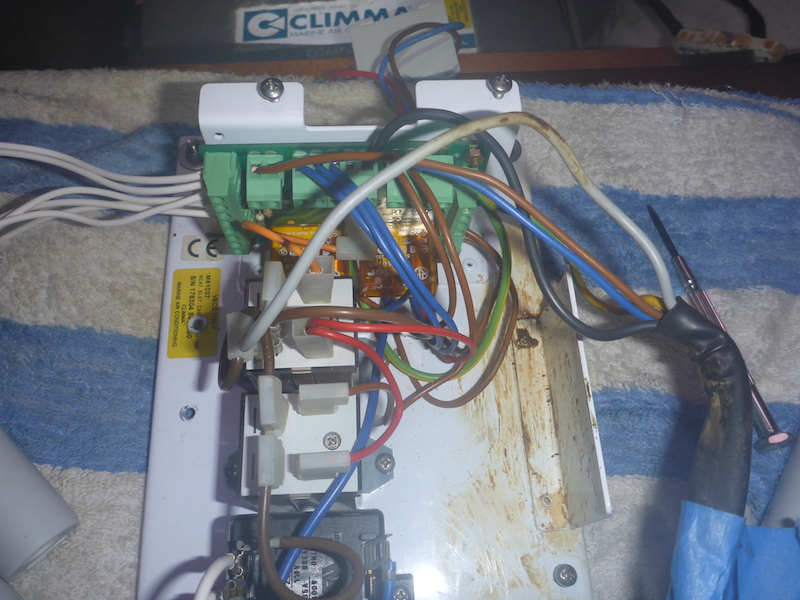
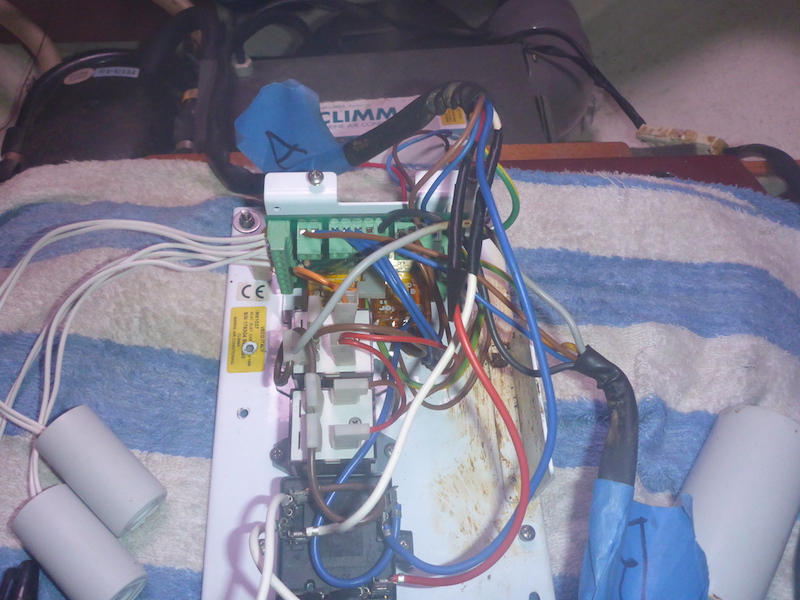
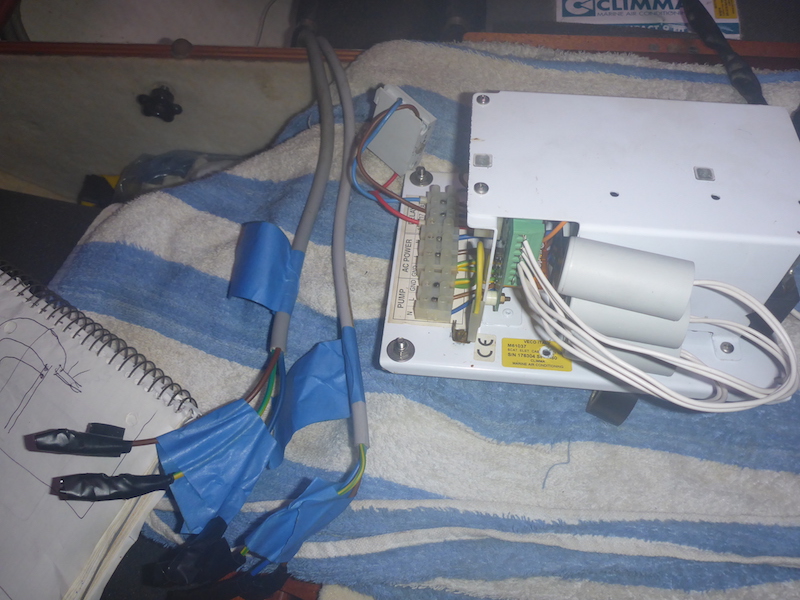
Looking at the control box of the Aft Climma Marine Compact 9
Look at the control box
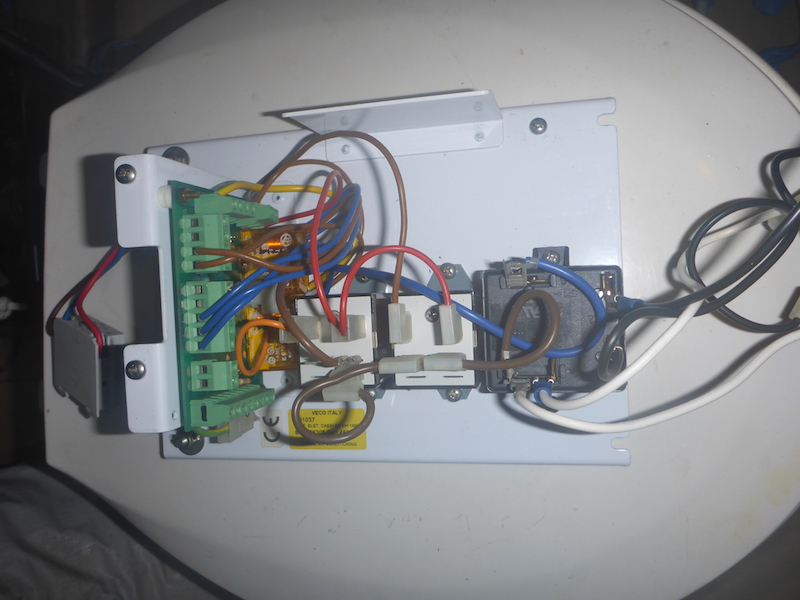
This side will have the 3 capacitors regulating the fans
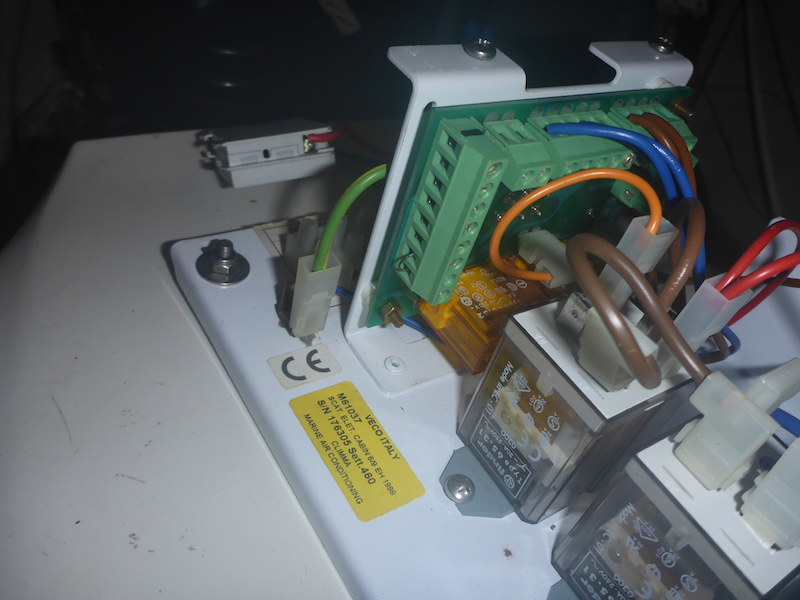
top
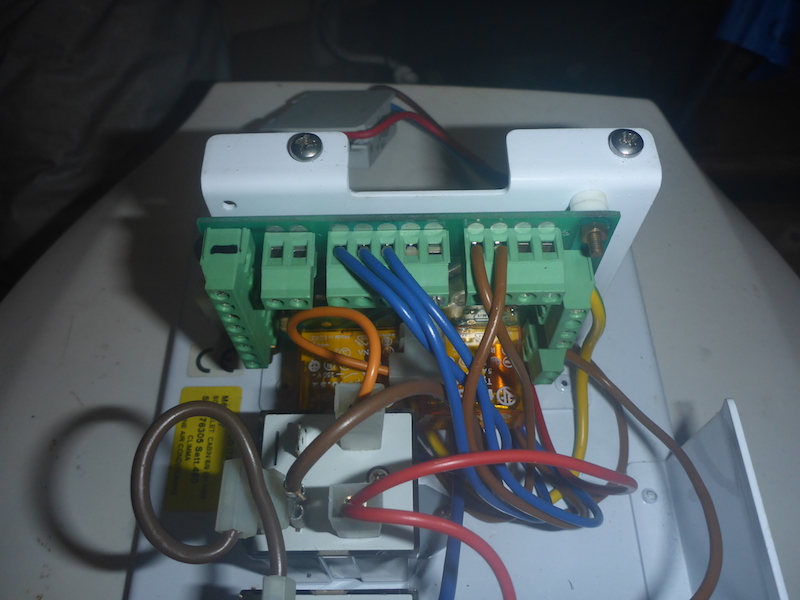
other side
another view
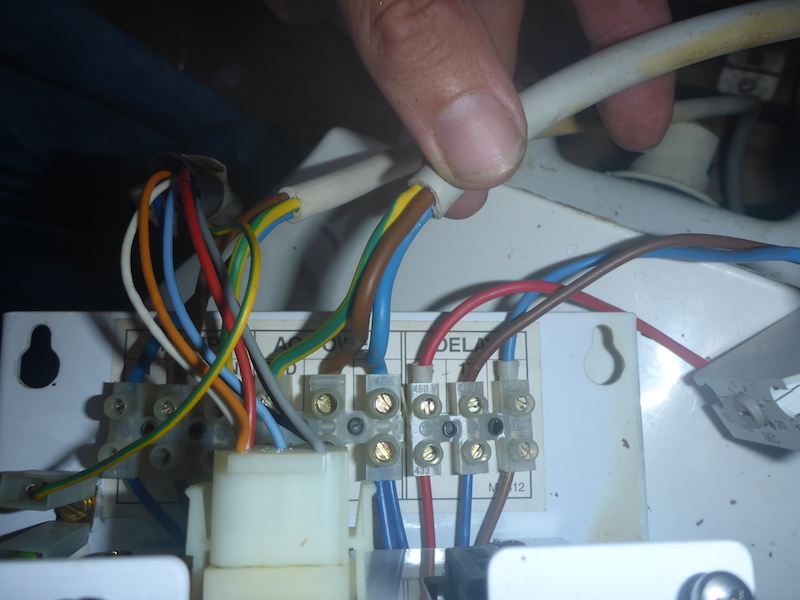
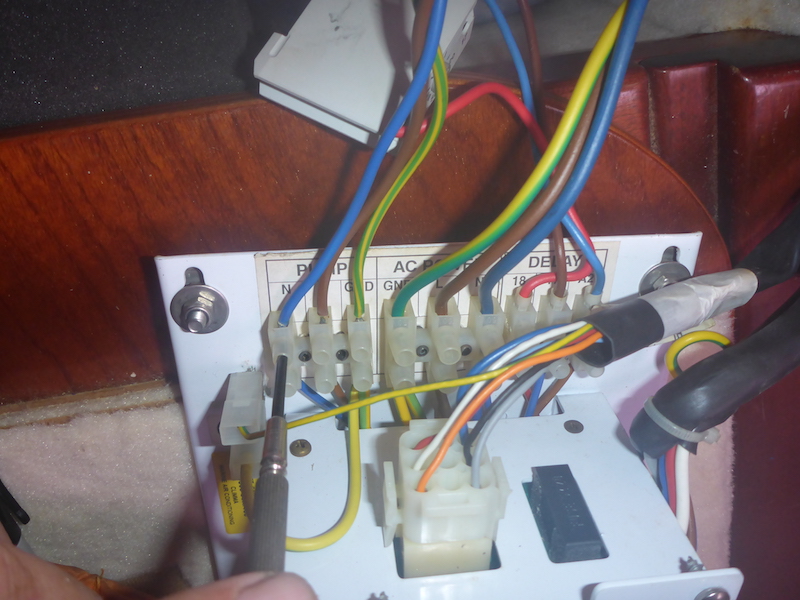
front where the 3 wires going to the Calpeda cooling pump will go, then the 3 wires coming from the diruptor
Let's start with the wires going to the fans
Reconnecting the Fan harness to the Aft Climma Marine Compact 9
Here is a picture of my notes for Harness "B" going to fan
Brown wire
Blue wire

Black wire

Yellow/Green (Ground) wire
Then the gray attach there

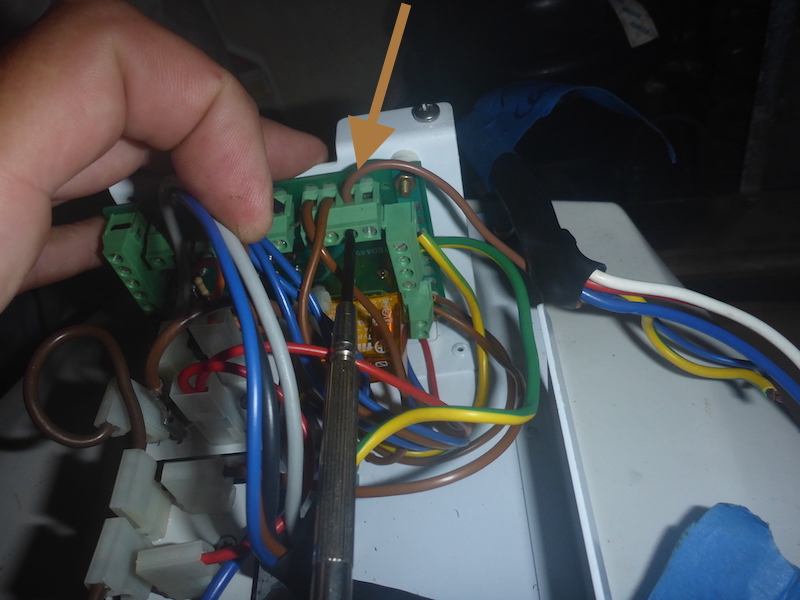
Reconnecting the Compressor harness to the Aft Climma Marine Compact 9
Now the compressor harness
Here is a picture of my notes for harness "A" going to Compressor
Brown wire
Blue wire
Yellow/Green (Ground) wire
Then the blue
red
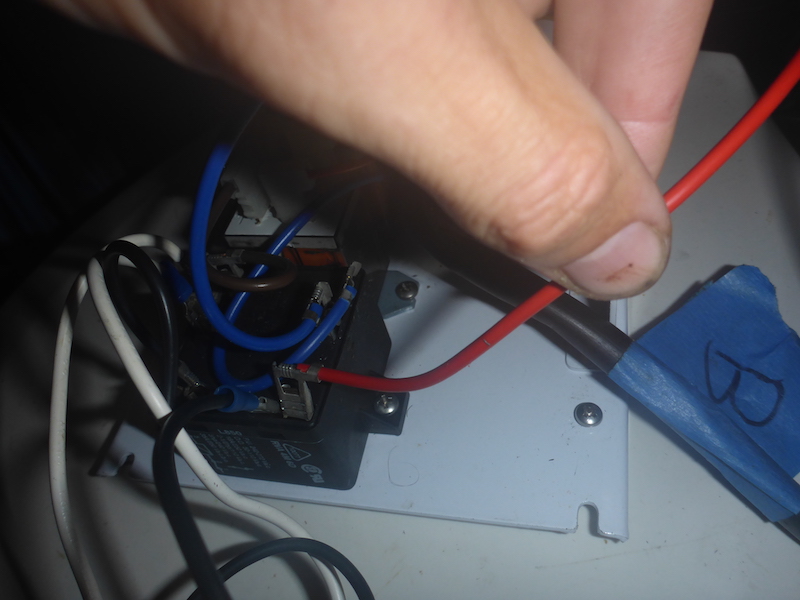
and white
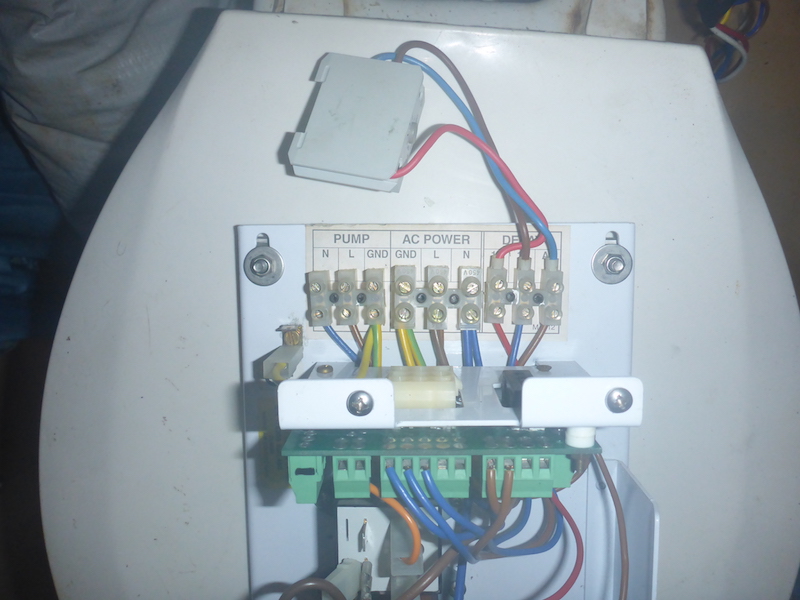
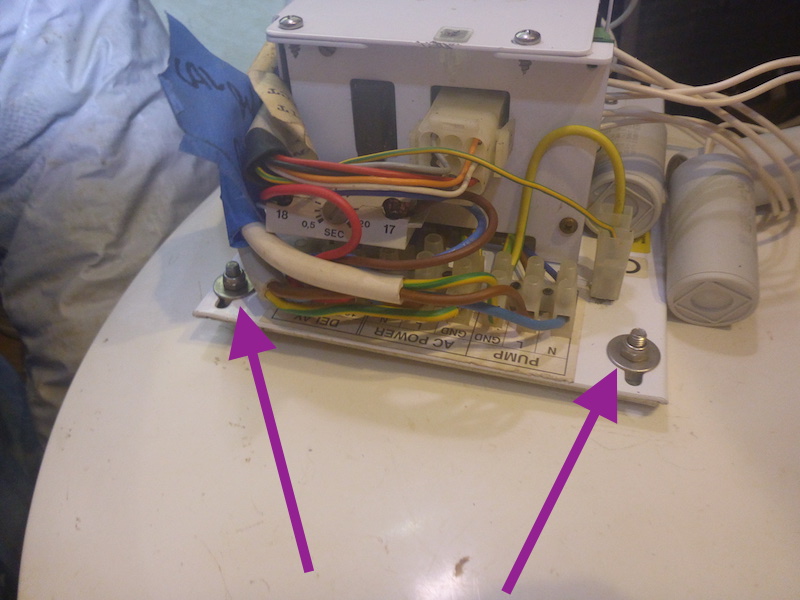
Reconnecting the Calpeda, AC (Alternative Current) and control box to the Aft Climma Marine Compact 9
Now the wire of the Capleda cooling pump
back in place
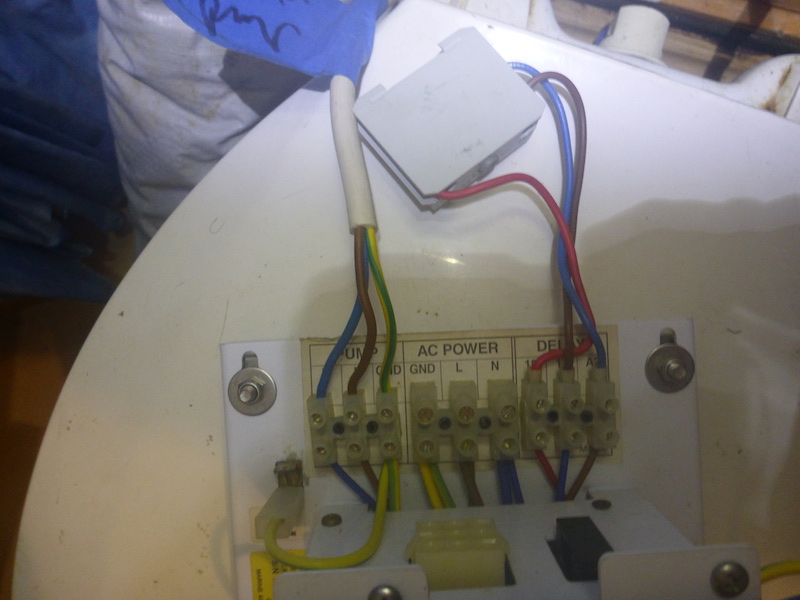
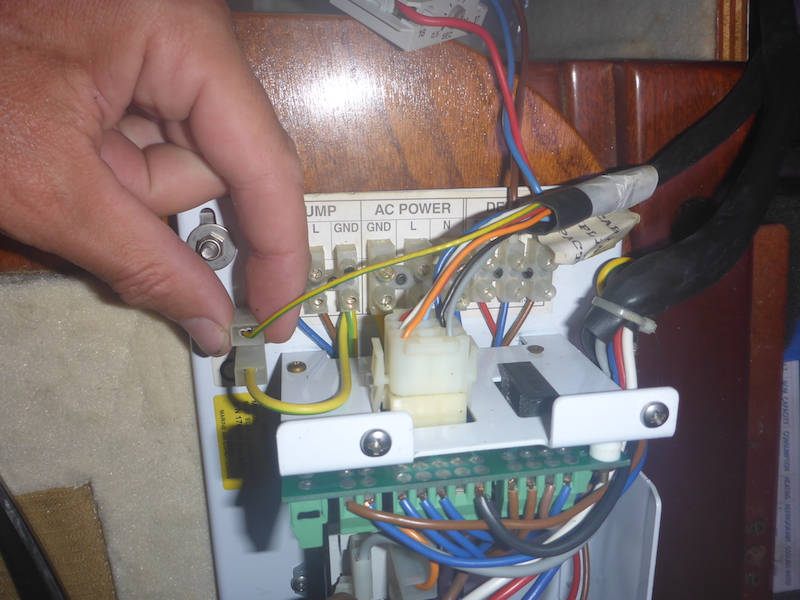
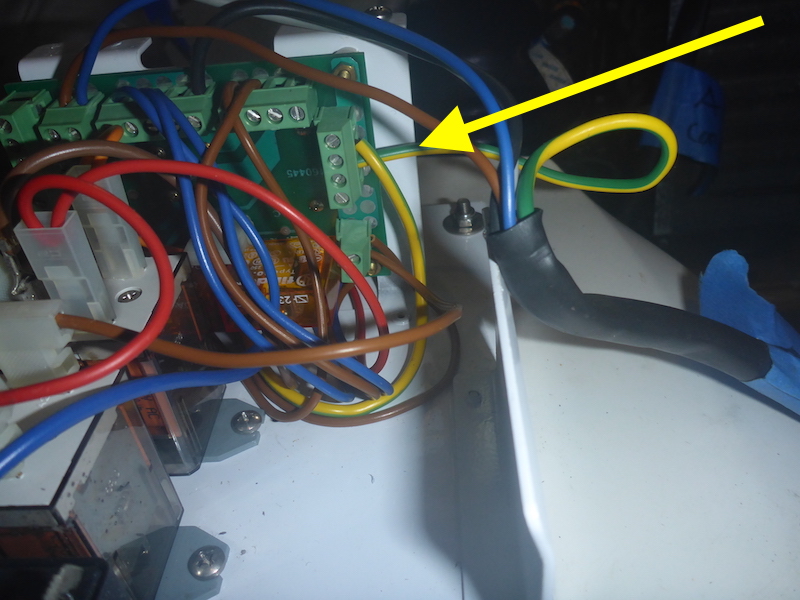
Now the 3 wires coming from the 220 Volt Panel (Diruptor)
back in place
Now the control harness
Now both in place
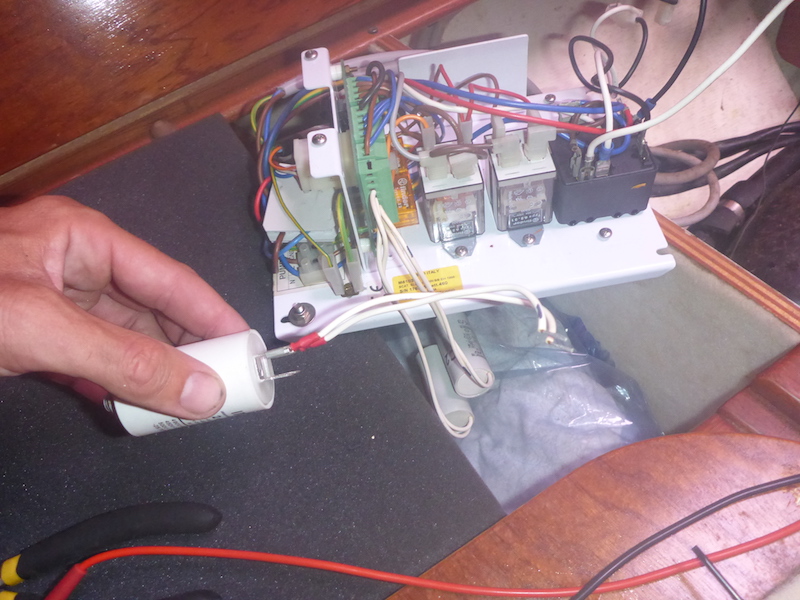
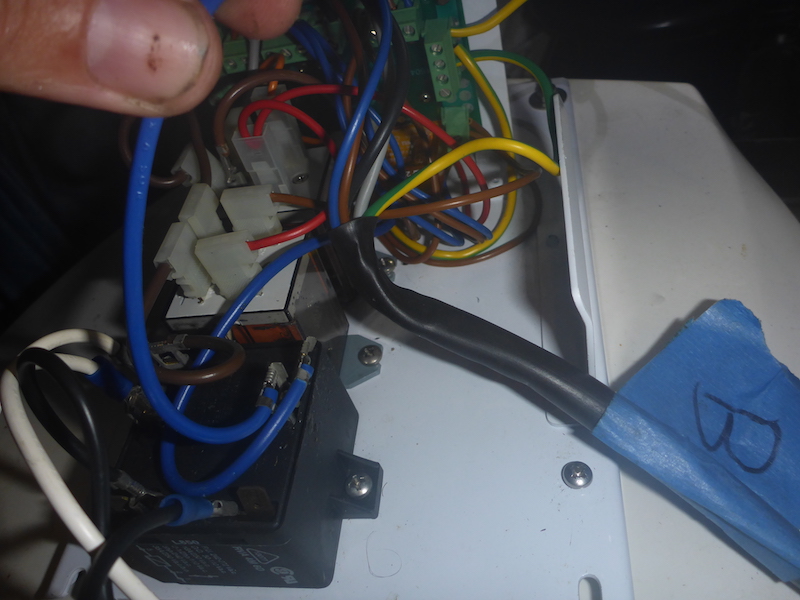
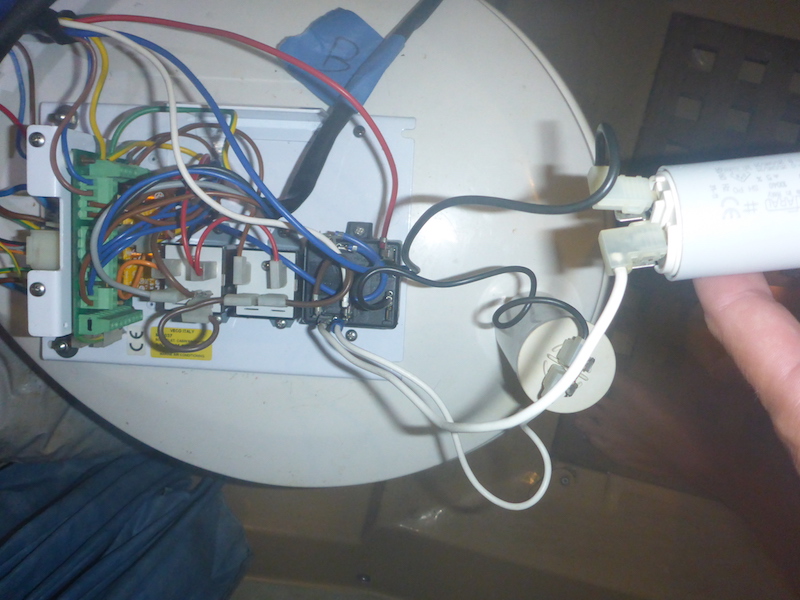
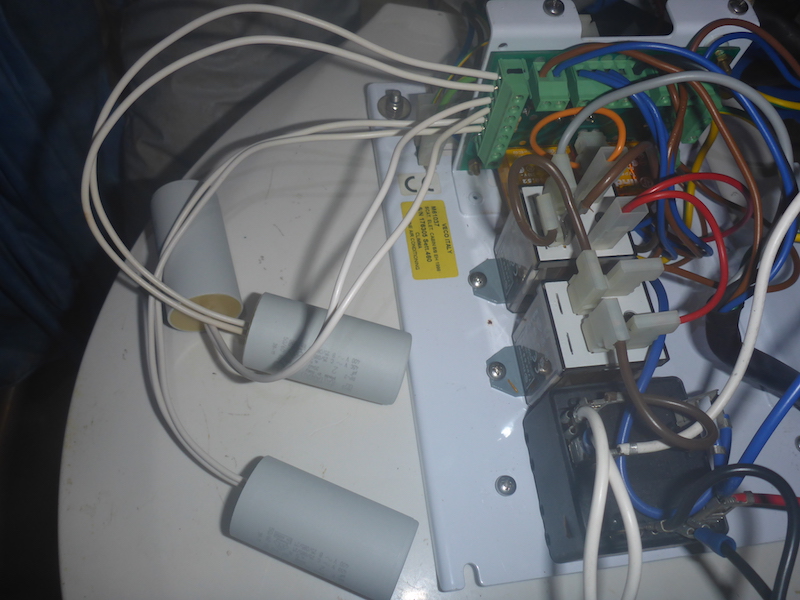
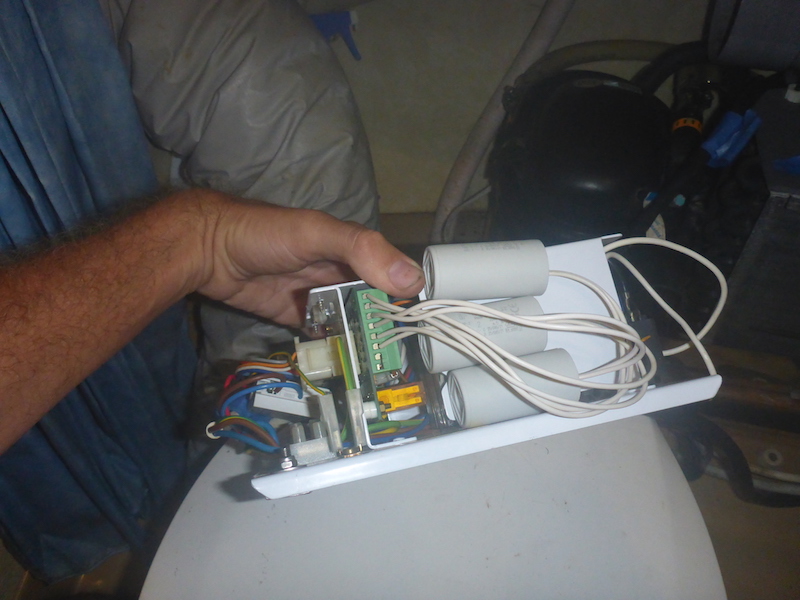
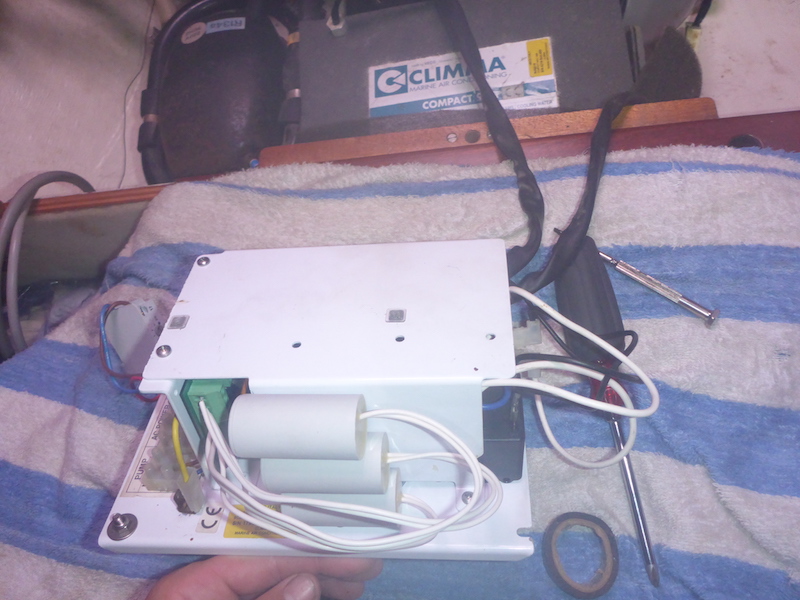
Reconnecting the Capacitors to the Aft Climma Marine Compact 9
Now the 40 Microfarad capacitors

back in place
Now the 10 Microfarad capacitors
back in place
Now the 2 Microfarad capacitors (starting with the bottom as it is easier to go up)
In place
Now the 3.15 Microfarad capacitors (somehow I forgot to take a pictures of the 2 wires in place - they are the 2 in the middle of the 6)
Now the second 2 Microfarad capacitors at the top
All back in place
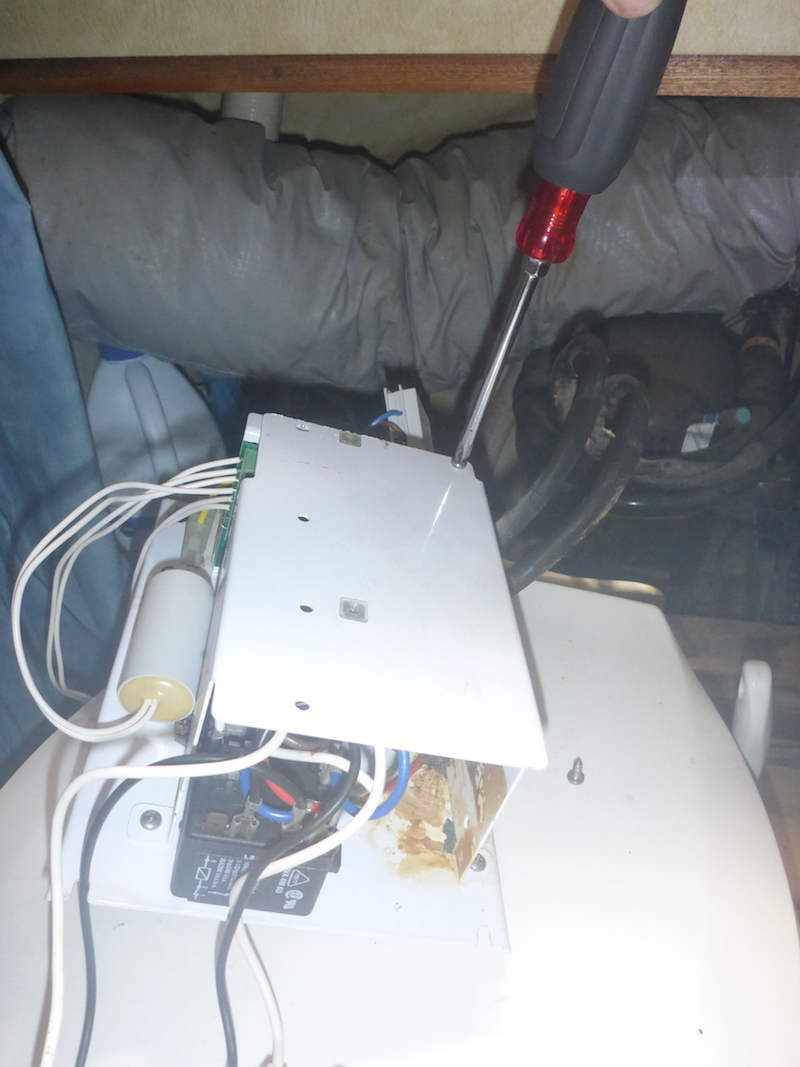
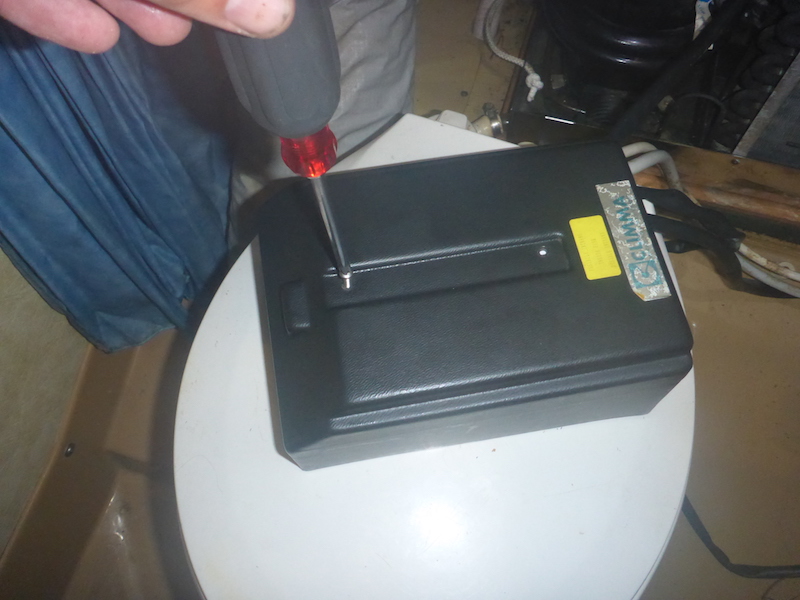
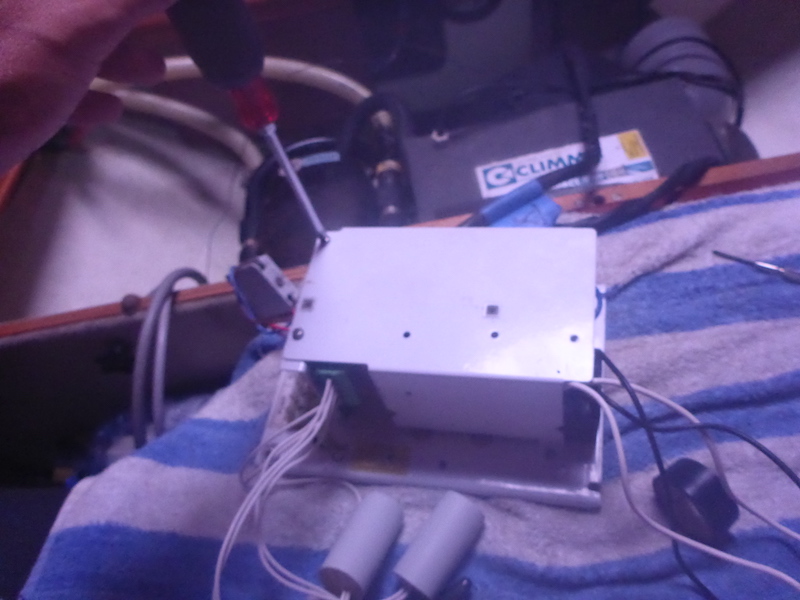
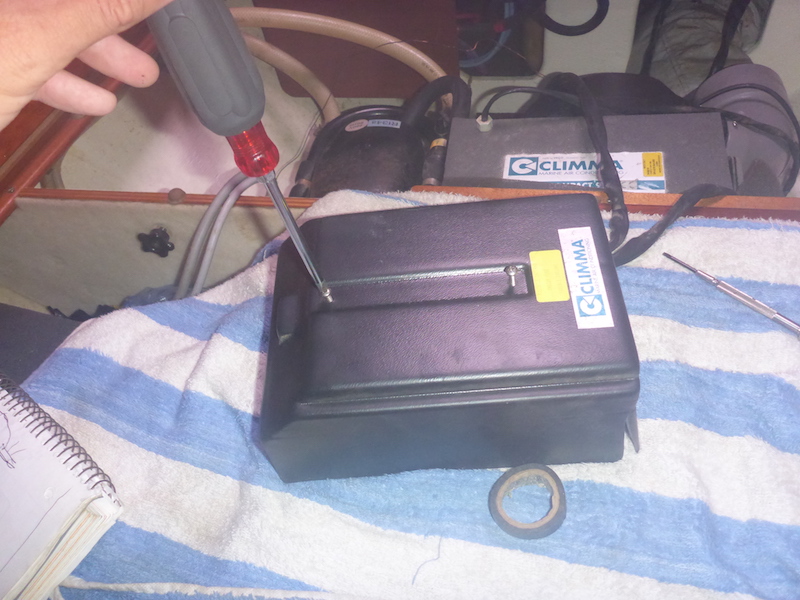
Closing the control box and attach back the Aft Climma Marine Compact 9
Bolting back the cover of the control box
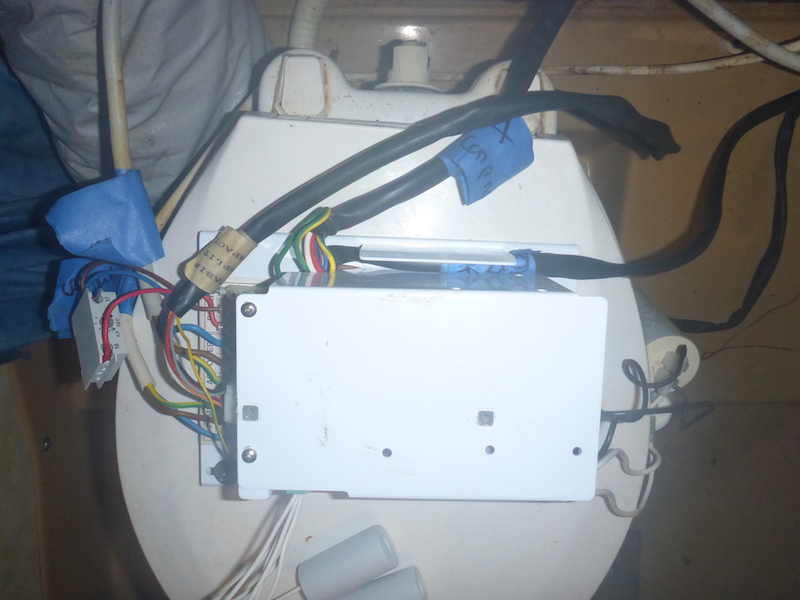
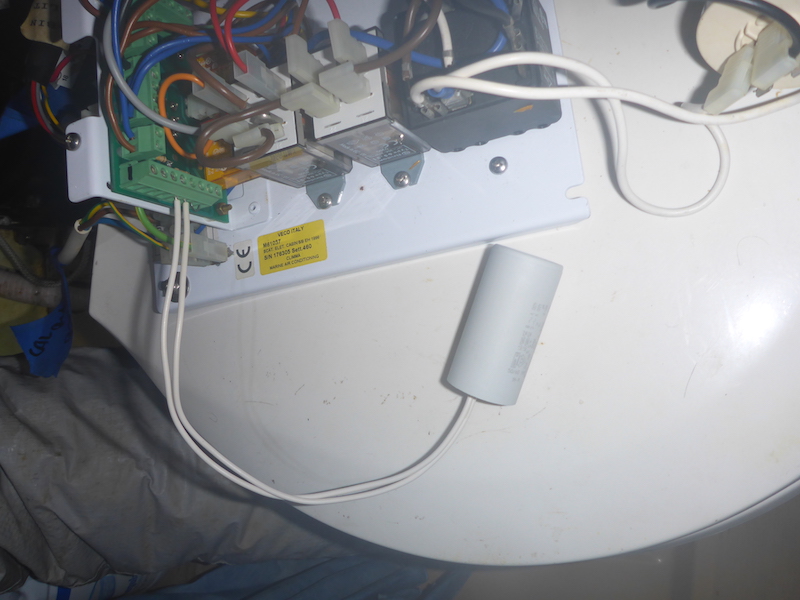
Putting in the 40 and 10 Microfarad capacitors
Positioning on the side the two 2 and the 3.15 Microfarad capacitors
Putting the wires
putting back the cover
Going to bolt back the box
Swapping the control box and attach of the Aft and forward Climma Marine Compact 9
But it will not fit... because the control box coming from the forward cabin is hold through a bar at the end
While the control box in the aft cabin is hold by a braket.

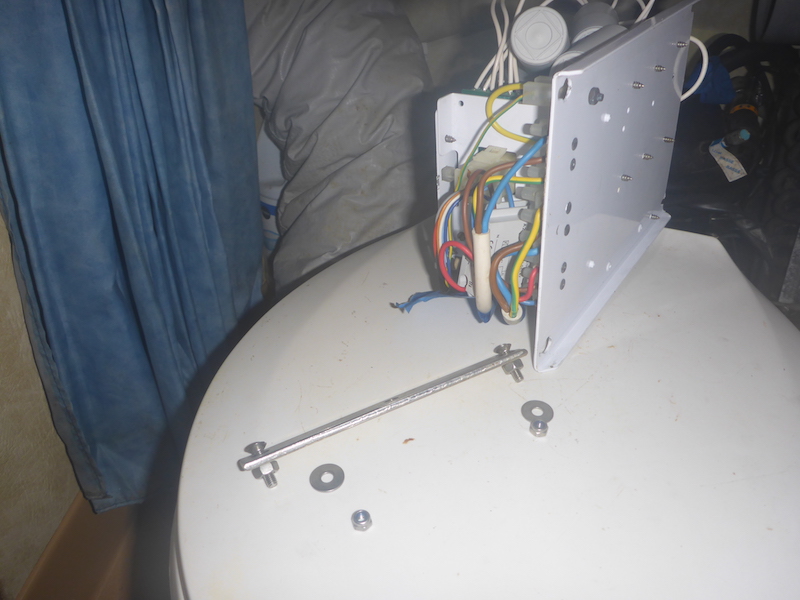
So removing the bracket
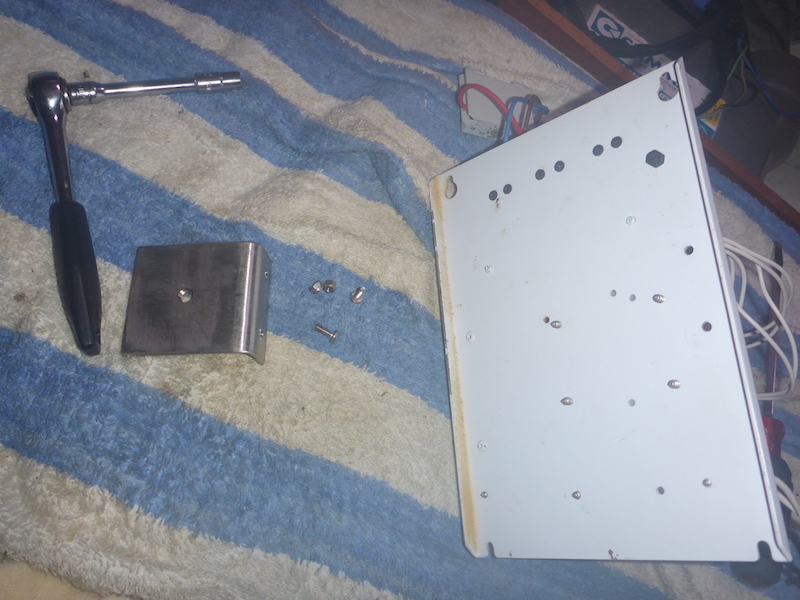
Removing the 2 bolt/nuts that hold the plate
close up look
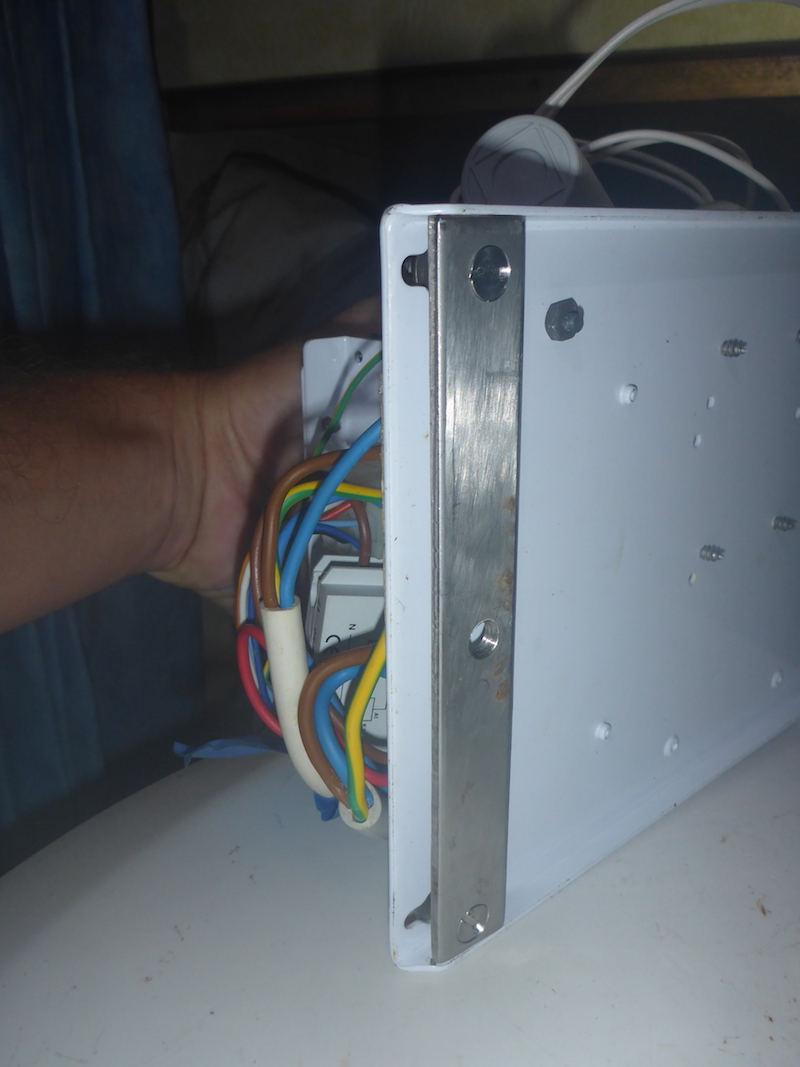
Plate is removed
put back on the other unit
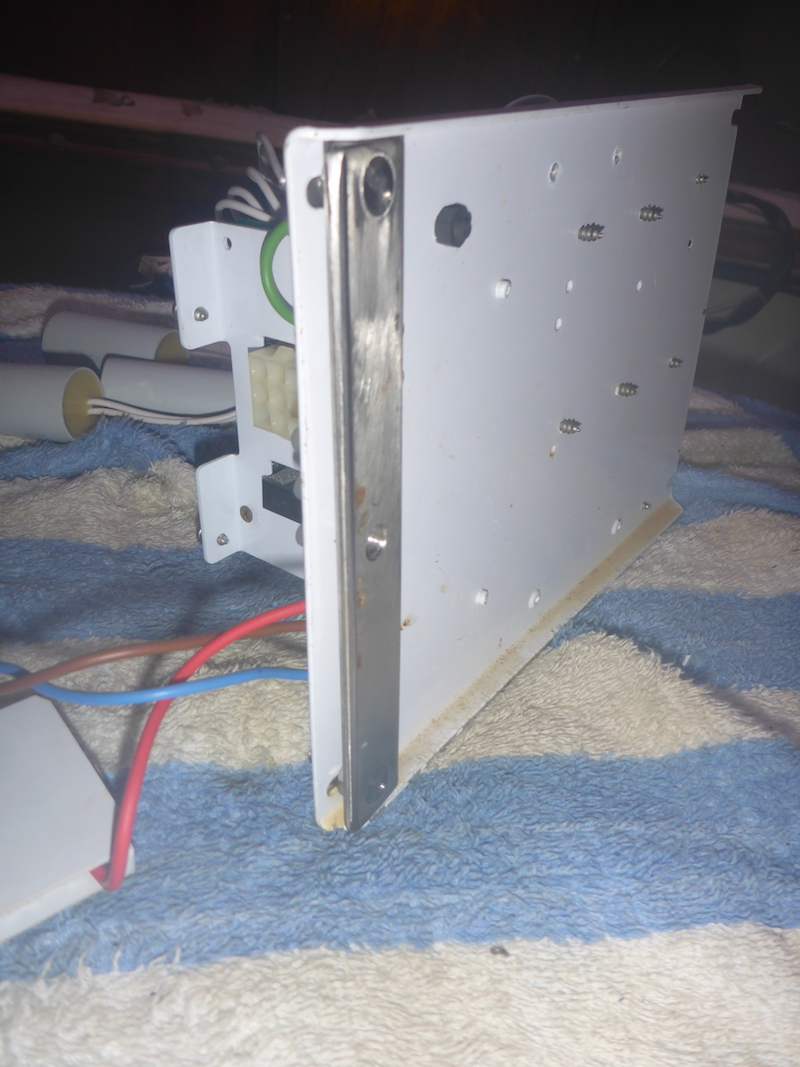
Unfortunately I forgot to take a picture, but I had to drill 2 holes in the other plate in order to fit the bracket
Put the cover back and now you can bolt it back on
Reconnecting the fan assembly on the forward Climma Marine Compact 9
Putting back the half fan assembly on the plate
Passing the wire through the hole
Reconnecting the 4 bolt that hold the fan motor in place
connecting the 2 halves of the fan assembly together
4 screws
Putting back the plate on the unit and bolt the 2 bolts holding it and 4 bolts in the middle
putting back the harness
screwing back the 90 degree elbow
Attaching holding brackets of the forward Climma Marine Compact 9
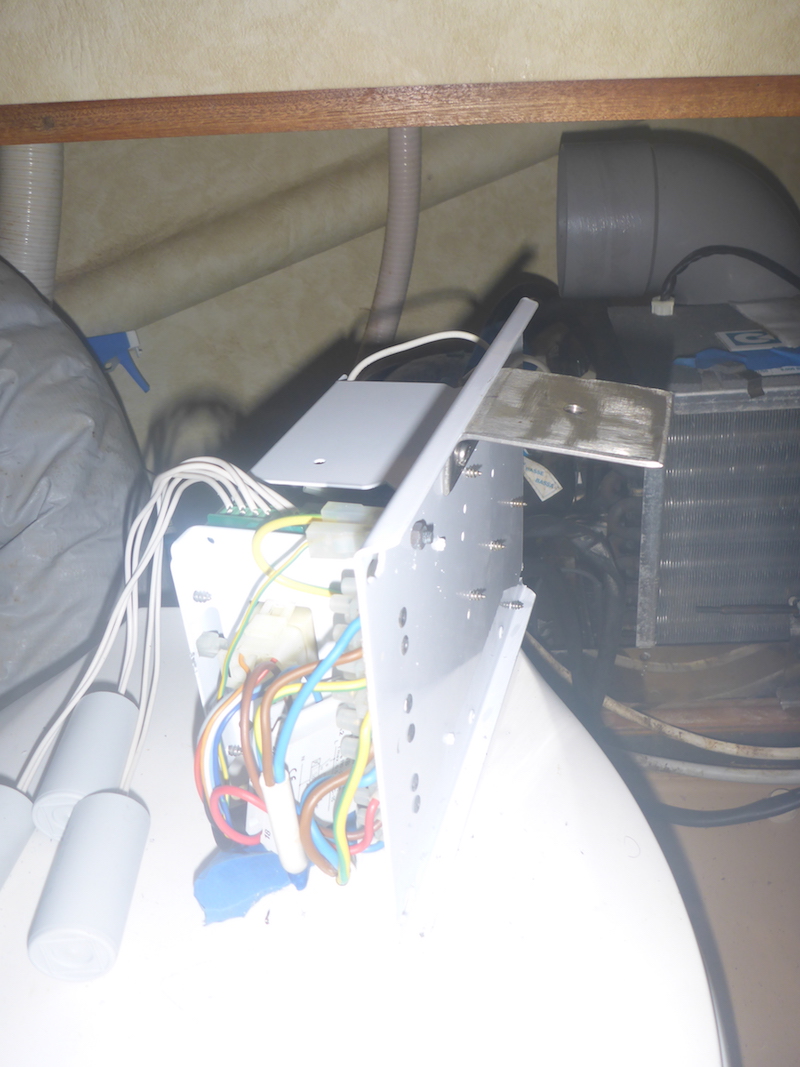
The unit is ready
Back in position
Attach back the 4 brackets holding the unit in place

2nd one
3rd one
4th brackets
Reconnecting the hoses and Thermostat of the forward Climma Marine Compact 9
I will not reconnect the ducking as this unit is non fonctional
connect back the hose
Putting new clamp
Close up of the wire that goes under the 2nd clamp as a double security
showing how it is bent
Putting back the thermostat (again this is the non-working unit)
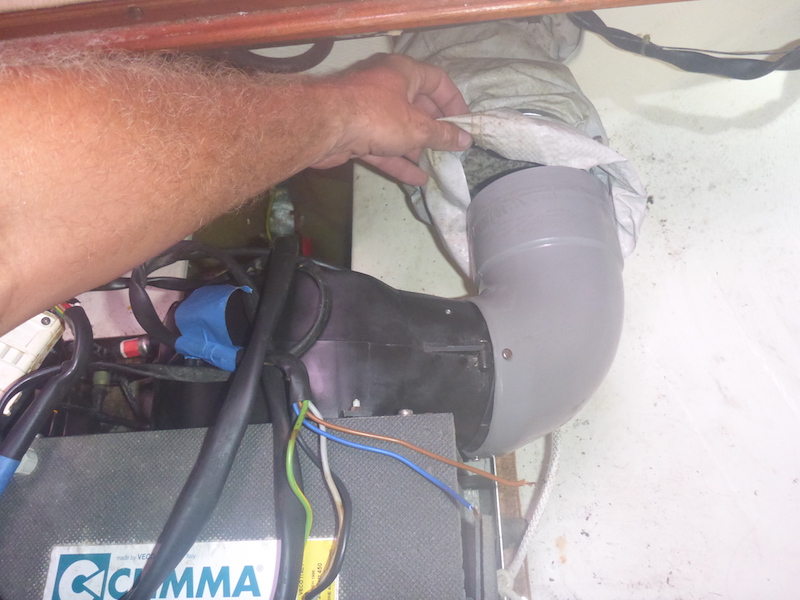
Putting back the screen
The the additional filter I had
Quick reconnection of the harnesses, Capacitors of the forward Climma Marine Compact 9
As detailed for the other unit, put back the fan harness
Here is a picture of my notes for Harness "B" going to fan
Now in place
Now the compressor harness
Here is a picture of my notes for harness "A" going to Compressor
Now in place as well as the 3 capacitors on the side
Put the 2 larger capacitors and close the cover
Position the capacitors
Position the wires
Since this unit is NOT working and to avoid any risk to trip the main breaker should the Diruptor of the 220 Volt panel be activated for this unit
I will not reconnect the AC (Alternative Current) wires and make sure they are well cover and away from each other.
Same for the calpeda pump, which I believe has current coming to these wires.
Put back the cover
Bolt in back (we previously exchange the brackets)
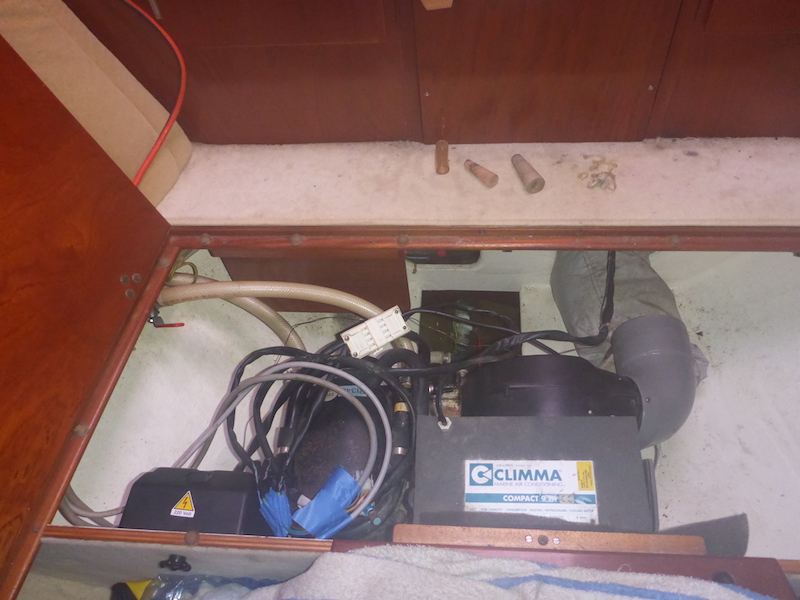
Testing Climma Marine Compact 9
Before I close everything down (forward cabin access to the air conditioning and the cover of the aft cabin)
I wanted to make sure the hose were not leaking as it would be desastrous
So I turn on the aft cabin air conditioning
Then inspected for several minutes to make sure there was water leak on both hoses
Then look at the hoses of the forward cabin
All good
Putting back cover for Aft and Forward Climma Marine Compact 9
Now time to close down everything
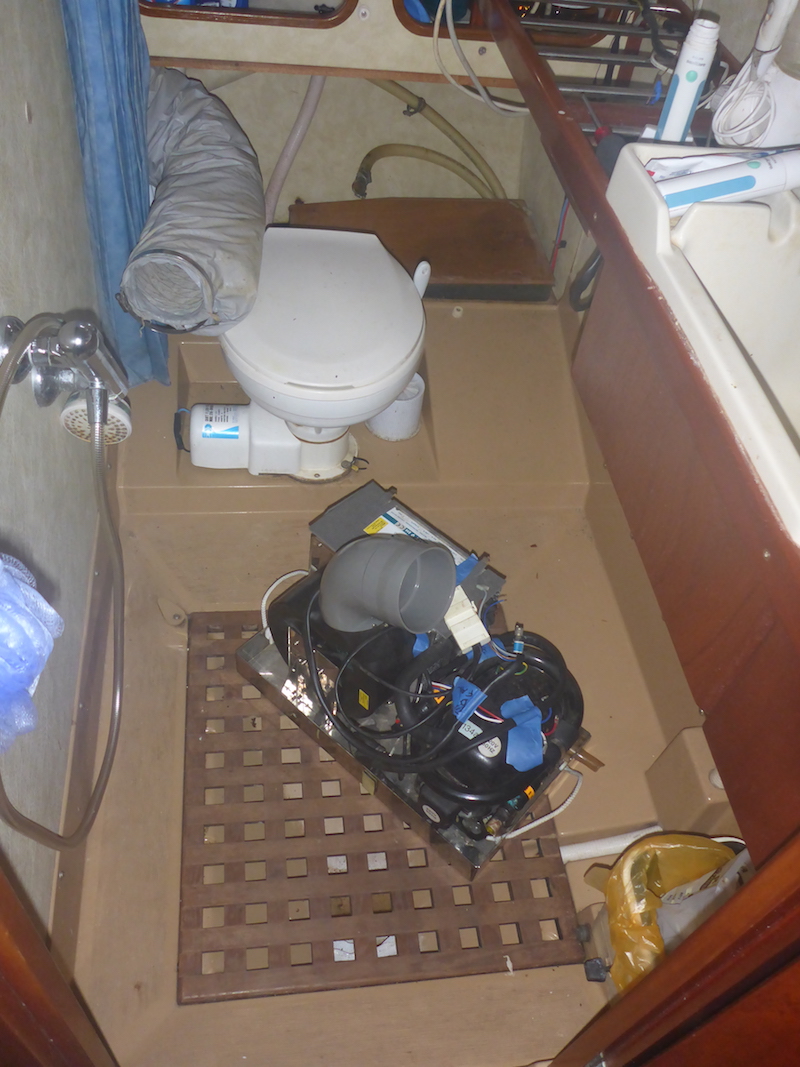
Putting back the Aft Climma Marine Compact 9
Before putting the panel
Will nicely secure the wires
another one
3rd one
Put back the filter
The cover
and my additional filter