NIKIMAT


Amel Super Maramu 2000
|
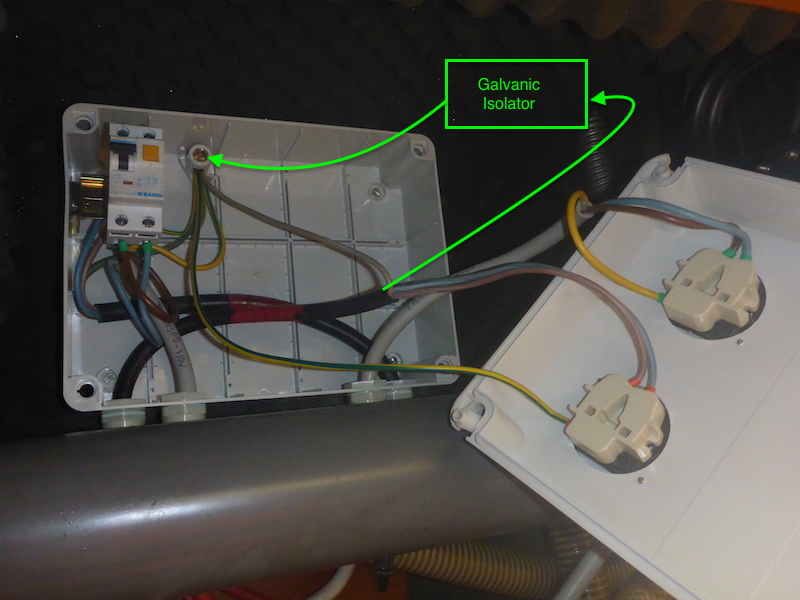
Galvanic Isolator Installation First I wanted to understand the shore wiring of my Super Maramu and trace the wires.
|
Coming from the dock (50 amp 125/250 Volt going to my European plug)
To the Lazarette through the special opening
(which I find a brilliant attention to detail, including its plug hanging for when you are sailing)
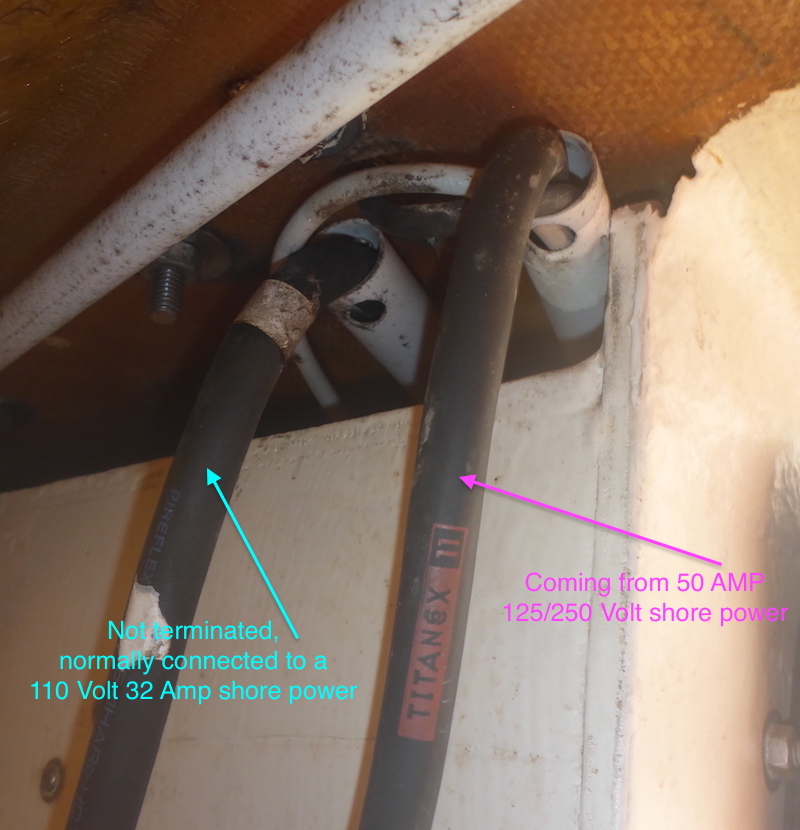
You can see 2 shore power cable of slightly different size
One is for 220 Volt the other (larger one) is for 110 Volt
Going on top of the propane storage box
Note: the one of the right saying TITAN?X 11 this is the one going to the 50 amp 125/250 Volt plug
Then going to the aft cabin
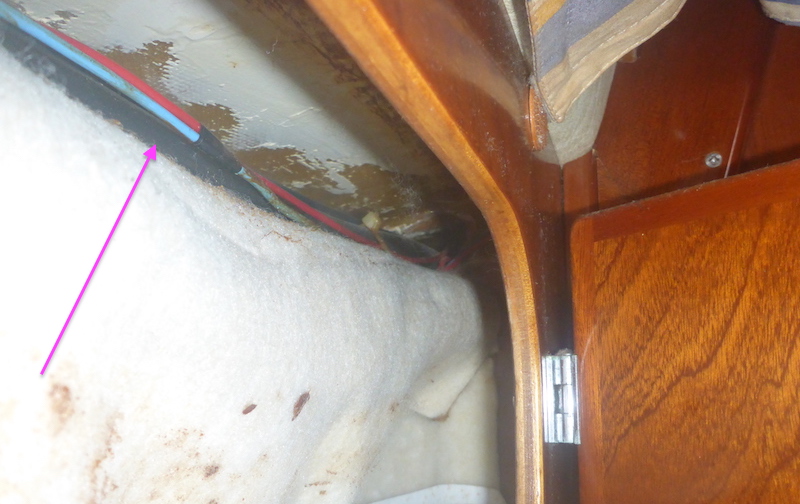
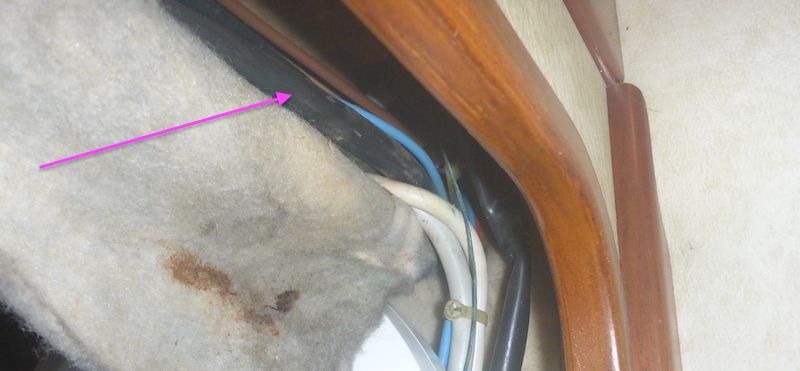
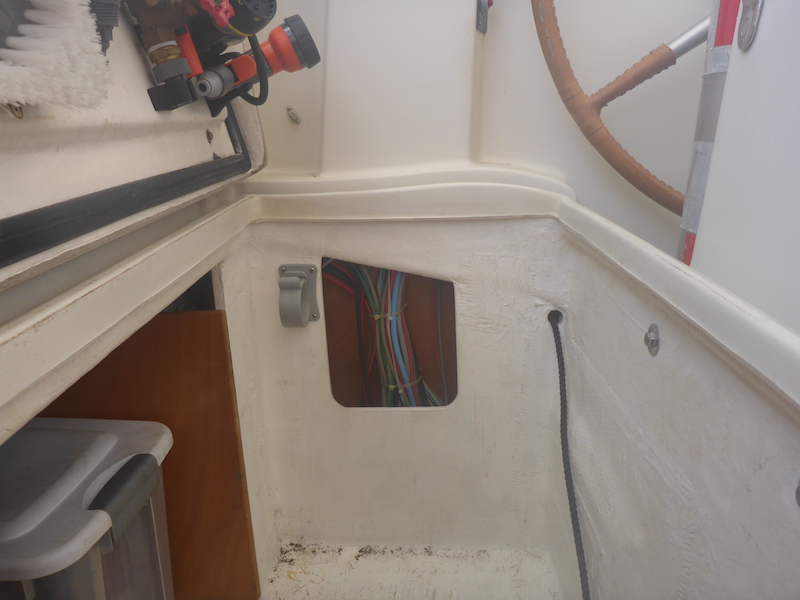
Inside the aft cabin

Removing the tissue you can see the shore power cables
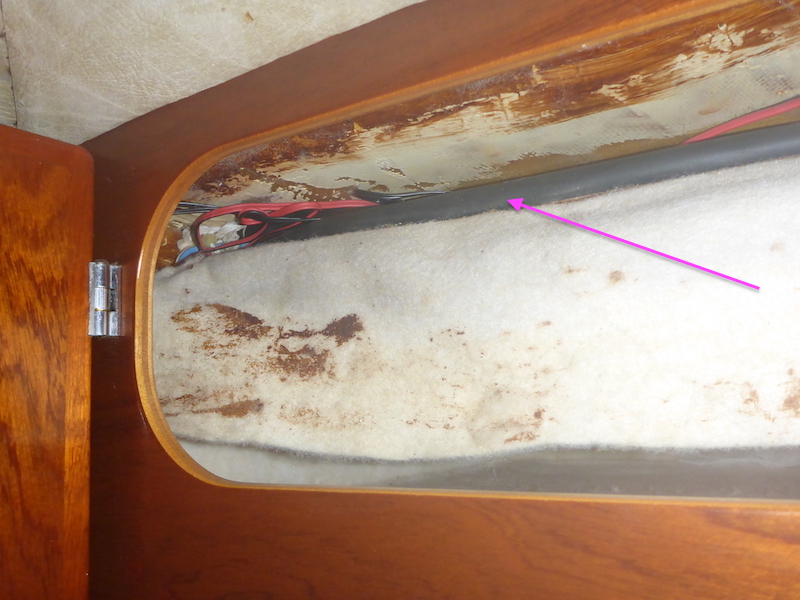
Going across the cabinet
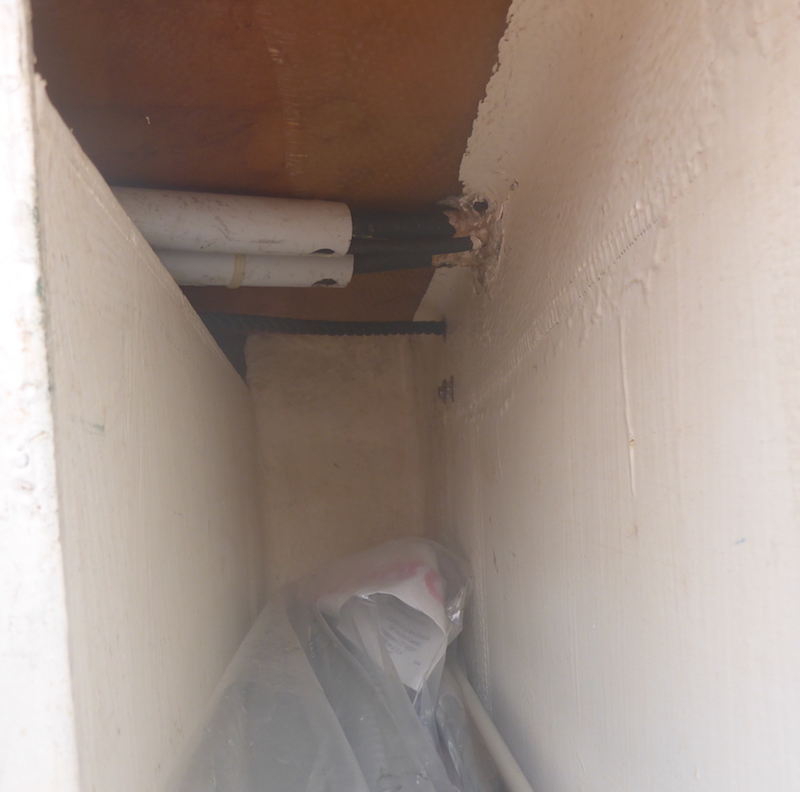
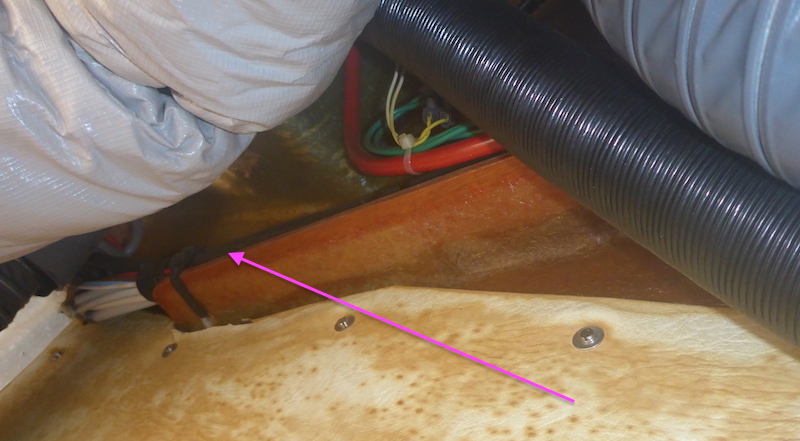
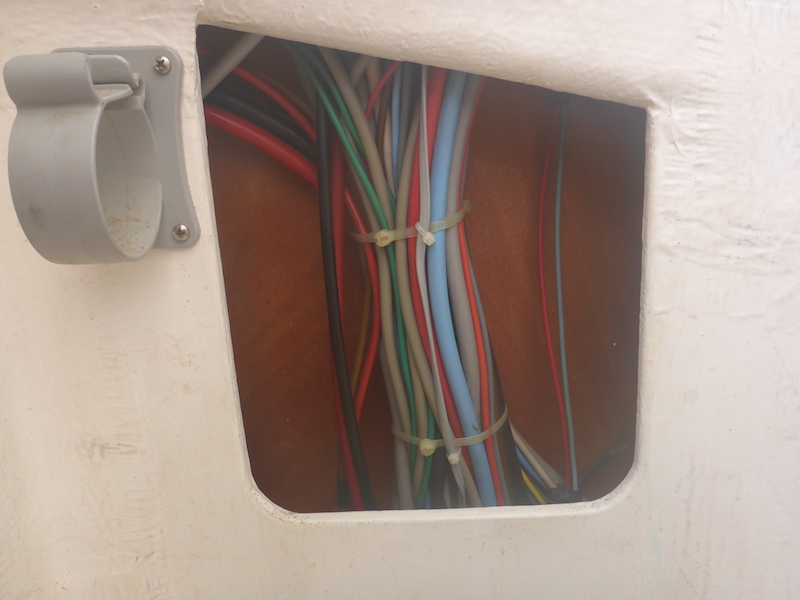
Through the aft Head
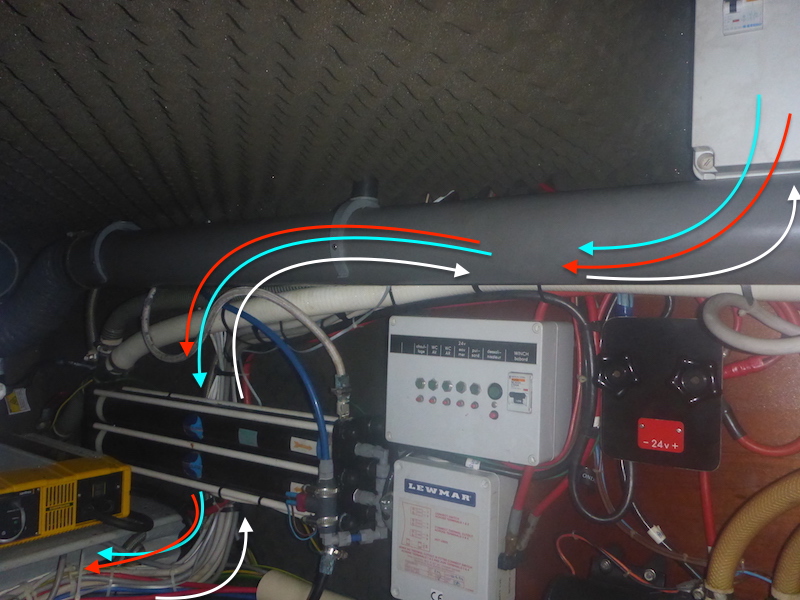
Here they are
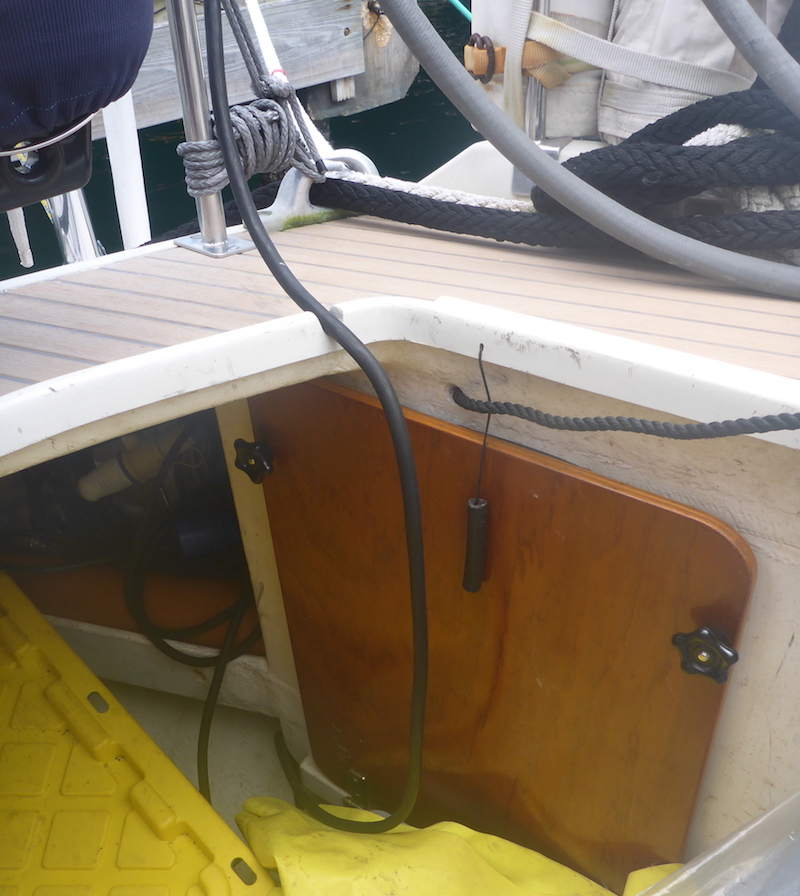
Then entering the cockpit storage
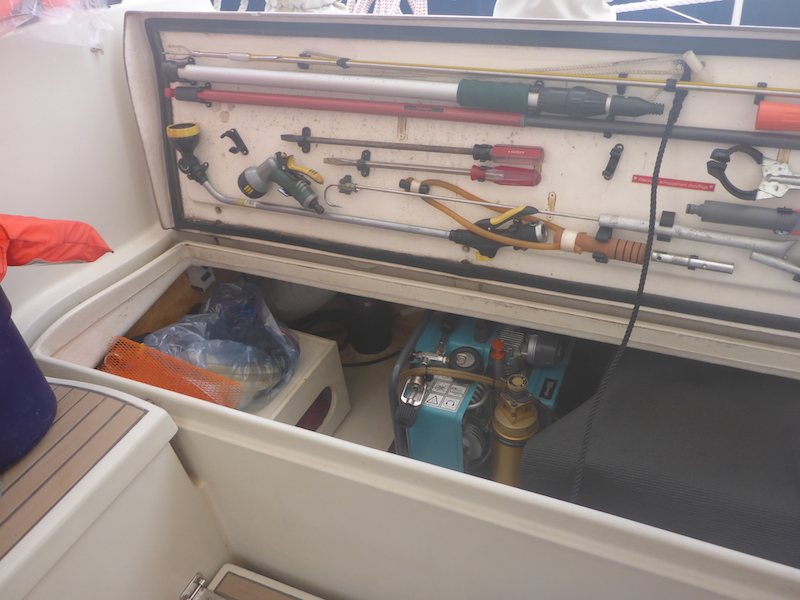
Behind the scuba compressor plug
More cables are joining such as the 24 volt of the Port Electric Winch
Going by the Espar D5LC Heater
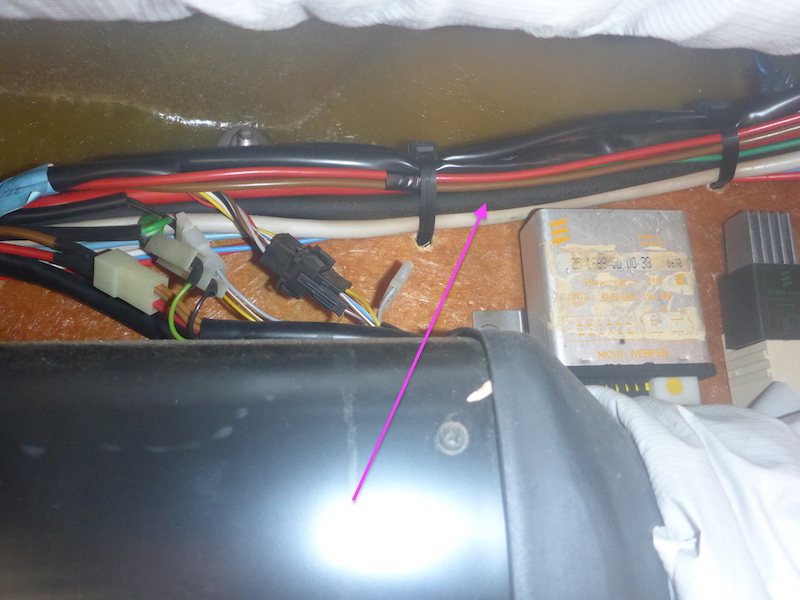
Now going down

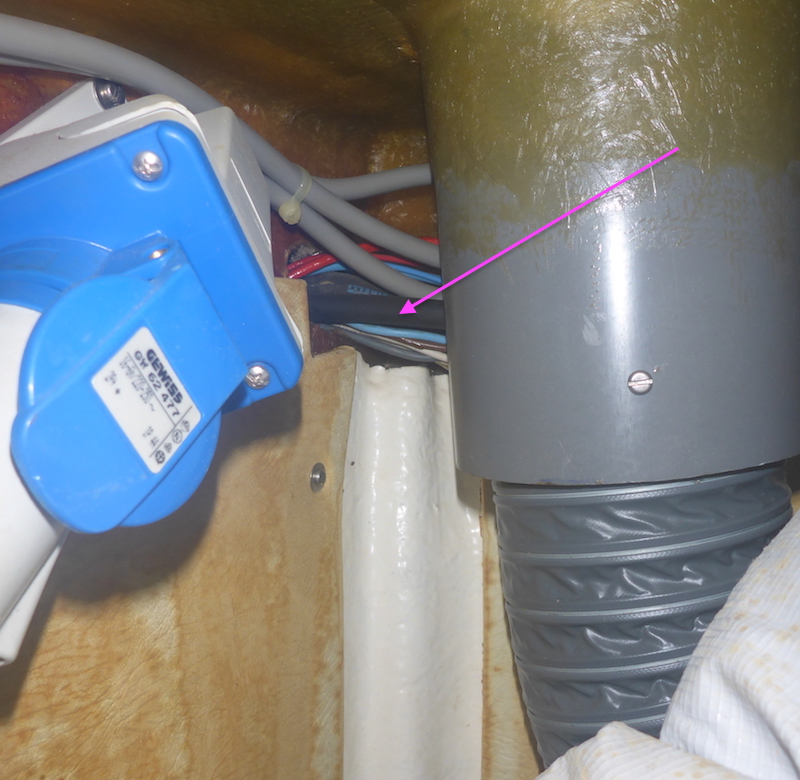
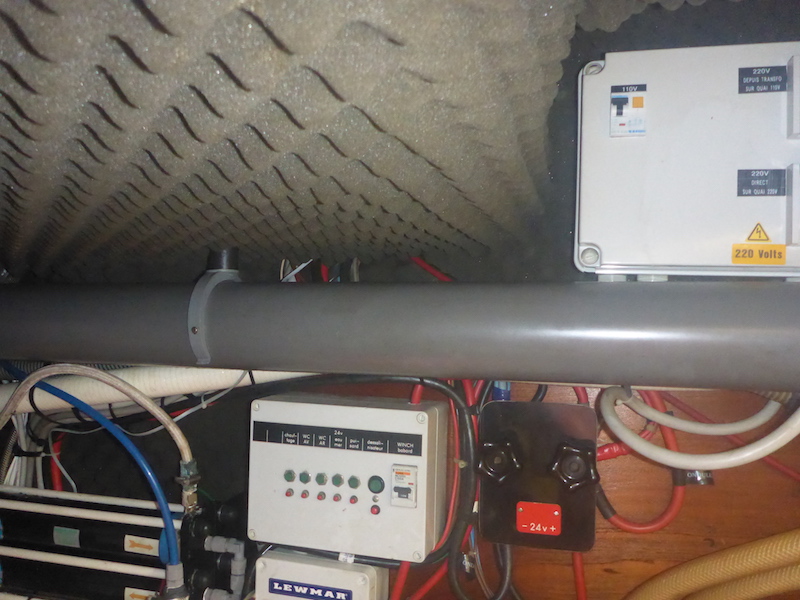
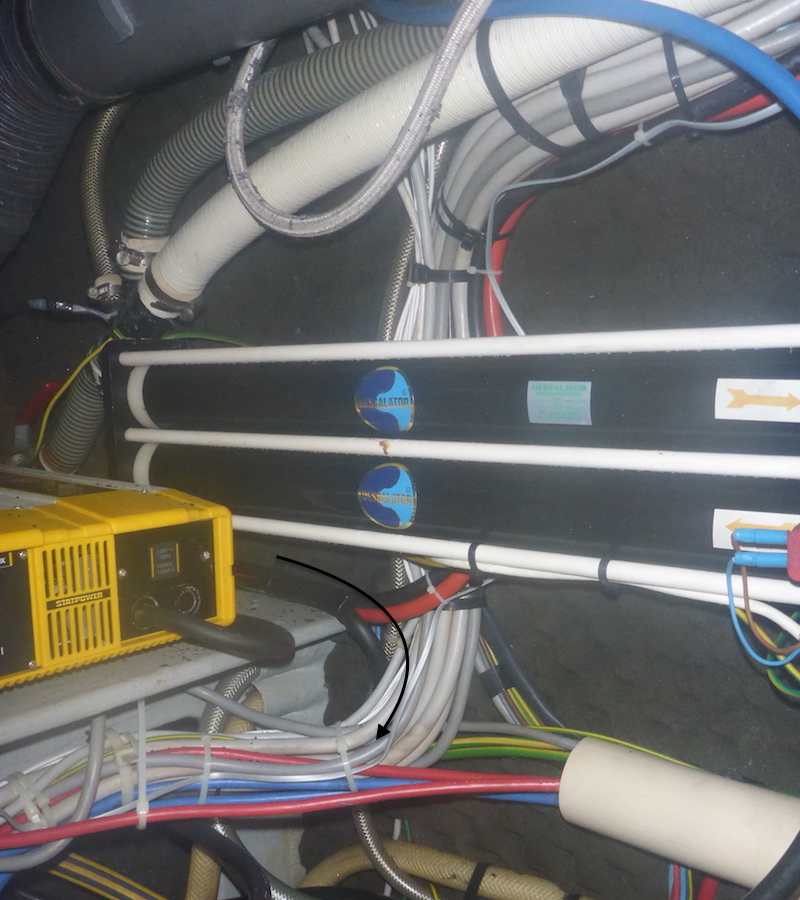
Forward of the cockpit storage
close up
Down to the engine room
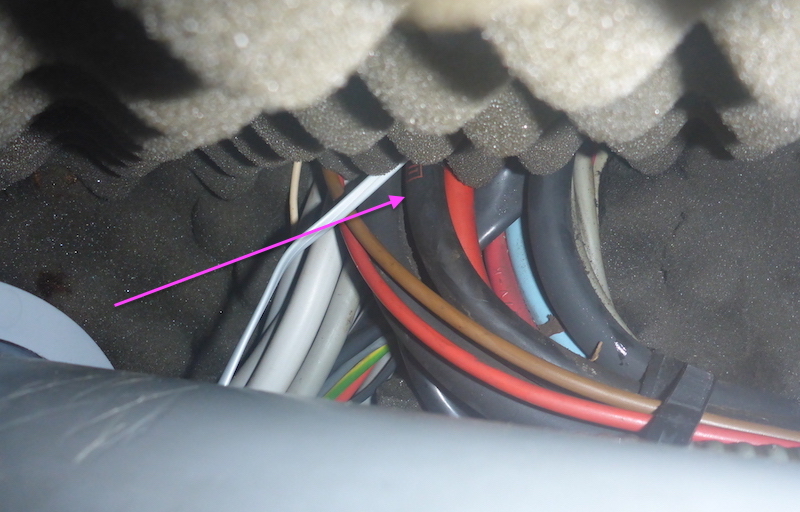
Note: in the middle you can see the rest of the marking of "TITAN?X 11" mentionned previously
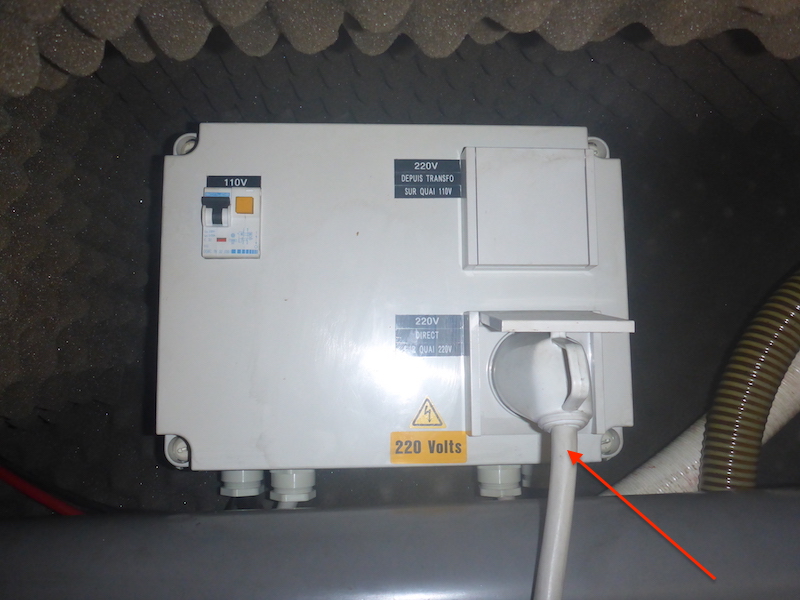
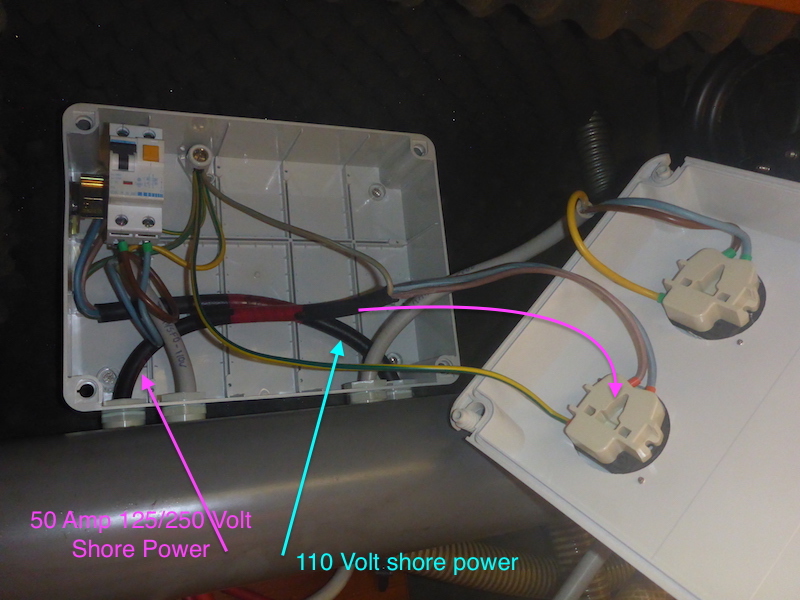
Now going to the box (which I thought was Magic until I opened it)
Note: let's call the plug (Red Arrow) 220 Volt shore power
Here is our "TITAN?X 11" entering the first opening
Here is the 2nd, larger shore power plug for 110 Volt connection
I was expecting a lot more complicated than that...
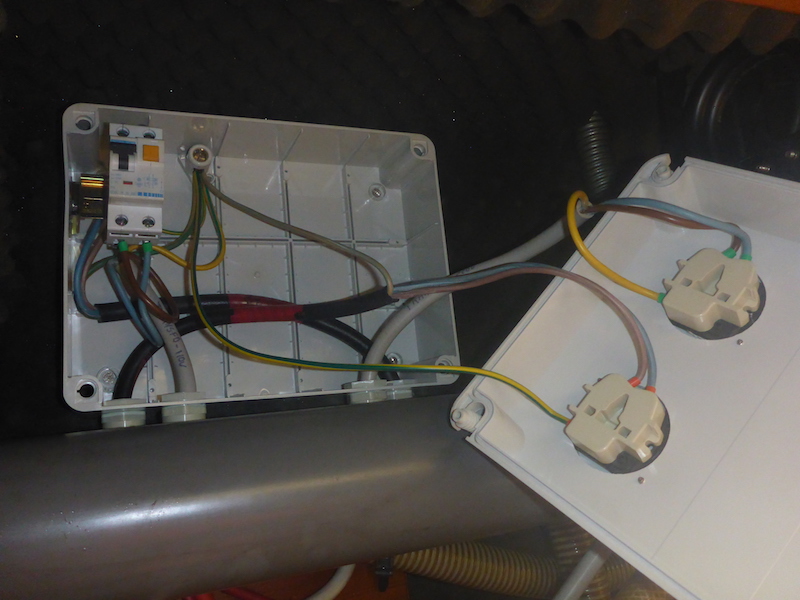
The shore power (left 50 Amp 125/250 Volt) is directly going to the bottom plug
|
Then I got carried away and decided to explore further
|
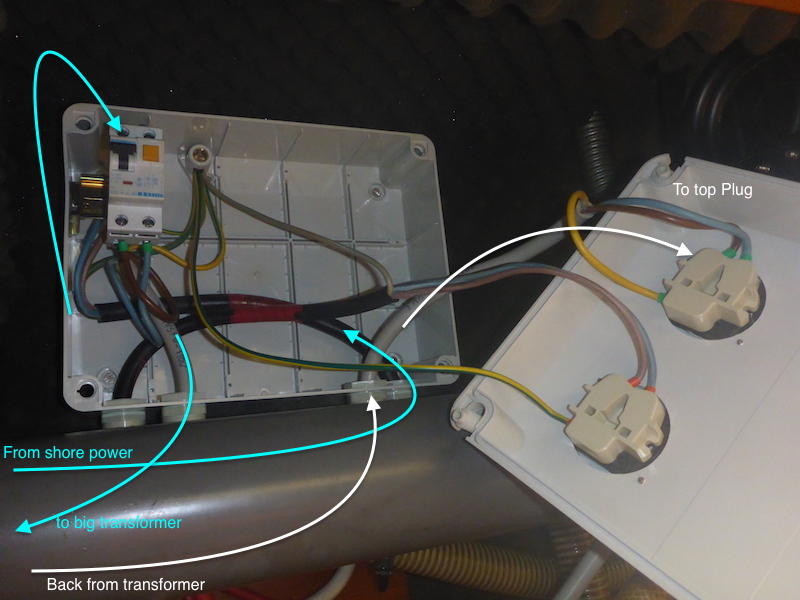
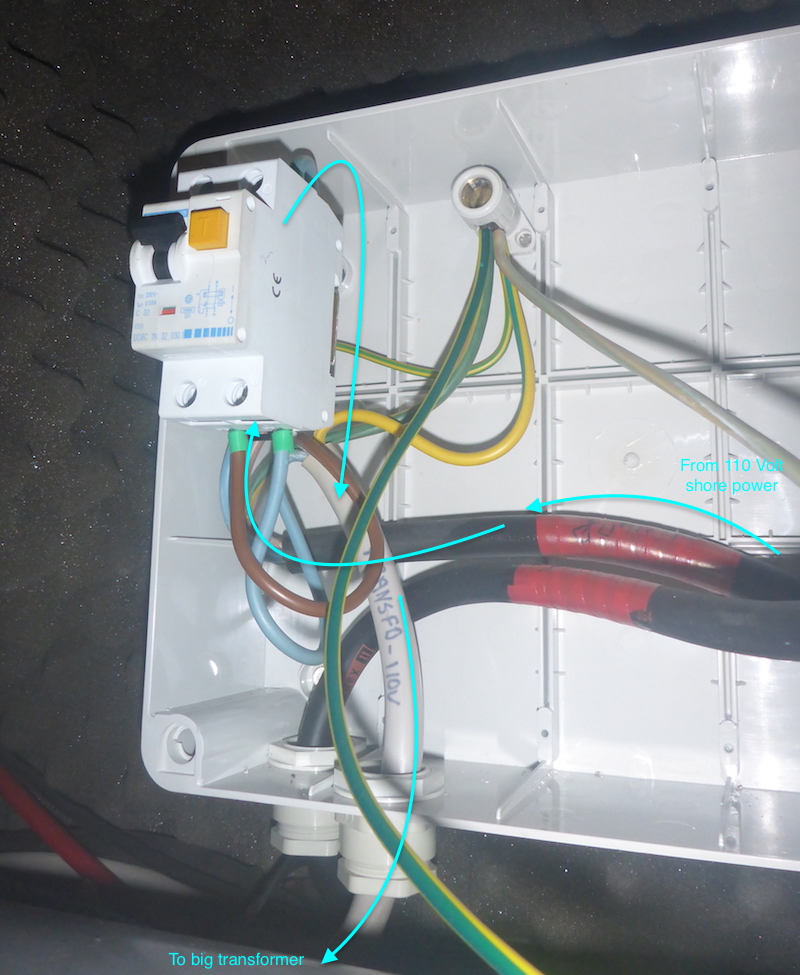
Note about the 110 Volt shore power
Comes from the shore power
To the 30 Amp breaker
Exit to big 110 to 220 volt transformer
Then comes back (white arrow) as 220 Volt to top plug
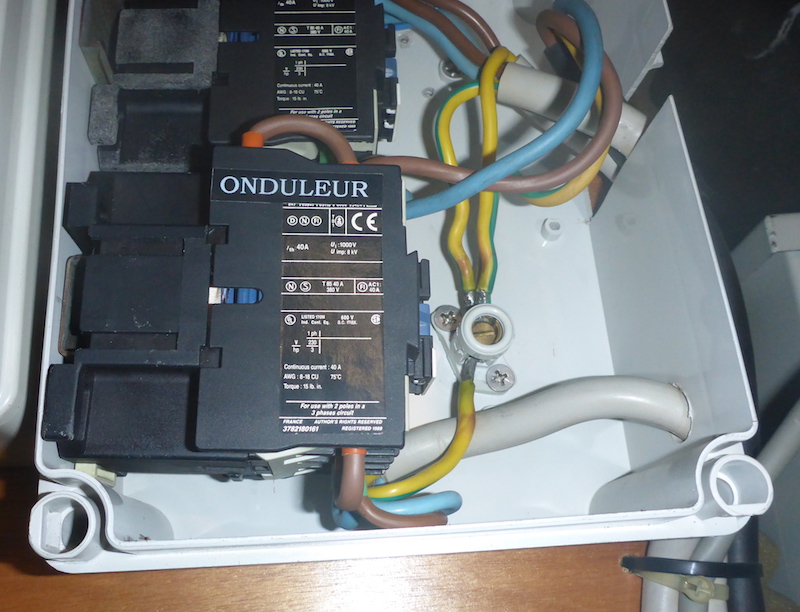
Close up of the connections
Following:
Red Arrow 220 Volt shore power
Blue Arrow 110 Volt shore power to Big Transformer
White Arrow 220 Volt return line from Big Transformer
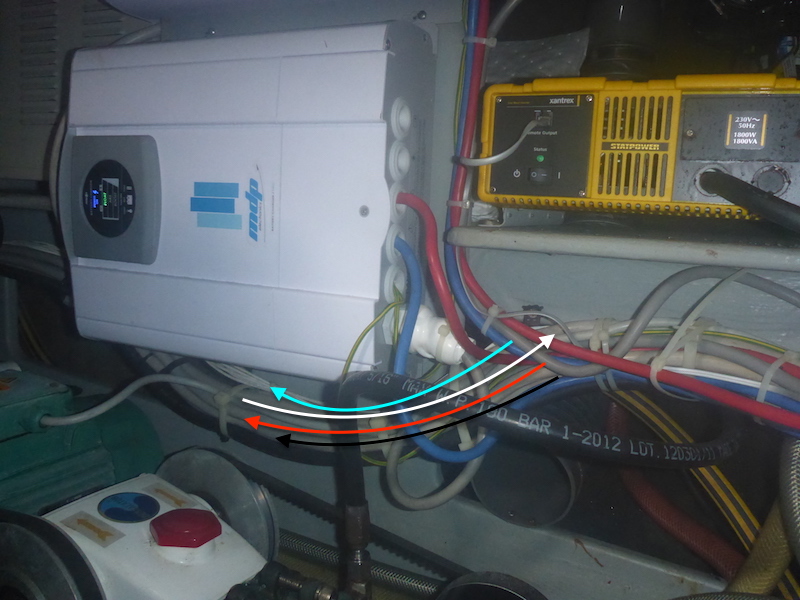
Now joining the party the (Black Arrow) 220 Volt Black cable from the Inverter
Going under the former Dolphin 30 Amp Charger, now a MDP 40 Amp
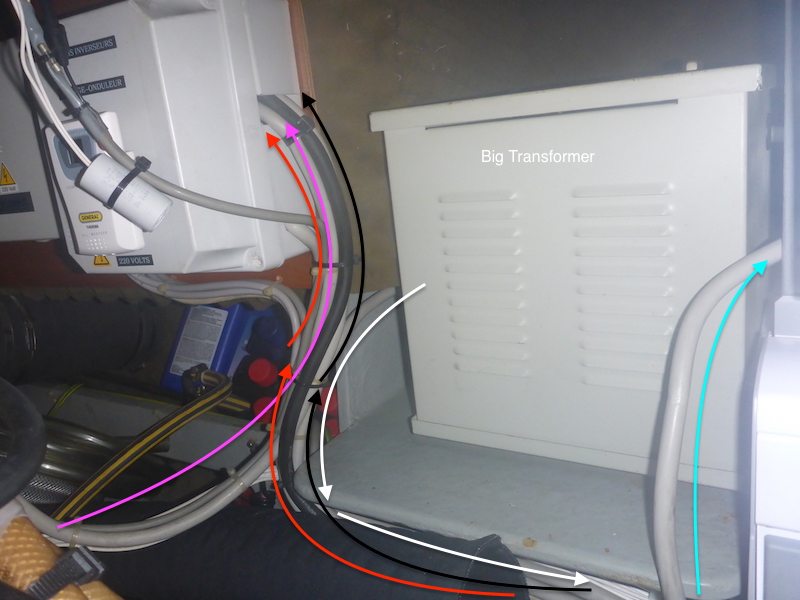
Blue Arrow 110 Volt shore power to Big Transformer
White Arrow 220 Volt return line from Big Transformer
Red Arrow 220 Volt shore power to 2nd Magic box
(Black Arrow) 220 Volt Black cable from the Inverter to 2nd Magic box
Then the (Pink Arrow) 220 volt from generator is joining the party
I made a mistake with the pink arrow, it actually enter the bottom part of the box
Ho la la... Good thing people say picture is worth a thousand words because I am speechless
If I was disappointed by the simplicity of the first box, I am definitely impressed by that one
All I know is some sort of (Magnet?) that will move if you start the generator (or inverter) and disable the shore power to prevent accidents.
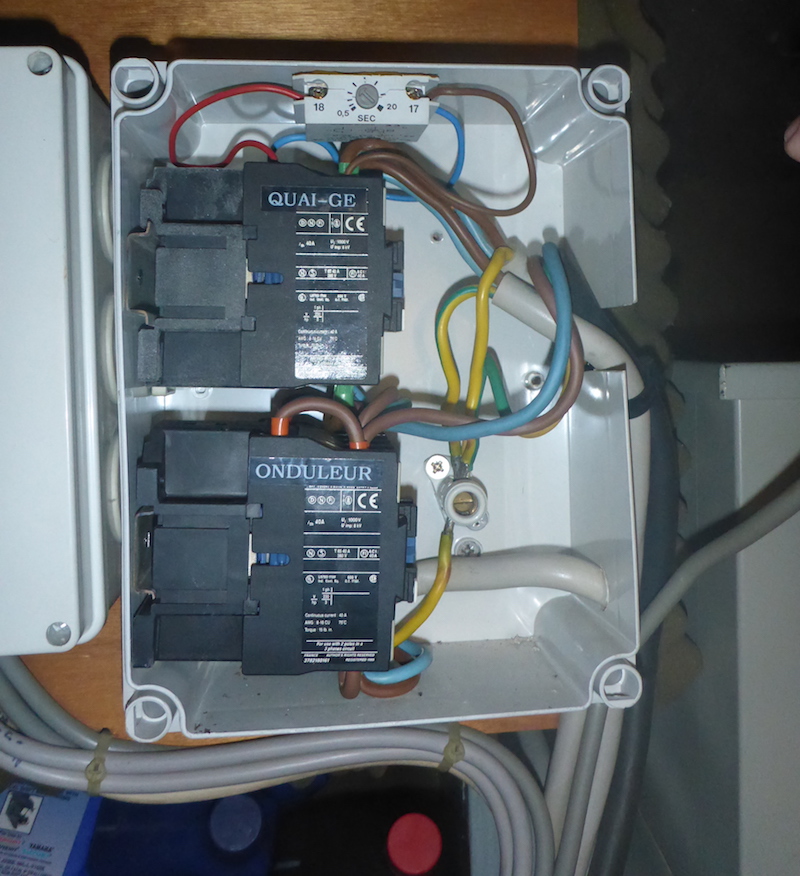
Interesting timer at the top

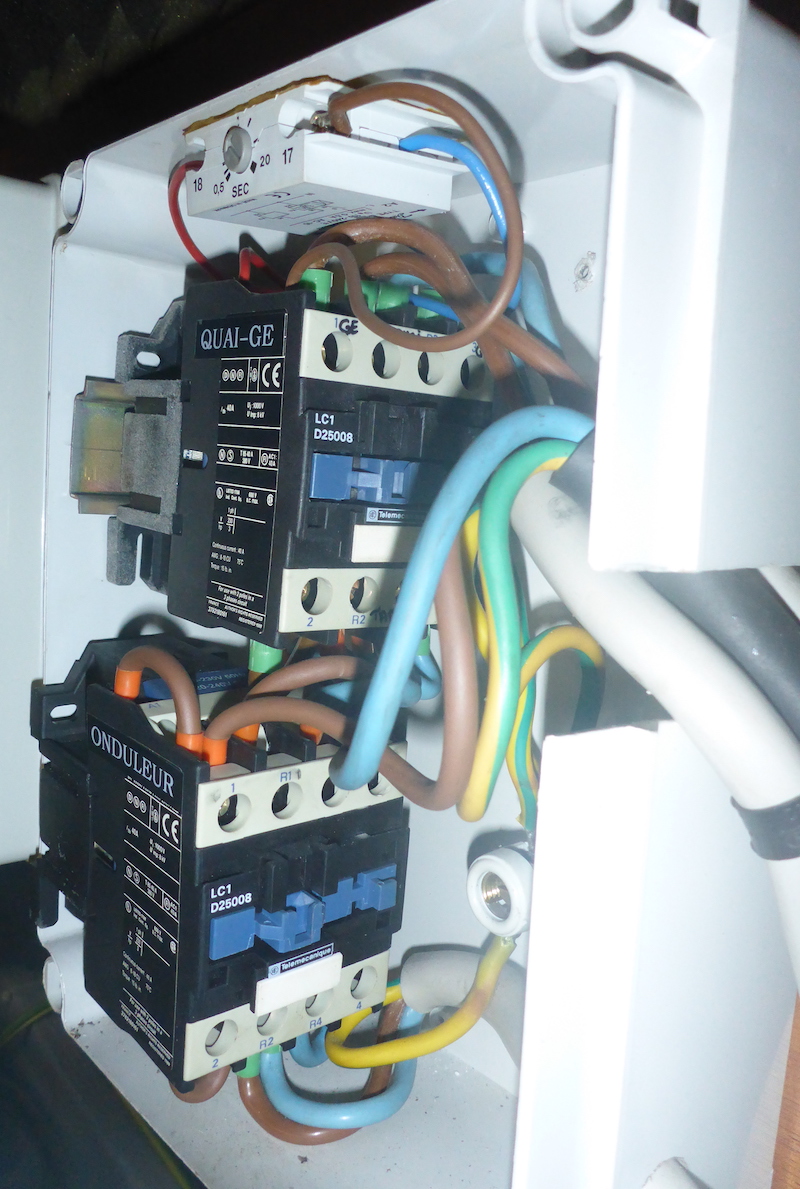
Close up
Close up
|
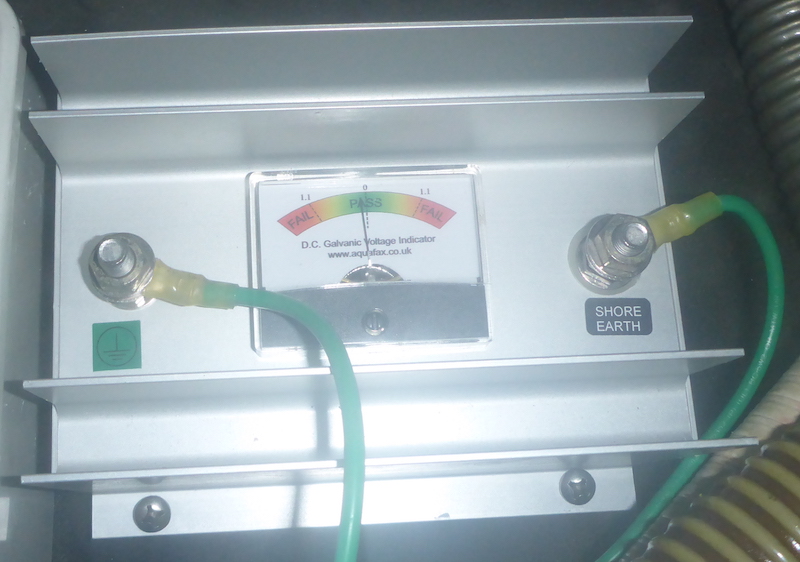
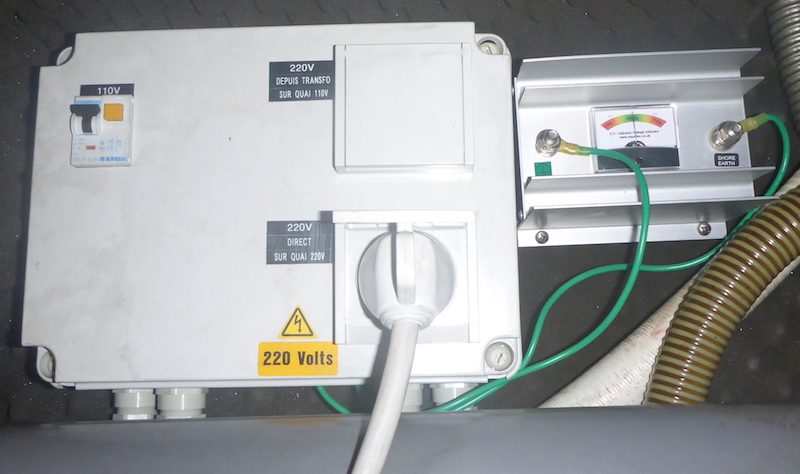
I decided the best place to connect the Galvanic Isolator was at the 1st Box.
|
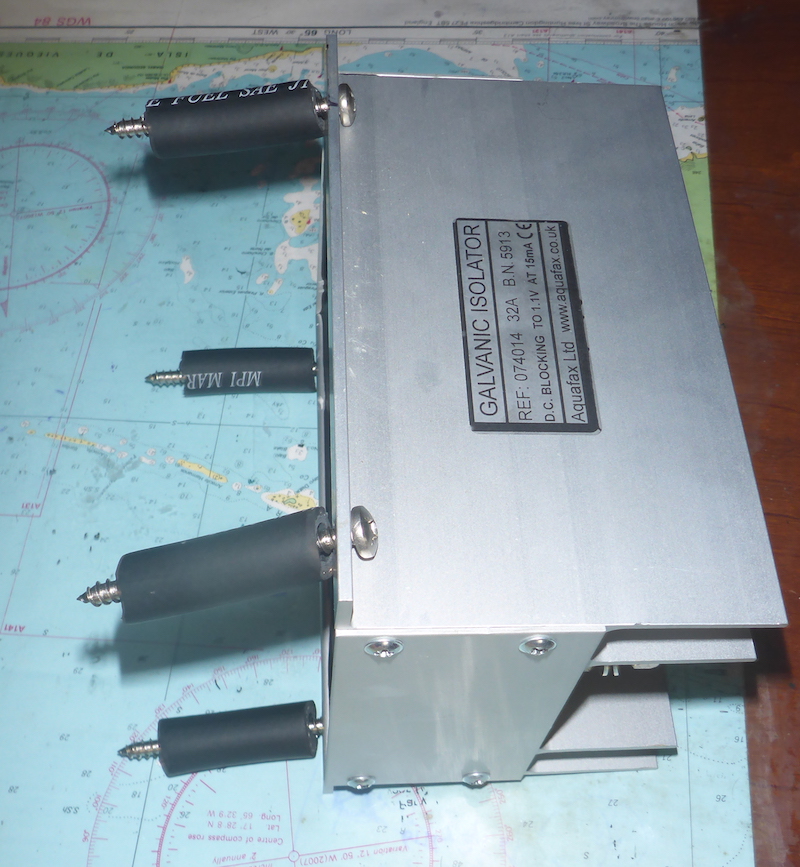
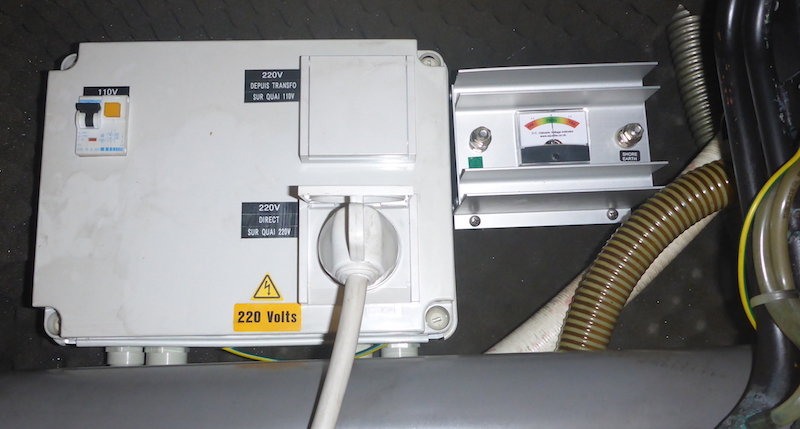
The first box
Instead of the (Green Arrow) Shore Earth wire going to the connector then back to the plug
The (Green Arrow) Shore Earth wire will go to the Galvanic Isolator then back to the connector (then to the plug)
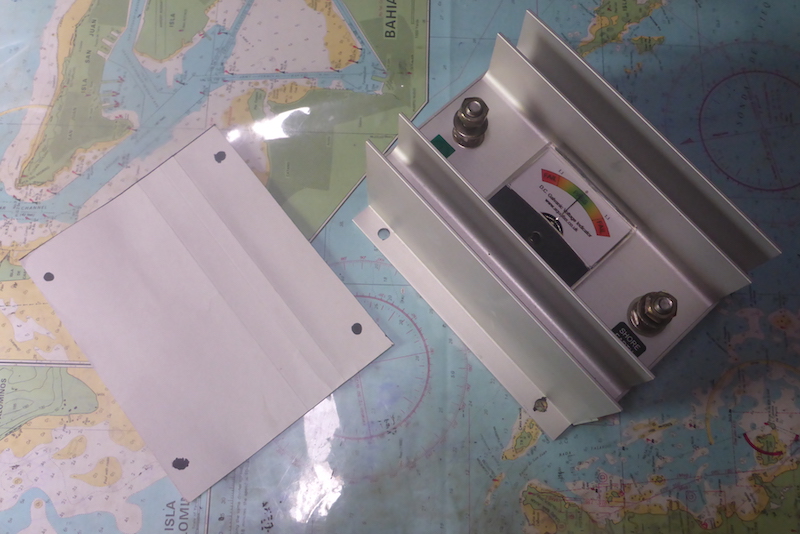
Testing the Galvanic Isolator
As the instruction says: as with any safety dependant device the Galvanic Isolator should be periodically tested
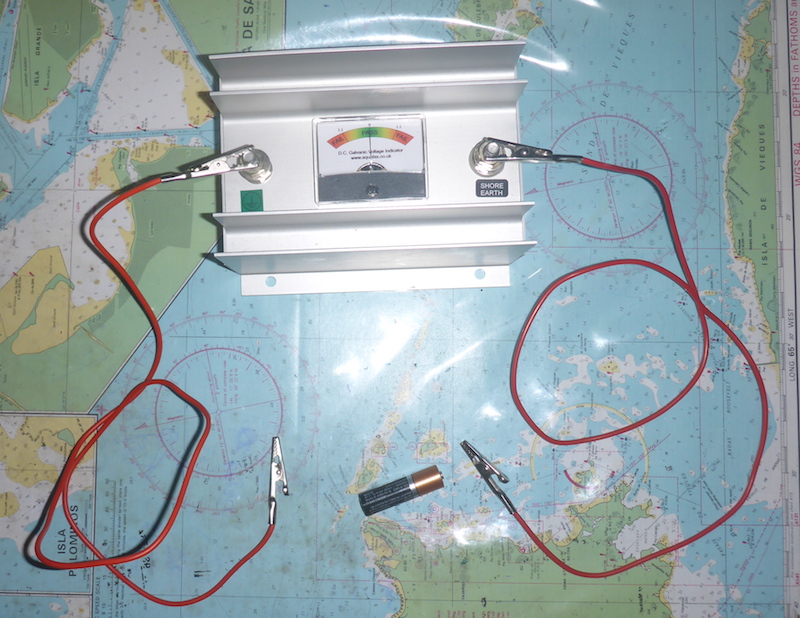
Being by myself (and taking pictures) I have to be creative
The needle on the meter should move into the FAIL section
If the needle does not move or moves completely off the scale, then the unit needs to be removed
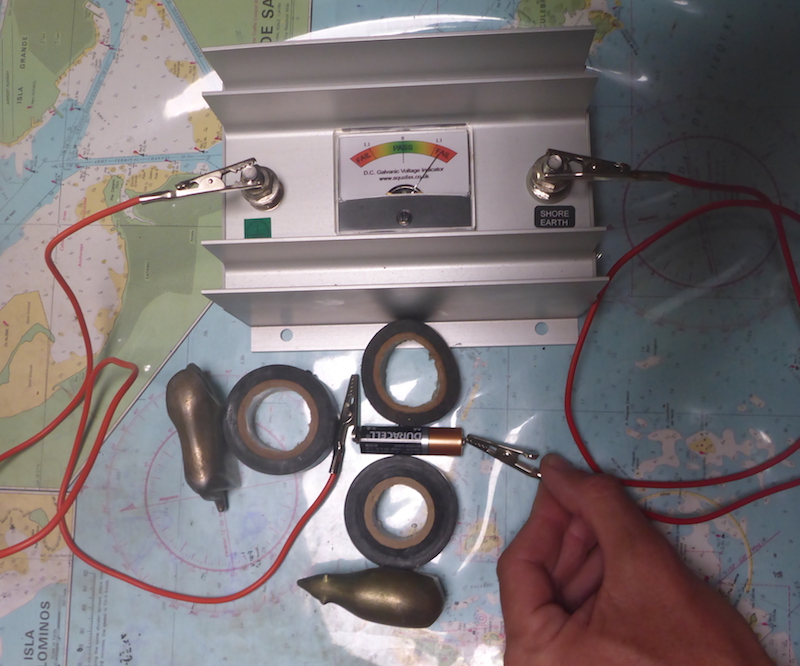
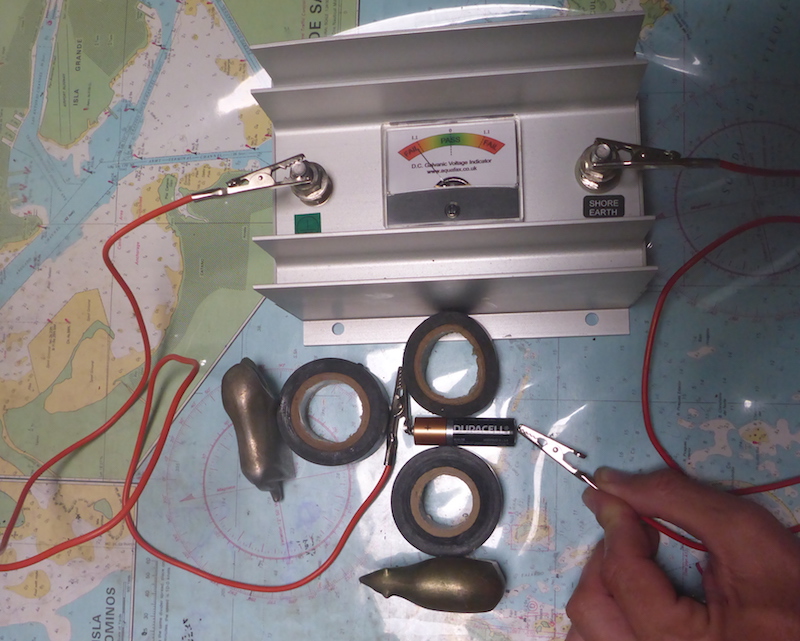
other side ok
Looking at the box, I noted there was spacers, so decided to do the same.
The ones I have were too shorts, so I purchase a thick 5/16" fuel line that I cut at 4 cm
A 1/4" fuel line would have been more appropriate but the store was out
On that picture I actually have #12 by 3" screw. Later on I will use 2 1/2"
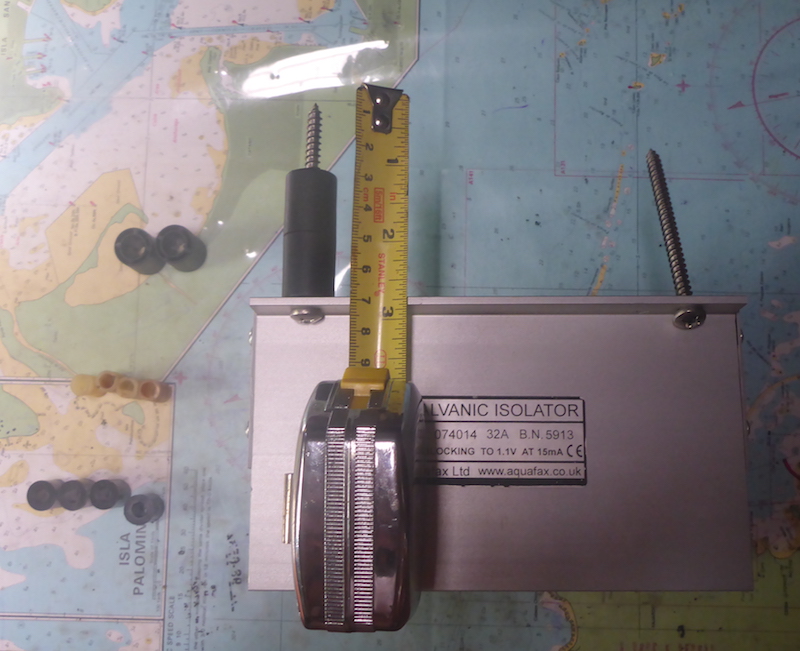
My 4 spacers
I used cardboard to have an estimate of the distance between the holes.
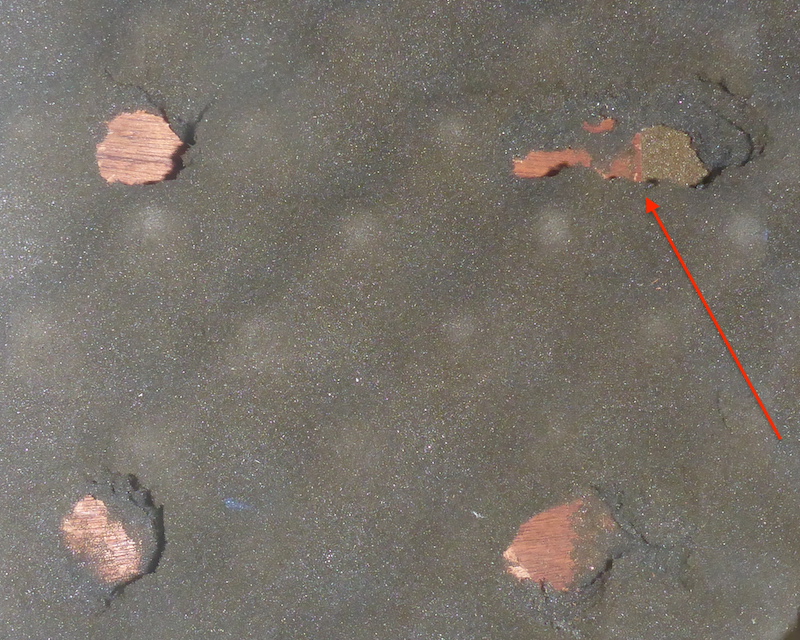
I used this to remove the sound proofing material
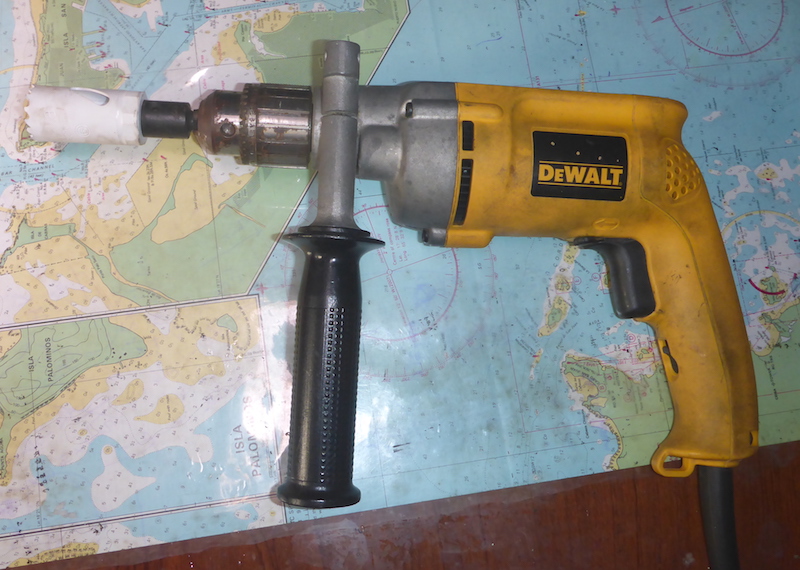
Was a clean way to remove the sound proofing material
BUT note on the right side
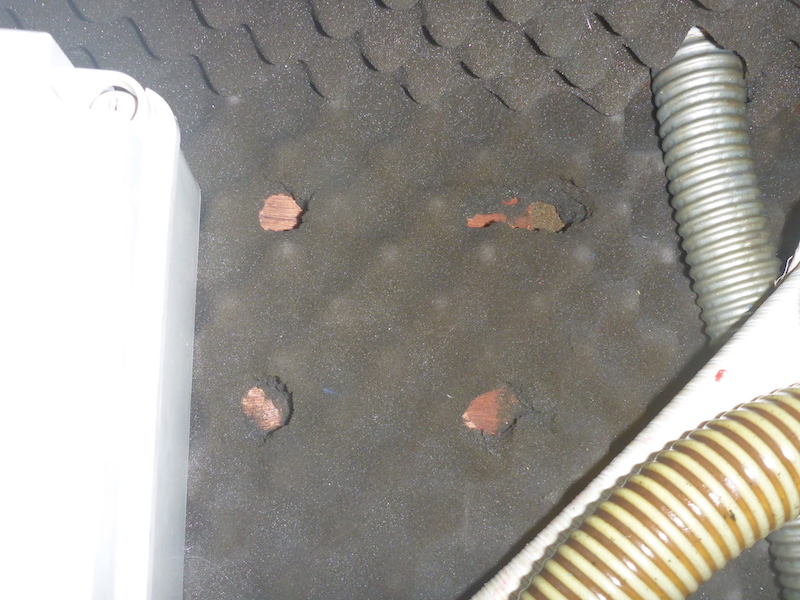
The board on which I plan on screwing on the Galvanic Isolator is shorter than expected
I was also able to estimate his thickness and concluded the 3" long screw were too long, so chose the 2 1/2" instead
It actually took a long time installing because of the tight space
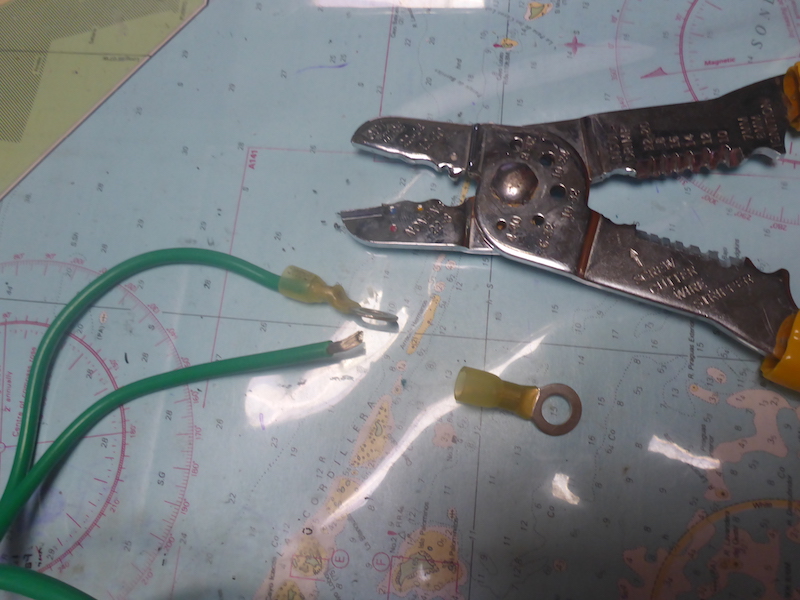
Making the wire, I used a 6ft long 10 gage green (since I couldn't find yellow/green)
6ft was too long, but I wanted to have margin for error
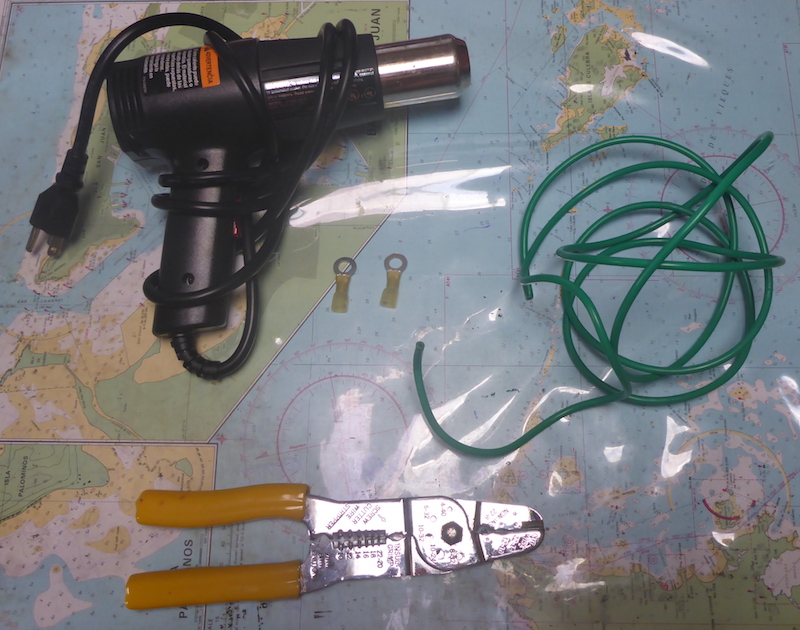
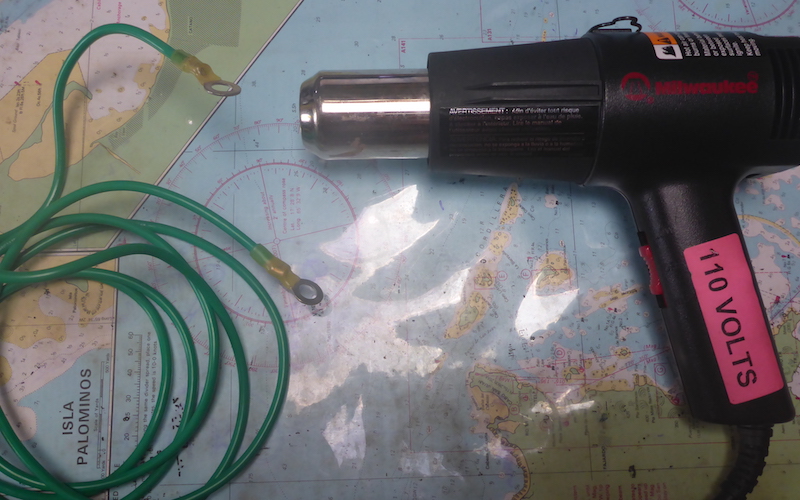
Cut and clamp heat shrink terminal
heat the terminal
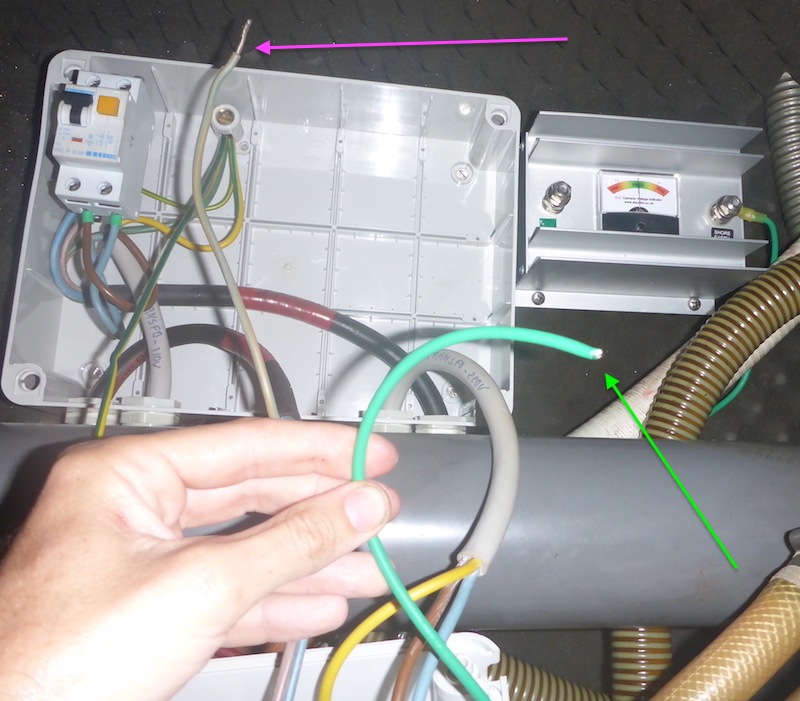
Do I need to write that you need to disconnect the power from the shore before opening the box?
The purple arrow point to the green/yellow (or earth) of my 50 amp shore power
Which I will connect via a "domino" to the 10 gage green wire (which I cut)
That wire is going to the "Shore side" of the Galavanic Isolator.
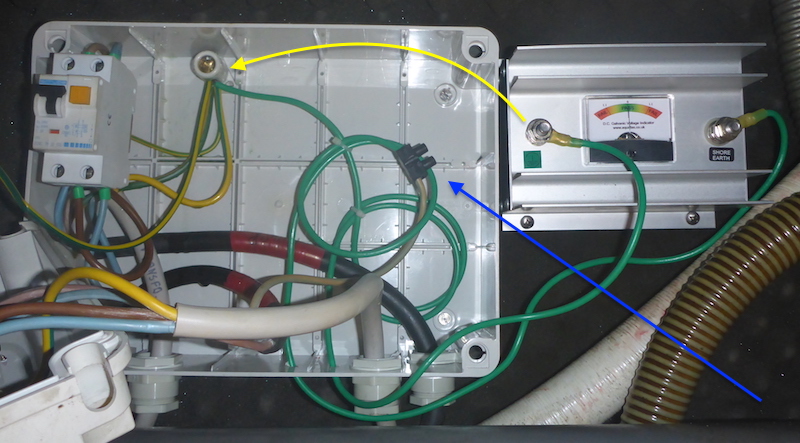
You can see the "domino" (blue Arrow) connecting the 2 previously mentionned
I also put the 2nd wire (Yellow Arrow) going from the other side of the Galvanic Isolator to the ground of course it goes down, then up
I forgot to mention: how do the 2 new wire go through the box?
Originally I was hoping there was enough space through the existing holes, was not the case
So had to drill 2 small hole just big enough to pass these wires
Finished
Note the needle is centered
After I connect back the shore power, you can see the needle moved a little to the left, and thanksfuly is well within the Green zone